Assembly Instructions for Ebern Designs AD25051-B3 Ceiling Light
Quick assembly guide for the Ebern Designs AD25051-B3 ceiling light. Includes safety precautions, required tools, and step-by-step installation instructions.
Quick answers from the manual
Quick answer
- This document provides assembly and installation instructions for the Ebern Designs AD25051-B3 ceiling light. p. 1, 2
Key actions
- Turn off power at the circuit breaker. p. 2
- Attach the mounting plate to the junction box. p. 2
- Connect wires and attach the fixture to the mounting strip with ball nuts. p. 2
- Install the light bulb. p. 2
Where to find it in the PDF
- Assembly Instructions and Parts p. 1
- Installation Steps p. 2
Table of contents
Manual images
Click an image to enlargeQuick guide from the manual
This document provides the necessary steps to safely assemble and install the Ebern Designs AD25051-B3 ceiling light. Before beginning, ensure you have the required tools and that the power is disconnected at the circuit breaker.
Safety precautions
- Inspect the wire insulation for any cuts, abrasions, or exposed copper that may have resulted during shipping. If there is a defect in the wire, do not attempt installation.
- Before starting installation or removing a previous fixture, disconnect the power by turning off the circuit breaker at the fuse box.
Tools required
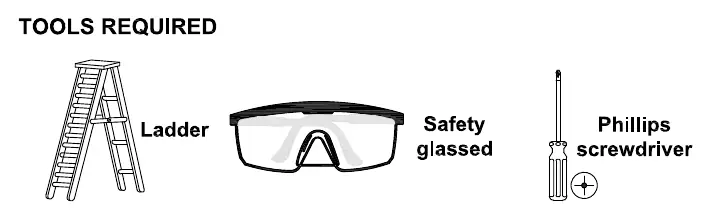
- Ladder
- Safety glasses
- Phillips screwdriver
Installation steps
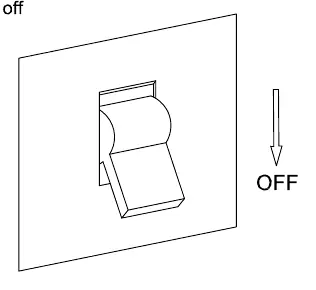
- Power off: Turn off the power at the circuit breaker.
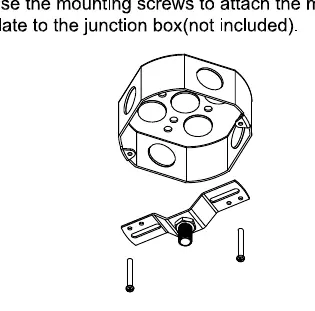
- Attach mounting plate: Use the mounting screws to attach the mounting plate to the junction box (junction box not included).
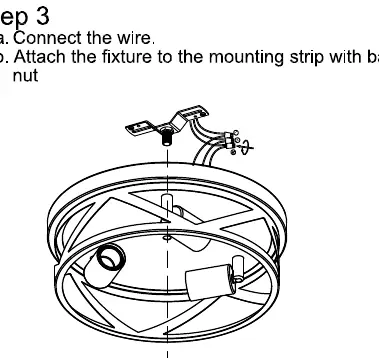
- Connect and mount: Connect the wires and attach the fixture to the mounting strip using the ball nuts.
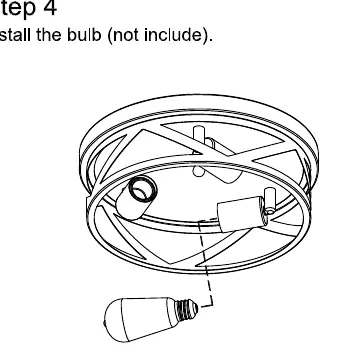
- Install bulb: Install the light bulb (not included).
Practical help
Before use
- Turn off power at the circuit breaker before starting
- Inspect wire insulation for cuts or abrasions
- Ensure you have a ladder, safety glasses, and a Phillips screwdriver
- Verify the junction box is ready for mounting
Images and diagrams
- The mounting strip attaches to the junction box
- The fixture is secured to the mounting strip using ball nuts

Manual page author
David Miller
Documentation analyst