QuickBolt 17662DF QB2 Roof Mounting System Installation Guide
Installation guide for the QuickBolt 17662DF QB2 roof mounting system. Includes step-by-step instructions for asphalt, EPDM, and TPO roofs, required tools, and torque specifications.
Table of contents
Manual images
Click an image to enlargeQuick guide from the manual
This document provides installation instructions for the QuickBolt 17662DF QB2 mounting system, designed for use on asphalt, EPDM, and TPO roofs. Ensure all steps are followed to maintain the integrity of the roof and the security of the mount.
Recommended materials
- Tools to locate and mark the rafter
- Drill with a 15/64" drill bit
- MFG approved sealant (optional)
- Tool for separating shingles
- 1/2" Nut Setter
Installation instructions
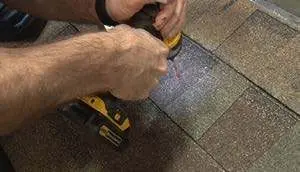
- Locate and mark the rafter.
- Predrill the hole.
- Optional: Fill the predrilled hole with MFG approved sealant.
- Optional: Place a ring of sealant around the bottom of the Microflashing washer.
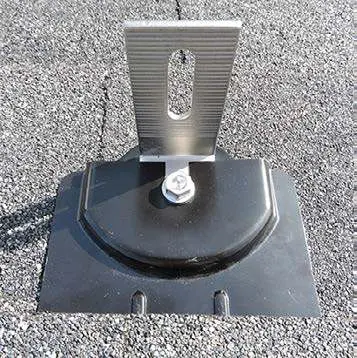
- Place the Microflashing, then the L-Foot.
- Insert the Miniflashing under the shingles, over the L-Foot.
- Insert the Bolt over the Miniflashing and drive until the Microflashing is compressed and the Miniflashing is secure.
Important notes
To compress the Microflashing properly with the QB2, use a minimum torque of 150 lbs/inch.
Practical help
Common problems
Ensure the bolt is driven until the Microflashing is compressed, using a minimum torque of 150 lbs/inch.
Before use
- Locate and mark the rafter
- Prepare a drill with a 15/64" bit
- Have a shingle separator tool ready
- Ensure you have a 1/2" nut setter
- Obtain MFG approved sealant if required

Manual page author
Emily Carter
User documentation editor
Prepares concise manual descriptions and highlights the most useful setup, operation, and maintenance information for readers.