Furniture / Home Furnishing
Kingston CCD2175 Adjustable Double Curved Shower Rod Installation Guide
Quick installation guide for the Kingston CCD2175 adjustable double curved shower rod. Includes parts list, required tools, and step-by-step mounting instructions.
Table of contents
Manual images
Jump to the sectionQuick guide from the manual
This document provides essential installation instructions for the Kingston CCD2175 adjustable double curved shower rod. Proper installation is critical to prevent the rod from detaching from the wall, which could cause serious injury. Ensure all steps are followed precisely.
Tools Required
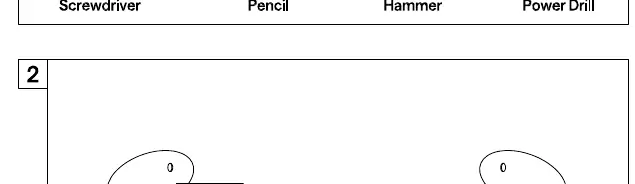
- Screwdriver
- Pencil
- Hammer
- Power Drill
Parts Included
- 1 x Single Shower Rod
- 2 x Double Shower Rods
- 4 x Screws
- 4 x Anchors
Installation Steps
- Locate the desired installation position. Place the base onto the wall and trace around it with a pencil.
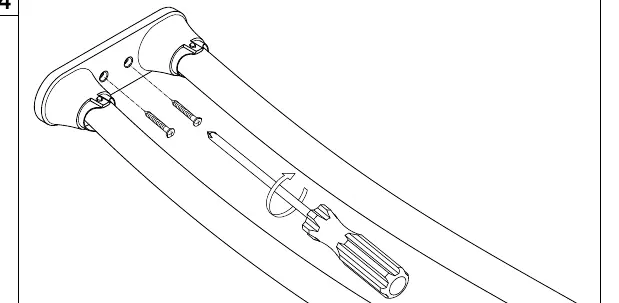
- Place the mounting plate in the center of the pencil outline and mark the location of the mounting screws. Drill holes at the marked locations.
- Insert anchors into the drilled holes using a hammer until they are flush with the wall.
- Place the shower rod on the mounting location and insert screws through the first mounting post into the anchors. Tighten the screws securely with a screwdriver.
- Expand the shower rod to the required length and install it on the opposite end. Repeat steps 1 through 4 for the second side.
Safety
Failure to follow all installation directions may cause the product to detach from the wall and cause serious injury. Ensure the rod is firmly anchored to the wall surface before use.
Customer Support
For further assistance, contact Kingston technical support at 1-877-2-KBRASS or via email at [email protected]. You can also visit their website at www.kingstonbrass.com.
Official resources from the manual
Practical help
Common problems
Rod detaching from the wall
Ensure all installation steps were followed correctly and that anchors are properly seated and screws are fully tightened.
Before use
- Verify all parts (rods, screws, anchors) are present.
- Ensure you have a power drill, hammer, screwdriver, and pencil.
- Mark the mounting plate position accurately using a pencil.
- Ensure anchors are flush with the wall surface before inserting screws.
- Check that the rod is securely tightened on both ends.
Specs in practice
- Adjustable range
- The rod is designed to fit spaces between 60 inches and 72 inches.
Images and diagrams
- The manual provides visual diagrams for each step, showing the use of a pencil for marking, a drill for creating holes, a hammer for setting anchors, and a screwdriver for final mounting.

Manual page author
David Miller
Documentation analyst
Organizes user manual content into clear summaries, with attention to model details, product context, and everyday usability.