Lighting / Fixtures
User Manual for Saxby Lighting Pacto Track
Quick guide for the Saxby Lighting Pacto Track system. Includes installation steps, wiring instructions, technical specifications, and safety warnings for models 78959, 78960, 78961, 94061, 94062, and 94063.
Table of contents
Manual images
Click an image to enlargeQuick guide from the manual
The Saxby Lighting Pacto Track is a modular lighting system. Before beginning any work, ensure the power is switched off at the mains. This product must be installed by a competent and qualified electrician in accordance with IEE Wiring and Building Regulations. The system is Class 1 and must be earthed.
Installation
Plan the track layout and decide on necessary accessories (bends, junctions, dead ends) before fixing anything to the ceiling. Ensure the ceiling can support the weight of the track and fixtures.

- Mark the first hole position and fit the screw.
- Feed the screw through the keyhole slot and slide the track into position.
- Mark and fit the second screw.
- If using accessories, remove the end cap and push the accessory firmly into the track.
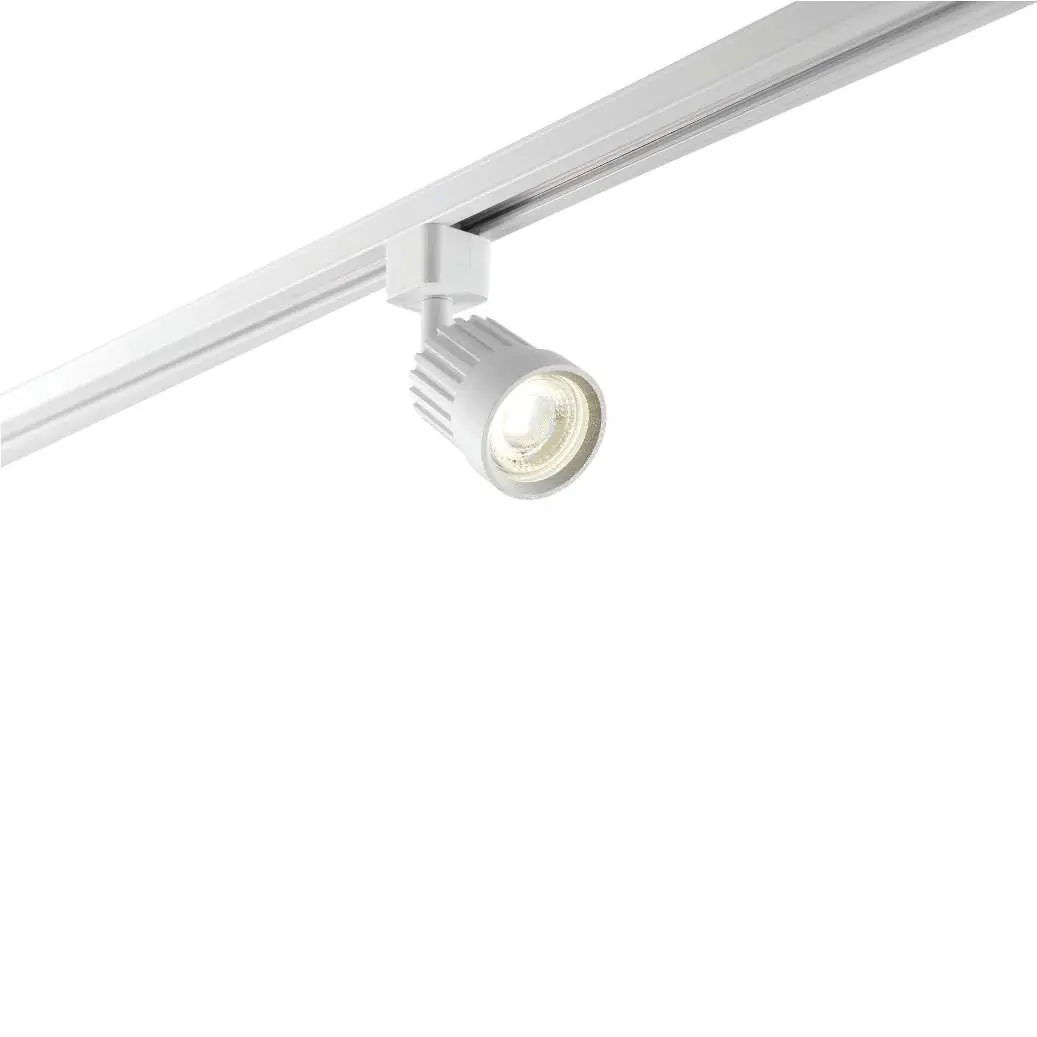
- To fit the light unit: Locate the product in the track with connections in the slot, slide the tab down, rotate 90 degrees to engage, and allow the tab to slide back up.
Wiring and connection
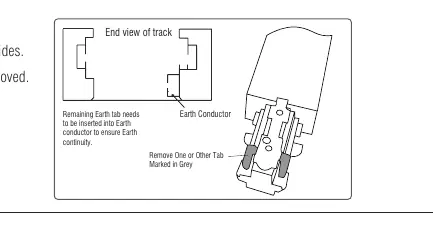
The track accessories are provided with earth connection points on both sides. When offering an accessory to the track, verify which tab needs to be removed for earth continuity. Use pliers to lever back the tab until it snaps off.
To wire the track:
- Undo the screw and remove the cover from the live end.
- Push out the desired cable access point.
- Identify the correct cable from the supply and pull it through.
- Connect the supply wires to the terminal block, matching the corresponding wires from the fitting.
- Refit the cover, ensuring the cable is not trapped.
Care and safety
- Always disconnect the product from the mains at least 10 minutes before any maintenance or adjustment to allow it to cool down.
- Clean with a soft dry cloth only. Do not use solvents or abrasive cleaners.
- The light source is not replaceable; when it reaches the end of its life, the whole luminaire must be replaced.
- Minimum distance from lighted objects is 0.5 metres.
Technical data
- Supply Voltage: 220-240 V~, 50 Hz
- Max Power per run: 1000W (1kW)
- Bulb Type: 10W LED module (SMD)
- Class: Class 1 (must be earthed)
- Dimming: Suitable for dimming
Practical help
Common problems
Light does not turn on
Check the fuse or circuit breaker. Ensure the light is correctly engaged in the track slot and that wiring connections are secure.
Accessory does not fit into track
Verify if the earth tab needs to be removed. Use pliers to snap off the tab if necessary for the specific connection point.
Before use
- Ensure power is switched off at the mains.
- Verify the ceiling can support the weight of the track and fixtures.
- Plan the track layout and required accessories before drilling.
- Confirm all wiring is identified correctly before connection.
- Ensure the correct fixings are used for the ceiling type (brick, cavity, or plasterboard).
Specs in practice
- Supply Voltage
- 220-240V, 50Hz (Standard mains power).
Images and diagrams
- Track layout: Shows how to connect bends, T-junctions, X-junctions, and dead ends.
- Wiring: Illustrates how to open the live end cover and connect supply wires to the terminal block.
- Earth connection: Shows which tab to remove on the accessory to ensure earth continuity.
Model compatibility
- Not suitable for low voltage lamps if dimming is required.
- Only use the same type of fitting that is capable of being dimmed.

Manual page author
Michael Turner
Technical manual editor
Reviews PDF manuals for structure, safety notes, and practical product details so readers can find the right information quickly.