Toys / STEM Toys
Sillbird 10-in-1 STEM Solar Robot Kit User Manual
Quick guide for the Sillbird 10-in-1 STEM Solar Robot Kit. Includes assembly instructions, parts list, and tips for building all 10 solar-powered robot models.
Table of contents
Manual images
Click an image to enlargeQuick guide from the manual
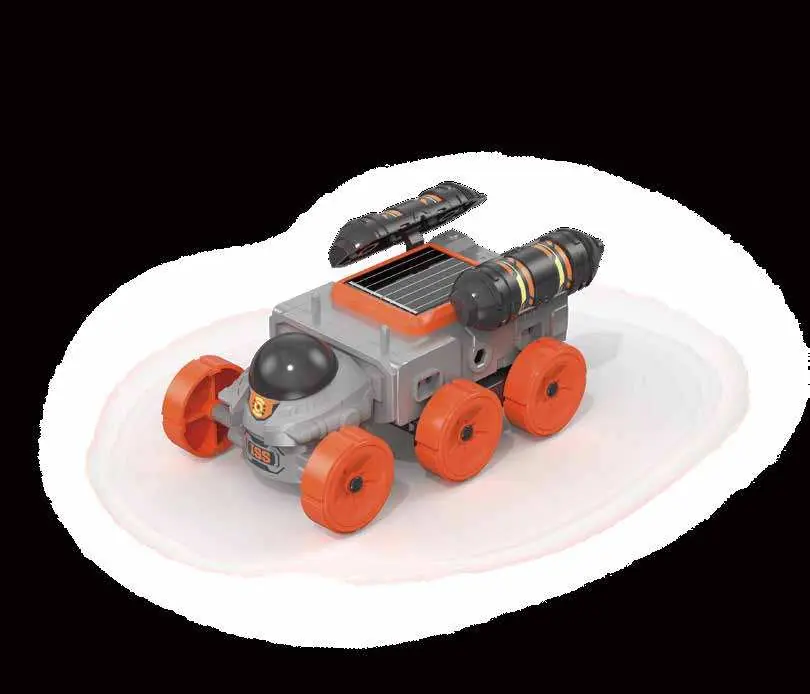
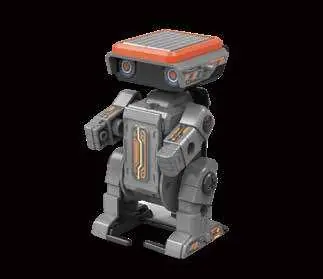
The Sillbird 10-in-1 STEM Solar Robot Kit is an educational toy designed to teach mechanics and solar energy. This kit allows you to assemble 10 different robot models using the same set of components.
Parts Identification
Before beginning assembly, organize your workspace and identify all components:
- Plastic Parts: Labeled frames (A, B, C, D, E) containing various structural pieces. Use side cutters to carefully remove parts from the frames.
- Mechanical Parts: Includes the solar panel, motor, gears, and other functional components.
Assembly Instructions
The manual provides detailed, step-by-step exploded-view diagrams for each of the 10 models. Follow these steps carefully:
- Select the model you wish to build.
- Locate the corresponding assembly diagram in the manual.
- Identify the required parts from the parts list.
- Assemble the components exactly as shown in the diagram, paying close attention to gear orientation and motor placement.
Solar Operation
The robots are powered by the included solar panel. For optimal performance, ensure the solar panel is placed in direct, bright sunlight. The robots will not function under artificial indoor lighting or in the shade.
Maintenance and Safety
- Small Parts: This kit contains small parts that pose a choking hazard. Keep away from children under 3 years old.
- Assembly: If a robot does not move, check that the gears are not meshed too tightly and that the motor is correctly connected to the solar panel.
Manufacturer information
Sillbird
Practical help
Common problems
Robot does not move
Ensure the solar panel is in direct sunlight. Check that gears are not too tight and the motor is properly connected.
Parts are difficult to remove
Use side cutters or scissors to carefully cut parts from the plastic frames.
Before use
- Clear a flat workspace.
- Identify all plastic parts (A-E) and mechanical parts.
- Ensure you have side cutters or scissors.
- Check the parts list to ensure all components are present.
Images and diagrams
- The manual uses exploded-view diagrams to show how parts fit together.
- Numbers on the diagrams correspond to the parts list.
Model compatibility
- Requires direct sunlight for operation.
- Not suitable for indoor artificial light.

Manual page author
Michael Turner
Technical manual editor
Reviews PDF manuals for structure, safety notes, and practical product details so readers can find the right information quickly.