Tools / Power Tools
Bosch GKS 18V-68 G / 18V-68 Circular Saw User Guide
Quick start guide for the Bosch GKS 18V-68 G and GKS 18V-68 circular saws, covering battery installation, blade changing, depth and angle adjustments, and safety instructions.
Table of contents
Manual images
Jump to the sectionQuick guide from the manual
This document provides essential instructions for the Bosch GKS 18V-68 G and GKS 18V-68 circular saws. It covers safe operation, battery management, blade installation, and cutting adjustments. Always ensure the battery is removed before performing any maintenance or accessory changes.
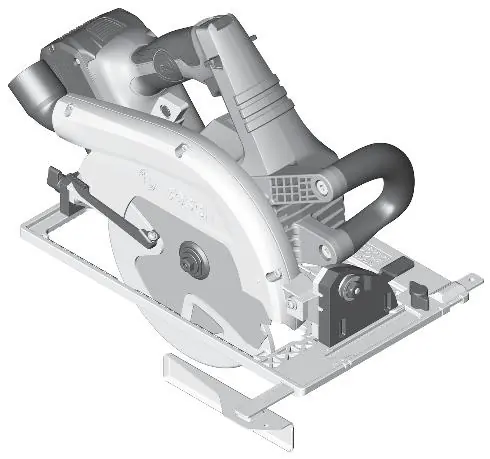
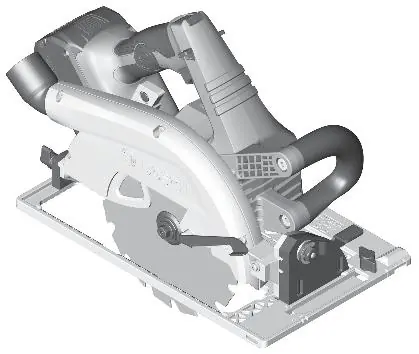
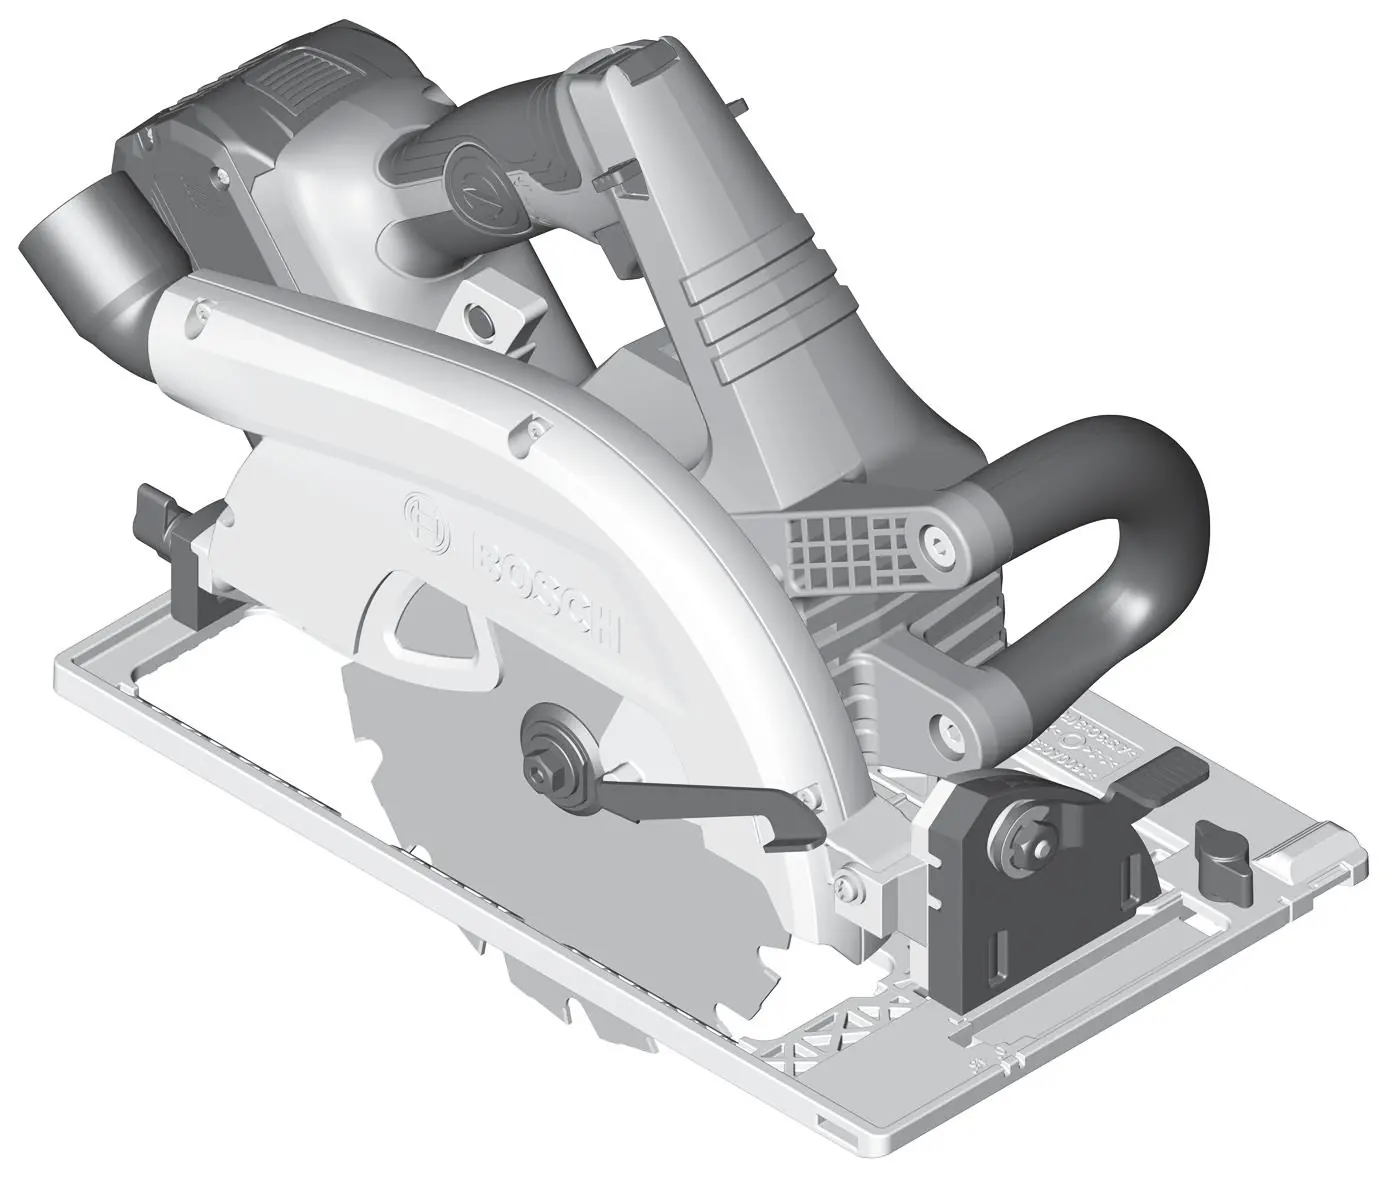
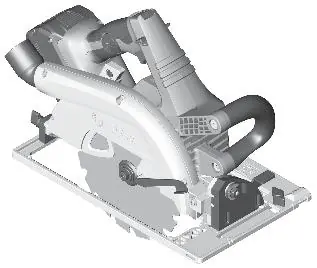
Device Description
The circular saw is designed for straight and miter cuts in wood. Key components include the on/off switch with lock-off, auxiliary handle, depth and angle adjustment levers, and a spindle lock button for blade changes. The GKS 18V-68 G model also features a User Interface for speed preselection and status monitoring.
Battery Operation
Insert the charged battery into the holder until it clicks. To remove, press the battery release button and pull the battery out. The battery charge level can be checked via the LEDs on the battery itself or the tool's User Interface.
Blade Installation and Replacement
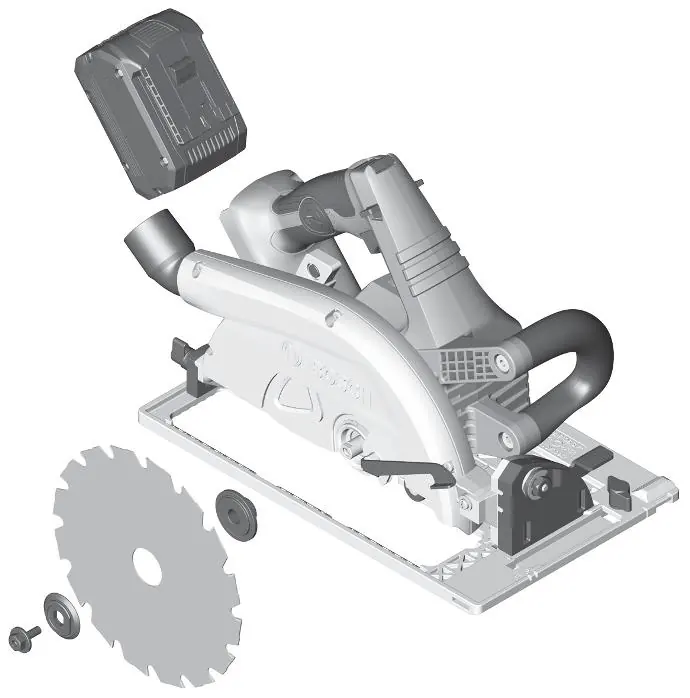
- Remove the battery before any work on the tool.
- Place the tool on the front side of the motor housing.
- Press and hold the spindle lock button (10).
- Use the hex key (29) to loosen the clamping bolt (27).
- Swing the retracting blade guard (12) back and hold it.
- Remove the clamping flange (26) and the saw blade (25).
- Clean the blade and all clamping elements.
- Install the new blade, ensuring the teeth direction matches the arrow on the blade guard.
- Reinstall the clamping flange and tighten the bolt to 6–9 Nm.
Operation and Adjustments
Cutting Depth: Adjust the depth to the workpiece thickness. For GKS 18V-68 G, use the depth preselection button (20); for GKS 18V-68, use the lever (21).
Miter/Bevel Angle: Loosen the adjusting lever (5) and wing bolt (15) (if applicable), tilt the saw to the desired angle on the scale (7), and retighten.
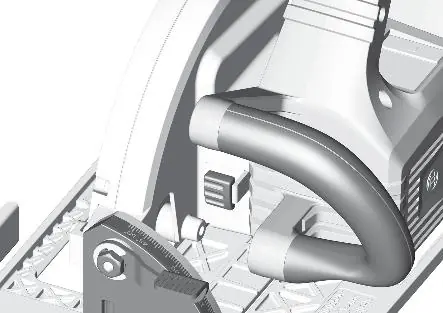
Dust Extraction: The chip ejector (18) can be connected to a 35 mm extraction hose or a dust/chip box (30).
Maintenance
Keep the tool and ventilation slots clean. Ensure the retracting blade guard moves freely and closes automatically. Clean resin or glue residue from the blade immediately after use.
Manufacturer information
Bosch
Practical help
Common problems
Tool does not start or stops during operation
Check battery charge level. If the temperature indicator is red, allow the tool to cool down. If the status indicator flashes red, restart the tool.
Blade binds or kicks back
Ensure the blade is sharp and suitable for the material. Support large panels on both sides of the cut. Tighten all adjustment levers before cutting.
Before use
- Ensure the battery is fully charged.
- Check that the saw blade is sharp and correctly installed.
- Verify that the lower blade guard moves freely and closes automatically.
- Ensure the cutting depth and miter angle are securely locked.
- Connect a suitable dust extraction system if necessary.
Specs in practice
- Rated voltage
- 18V DC, compatible with Bosch 18V battery system.
- No-load speed
- 2500–5000 min⁻¹, adjustable via the User Interface.
- Max. cutting depth (0°)
- 68 mm (GKS 18V-68 G) or 69 mm (GKS 18V-68).
Images and diagrams
- Figure A: Blade replacement procedure using the spindle lock and hex key.
- Figure B: Connecting the dust/chip box or extraction hose.
- Figure C: User Interface for speed and status monitoring.
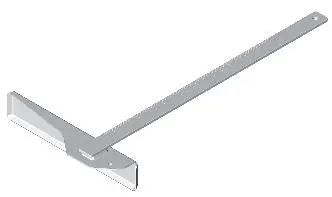
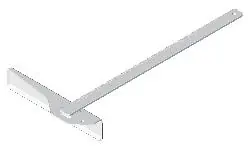
- Figure F: Using the parallel guide for precise edge cuts.
- Figure H-I: Using the guide rail for straight cuts.
Model compatibility
- Compatible with GBA 18V and ProCORE18V batteries.
- GKS 18V-68 G is compatible with FSN guide rail systems.
- Grooves (41) and (42) allow compatibility with Bosch/Mafell and Festool/Makita guide rails respectively.

Manual page author
David Miller
Documentation analyst
Organizes user manual content into clear summaries, with attention to model details, product context, and everyday usability.