Tools / Power Tools
Bosch Professional GEX 12V-125 Random Orbit Sander User Guide
Quick guide for the Bosch Professional GEX 12V-125 random orbit sander, covering assembly, battery usage, sanding techniques, dust extraction, and maintenance.
Table of contents
Manual images
Jump to the sectionQuick guide from the manual
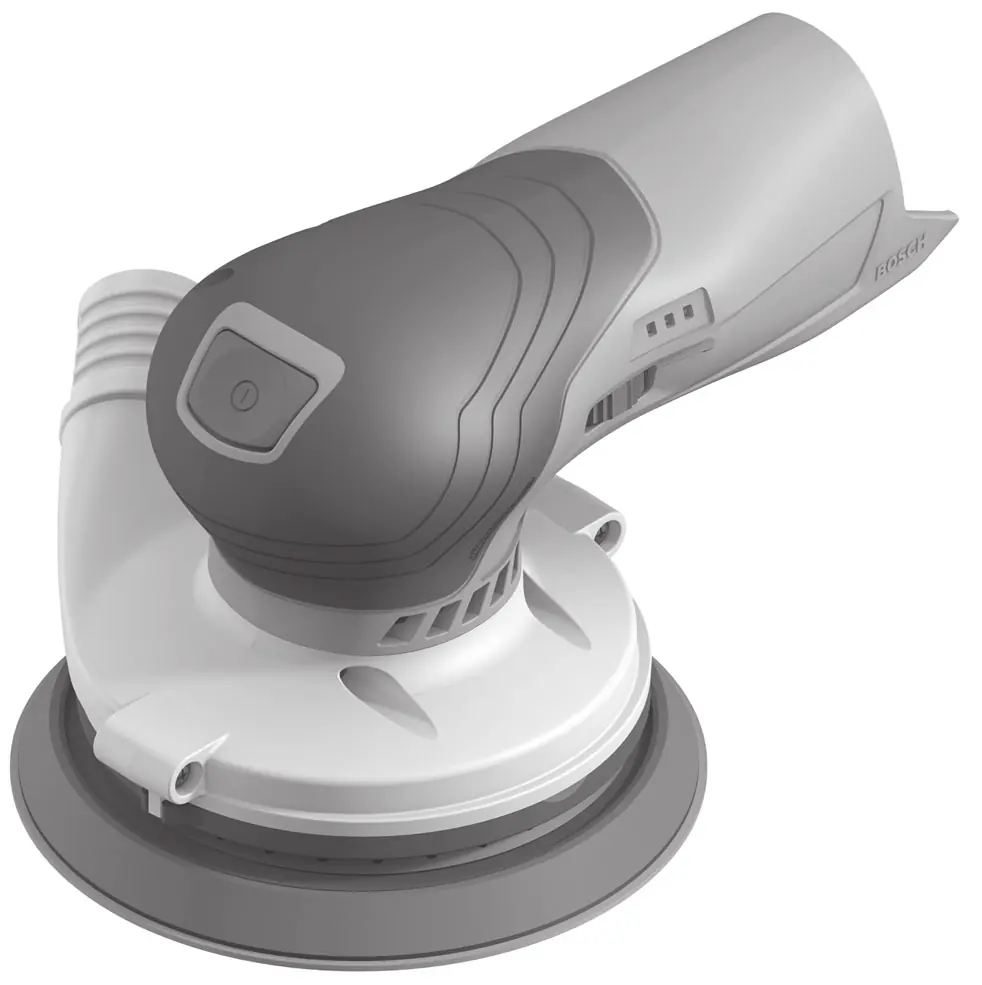
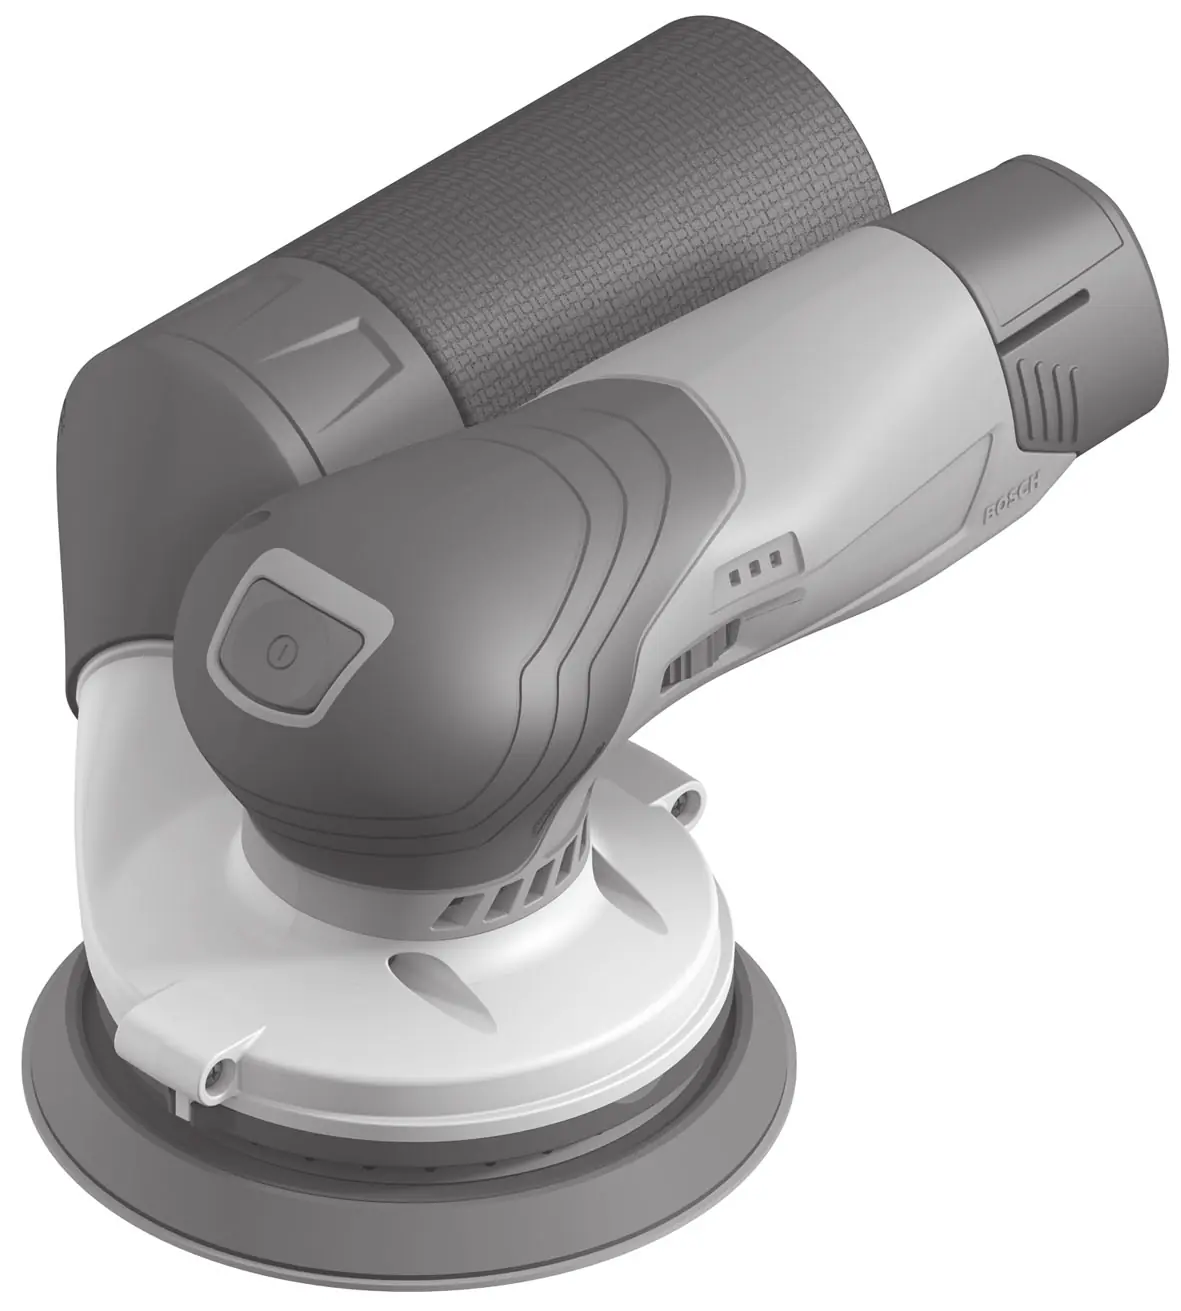
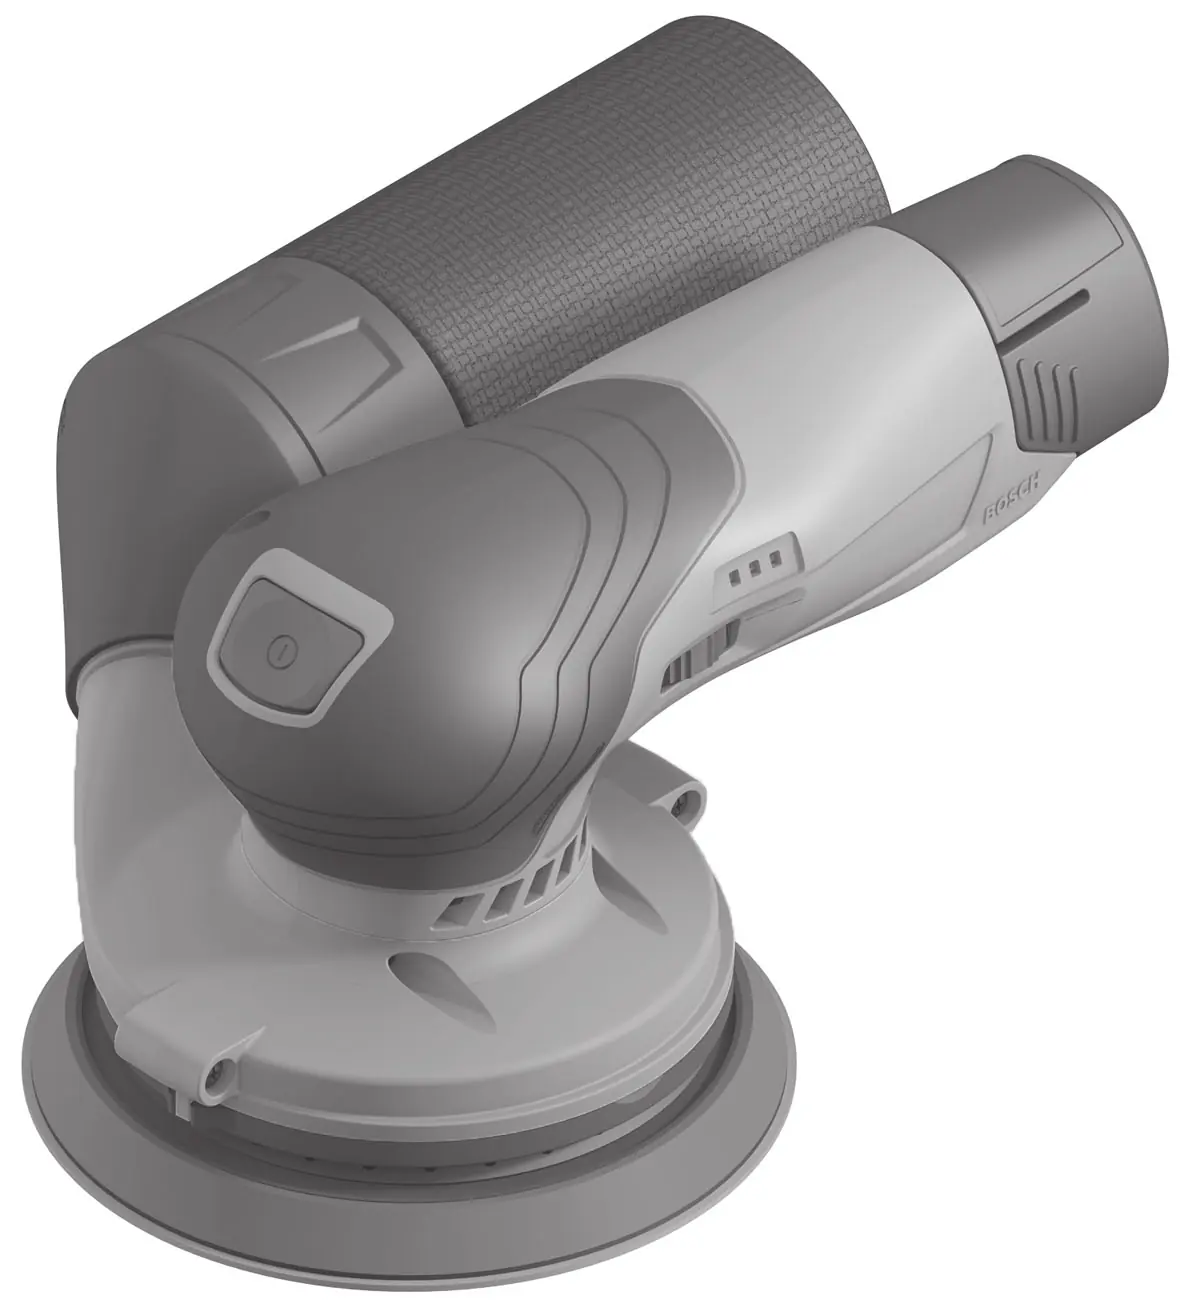
The Bosch Professional GEX 12V-125 is a cordless random orbit sander designed for dry sanding of wood, plastic, filler, and coated surfaces. Key operations include battery installation, sanding sheet attachment, and dust extraction management. Always remove the battery before performing maintenance or changing accessories to prevent accidental startup.
Device Description
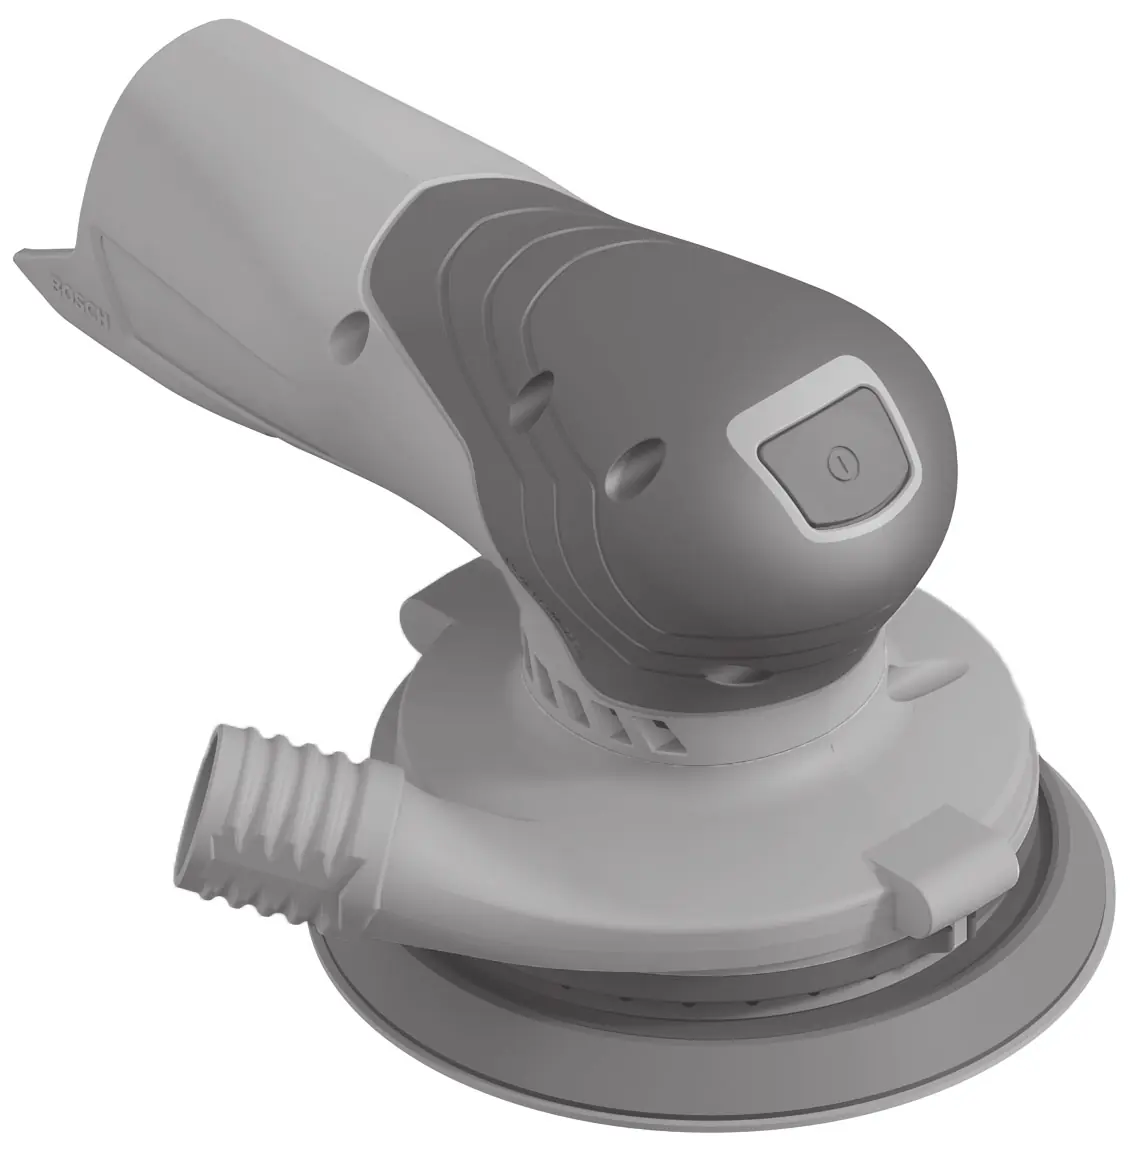
The sander features an on/off switch, a dust bag for self-generated extraction, a battery charge indicator, and a thumbwheel for preselecting the orbital stroke rate. The sanding pad uses a hook-and-loop system for quick sheet changes.
Assembly
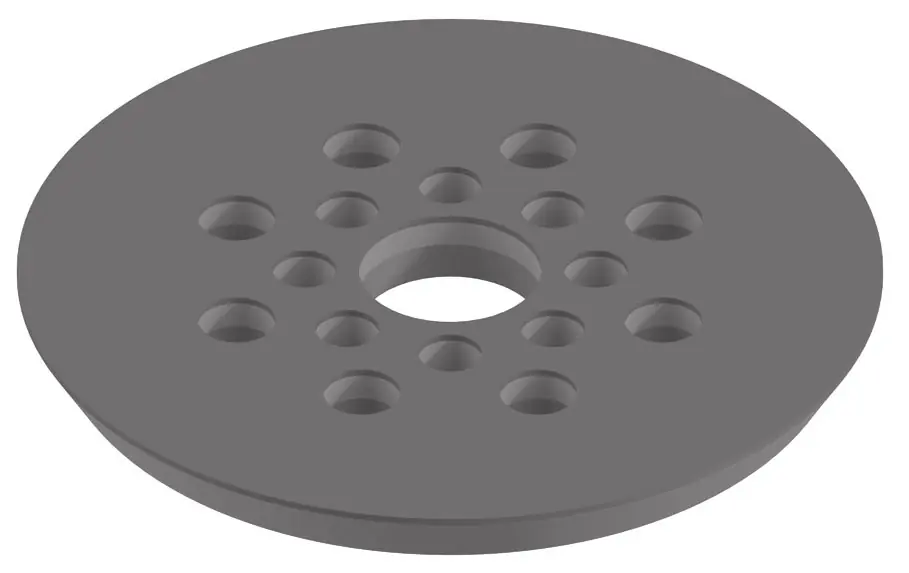
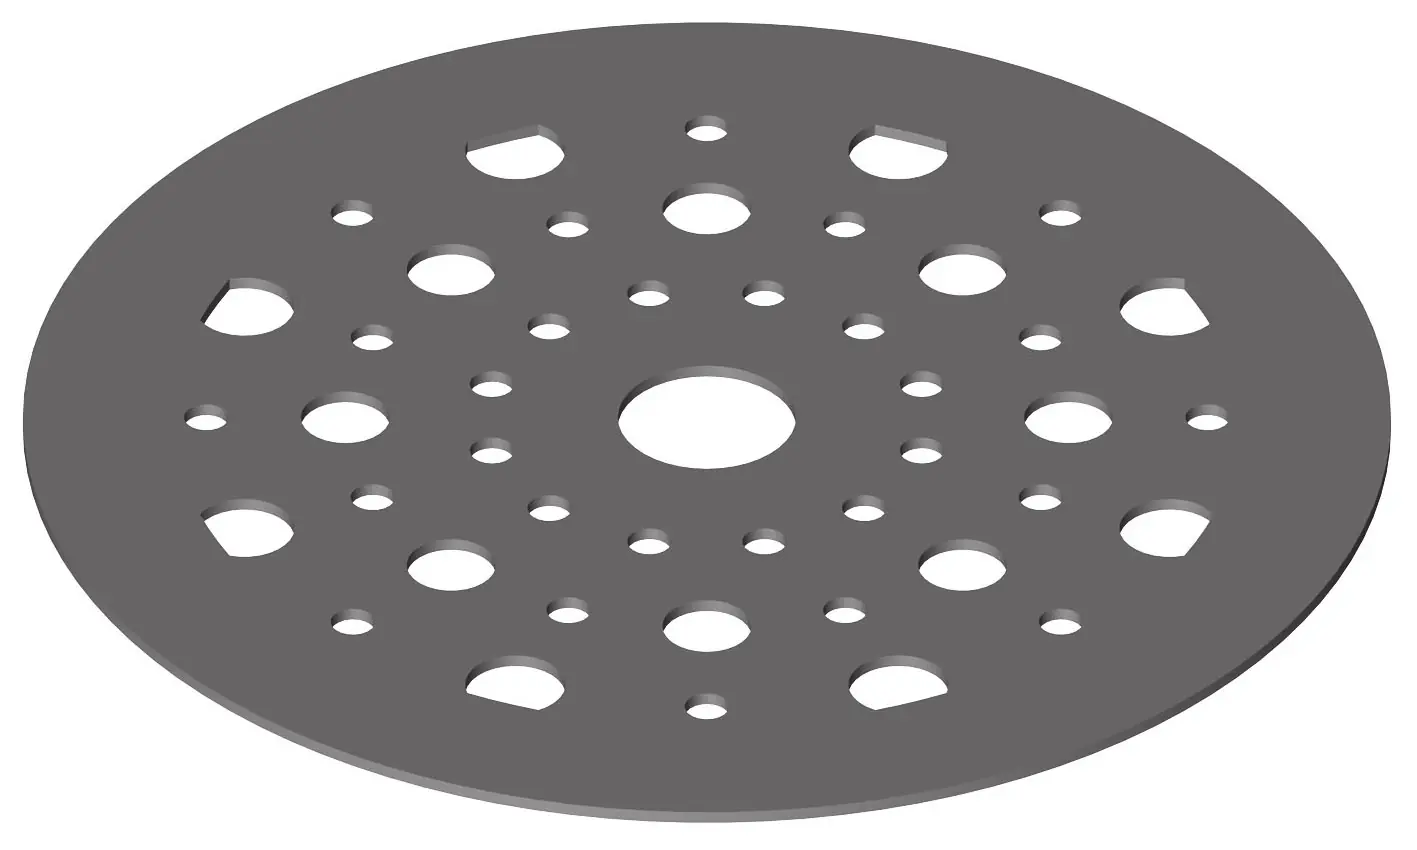
To change the sanding sheet, lift it from the side and pull it off the sanding pad. Ensure the holes in the sanding sheet align with the holes in the sanding pad for optimal dust extraction. To replace the sanding pad, remove the four screws using a T20 screwdriver, remove the old pad, and attach the new one, ensuring the driver teeth engage correctly.

Operation
The sander is not suitable for bench-mounted use. For fatigue-free operation, it can be held from above, the side, or the front. The material removal rate is determined by the sanding sheet grit, the preselected orbital stroke rate, and the contact pressure. Use a coarse grit for rough sanding and a fine grit for finishing. Avoid excessive pressure, as it increases tool wear and may damage the sanding plate.
Dust Extraction
Always use dust-reducing measures. The tool can be used with the included dust bag or connected to an external vacuum cleaner. When using a vacuum cleaner, ensure it is suitable for the material being processed. For vertical surfaces, hold the tool so the dust bag or extraction hose faces downward.
Maintenance
Keep the tool and ventilation slots clean for safe operation. If the battery operating time is significantly reduced after charging, it must be replaced.
Manufacturer information
Bosch
Practical help
Common problems
Reduced suction power
Check if the dust bag is full or if the filter element is clogged; clean or empty as necessary.
Battery charge indicator LEDs flashing rapidly
The battery temperature is outside the operating range (-30 to +70°C) or the overload protection has been triggered.
Before use
- Ensure the battery is fully charged.
- Check that the sanding sheet is correctly attached and aligned with the pad holes.
- Verify the dust bag or vacuum hose is securely connected.
- Ensure the workpiece is securely clamped.
- Check that the orbital stroke rate is set appropriately for the material.
Specs in practice
- Orbital stroke rate
- The speed of the sanding motion; adjustable via the thumbwheel (1-6) based on material.
- Orbit diameter
- The size of the circular motion of the sanding pad (2.5 mm).
- Sanding pad diameter
- The size of the compatible sanding discs (125 mm).
Images and diagrams
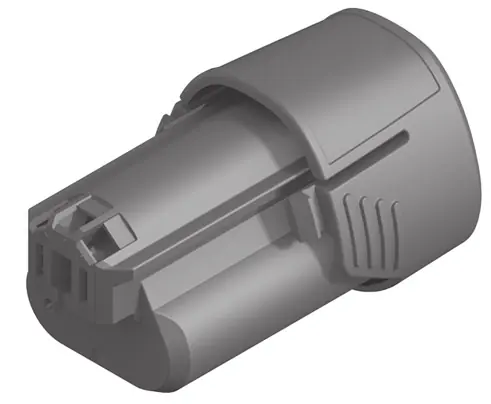
- Figure A: Battery removal and insertion.
- Figure B: Attaching the sanding sheet to the pad.
- Figure C: Replacing the sanding pad using the four screws.
- Figure D-F: Attaching and emptying the dust bag.
- Figure G: Connecting an external vacuum cleaner.
Model compatibility
- Compatible with GBA 12V batteries.
- Compatible with GAL 12... and GAX 18... chargers.
- Not suitable for bench-mounted or stationary use.

Manual page author
Michael Turner
Technical manual editor
Reviews PDF manuals for structure, safety notes, and practical product details so readers can find the right information quickly.