Computers / Printers
User Manual for Elegoo Saturn 3 3D Printer
Quick guide for the Elegoo Saturn 3 3D Printer. Includes setup, leveling, software configuration, and maintenance instructions.
Table of contents
Manual images
Click an image to enlargeQuick guide from the manual
This manual provides essential instructions for the Elegoo Saturn 3 3D printer. Key safety precautions include keeping the printer away from children, using it in a well-ventilated, dry environment, and wearing protective gear (mask and gloves) when handling photopolymer resin. Always level the build platform before the first print.
Packing List
The package includes the printer, USB air purifier, build platform, resin tank, U disk, mask, gloves, funnel, backup screws, user manual, power adapter, tool kit, and scraper.
Printer Introduction
The printer features a Z-axis, build plate, resin tank, LCD display screen, touch screen, and USB interface. The rear includes a DC socket and extension port.
Leveling
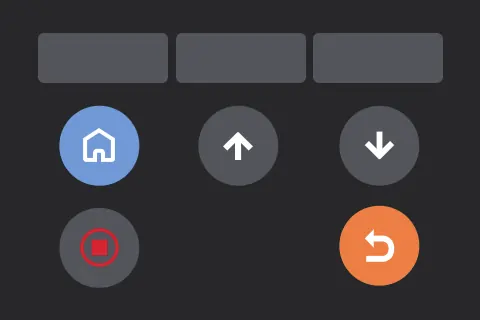
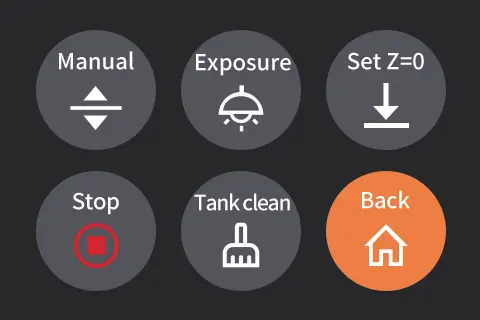
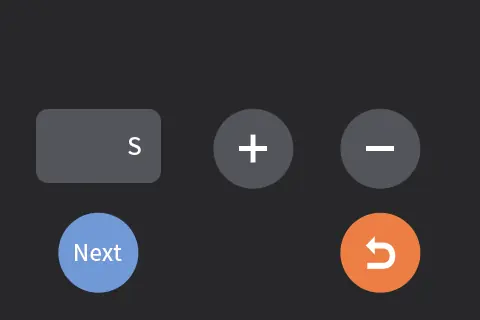
1. Remove the resin tank and loosen the two fixing screws on the build plate until it moves freely. 2. Place a leveling card between the build plate and the LCD screen. 3. Click 'Move Z axis to zero' on the touch screen. 4. Once the printer stops, press the top of the build plate with one hand and lock the fixing screws with the other. 5. Pull the leveling card; if there is slight resistance, proceed. If not, adjust using the Z-axis buttons. 6. Click 'Set Z=0' to confirm. 7. Raise the Z-axis, remove the card, and test the LCD screen using the 'Exposure' function.
Test Printing
Plug in the USB air purifier, add resin to the tank (do not exceed the MAX line), cover the printer, insert the U disk, and select the pre-sliced test model.
Software Installation and Setup
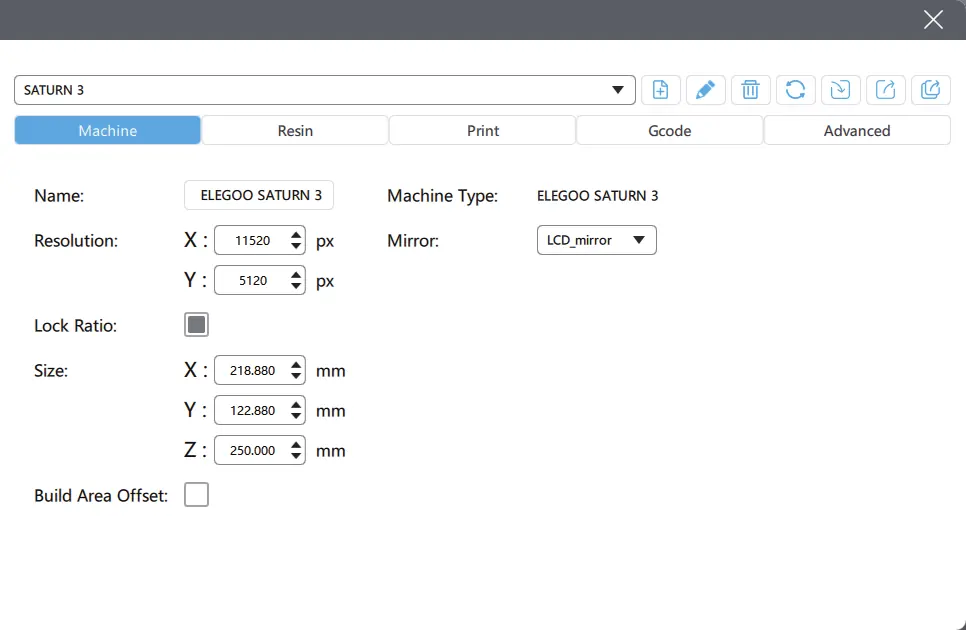
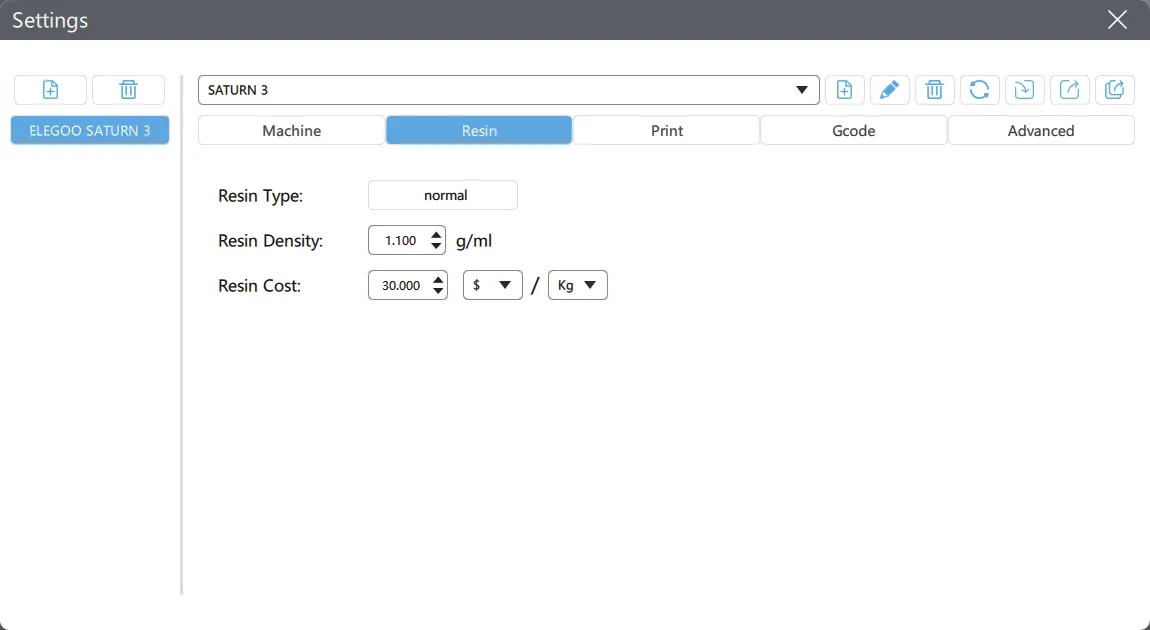
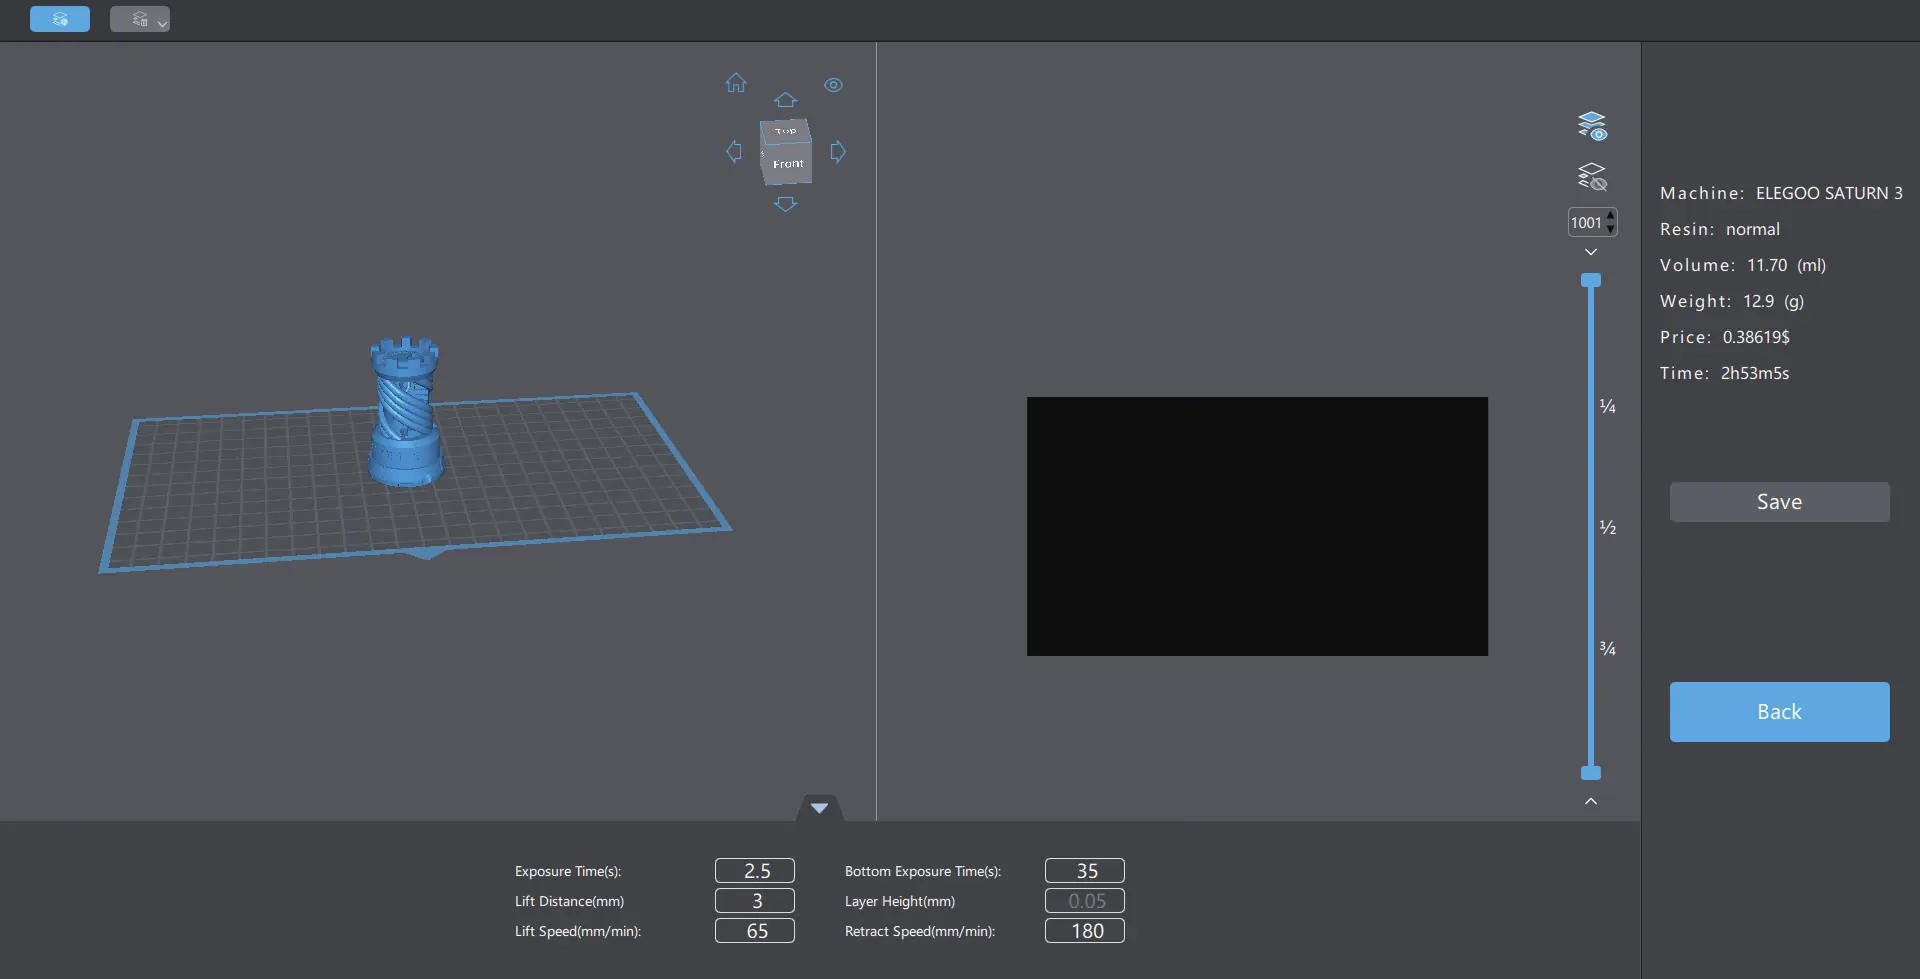
Install Chitu Box or Voxeldance Tango from the USB drive. In Chitu Box, select 'Elegoo Saturn 3' as your printer. Configure parameters such as layer height (recommended 0.05mm), exposure time (default 2.5s), and bottom exposure time (default 35s). After slicing, save the file to the U disk for printing.
Machine Maintenance
Clean the resin tank before changing resin colors. Clean the build plate before and after printing. Check mechanical parts for damage daily. Lubricate the Z-axis lead screw every 2-3 months. Replace the release film every 1-2 months or if damaged. The LCD screen has a service life of approximately 2000+ hours.
Practical help
Common problems
Printing failure
Clean the resin tank and change the resin.
Z-axis noise
Apply lubricant grease to the lead screw.
Release film damage
Replace the release film if it is whitened, scratched, or has lost elasticity.
Screen exposure issues
Replace the LCD screen if print quality is affected or exposure fails.
Before use
- Level the build platform
- Wear mask and gloves
- Ensure resin tank is filled at least 1/3
- Check for debris on the build plate
- Verify printing environment is 25-30 degrees Celsius
- Check release film condition
Specs in practice
- Layer Height
- Thickness of each printed layer (recommended 0.05mm).
- Exposure Time
- Time for normal printing layers (default 2.5s).
- Bottom Exposure Time
- Exposure time for initial layers to ensure bonding (default 35s).
Images and diagrams
- Leveling procedure involves loosening build plate screws and using a leveling card.
- Software setup requires selecting the correct machine profile in Chitu Box.
- Maintenance includes regular cleaning of the build plate and resin tank.
Model compatibility
- Use 95% or higher ethyl/isopropyl alcohol for cleaning unless using water-washable resin.
- Only use original ELEGOO packaging for returns.

Manual page author
David Miller
Documentation analyst
Organizes user manual content into clear summaries, with attention to model details, product context, and everyday usability.