Electronics / Monitors
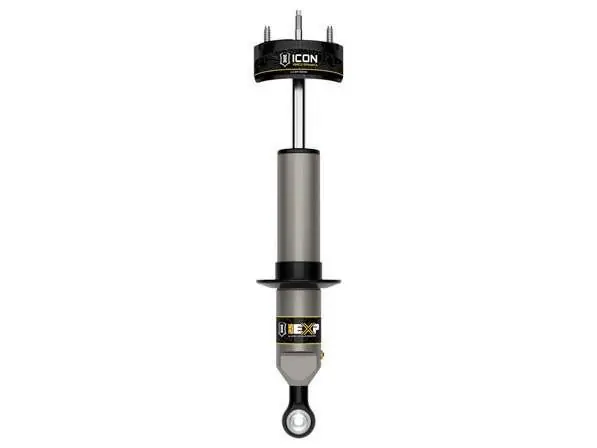
Installation Instructions for ICON 05-UP Tacoma Front 2.5 EXP Coilover
A comprehensive installation guide for the ICON 05-UP Tacoma Front 2.5 EXP Coilover, including step-by-step removal of factory components, assembly of the new coilover, and maintenance guidelines.
Table of contents
Manual images
Jump to the sectionQuick guide from the manual
This document provides installation instructions for the ICON 05-UP Tacoma Front 2.5 EXP Coilover. Installation is estimated to take 3-4 hours and should be performed by a professional technician. Warning: Improper installation can cause severe damage to the vehicle frame, suspension, and tires. The coilover assemblies are factory-charged to 250 PSI; do not release nitrogen pressure.
Installation
The installation process involves removing the factory suspension components and assembling the new ICON coilover. Key steps include:
- Raising the vehicle and supporting it with jack stands.
- Removing the front wheels, skid plate, sway bar linkage, and cross members.
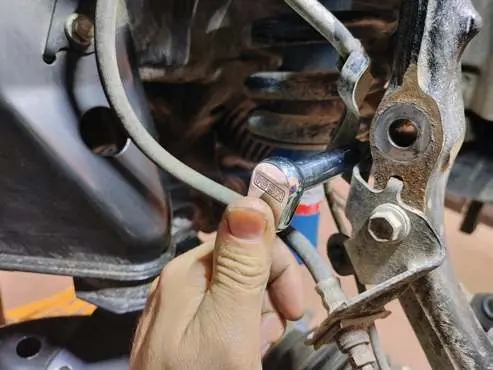
- Removing the tie rod and factory coilover assembly.
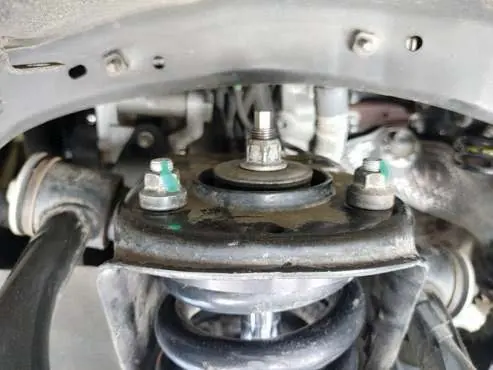
- Disassembling the factory coilover to reuse the bushings, upper spring rubber isolator, and factory 14mm nut.
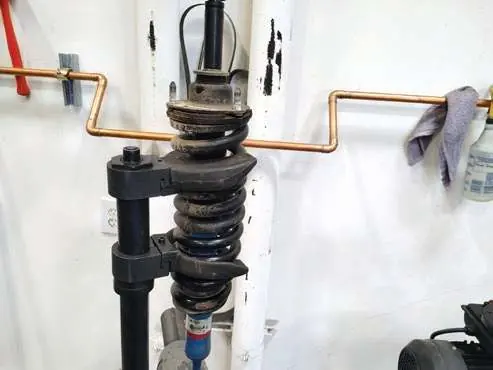
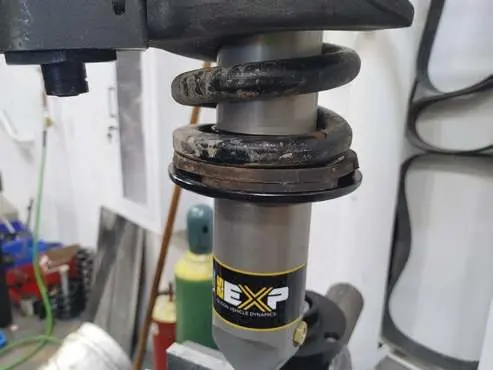
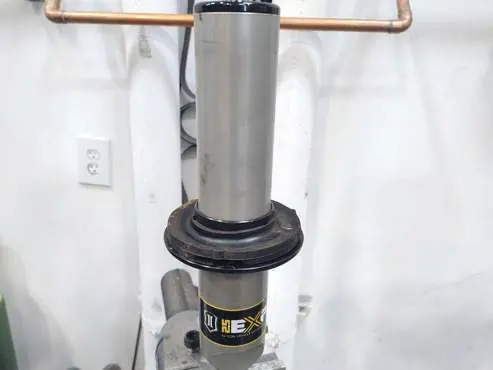
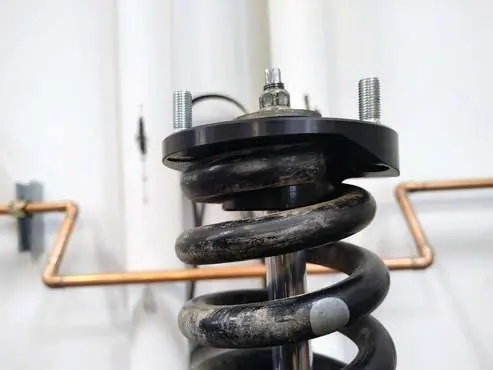
- Installing the new ICON coilover by setting the circlip to the desired groove, installing the coil seat, and reassembling the spring.
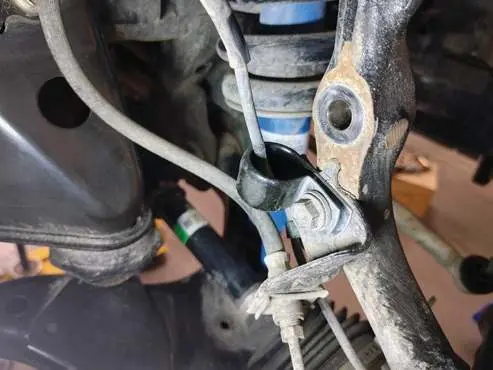
- Modifying the ABS/Brake line bracket to clear the larger coilover.
- Installing the new assembly and reinstalling the sway bar and tie rod.
Maintenance
Routine maintenance is required to keep the shocks in like-new condition. Guidelines vary by usage:
- Street Use: Factory service every 40,000 miles. Clean with mild soap and water, wax cylinders yearly, and check nitrogen pressure yearly.
- Street/Dirt: Factory service every 15,000 miles. Check nitrogen pressure after each dirt outing.
- Dirt Use: Factory service every 1,000 miles. Check nitrogen pressure after each outing.
Do not apply any type of lube to the upper and lower bearings. For service kits and tools, contact ICON at 951-689-4266.
Technical Specifications
The EXP coilover features adjustable ride height settings based on the circlip groove position, ranging from stock height (Groove 1) to a 2-inch lift (Groove 5). Refer to the groove specs on page 9 for detailed measurements.

Practical help
Common problems
Shock malfunction or reduced ride quality
Ensure nitrogen pressure is maintained at 250 PSI. Low pressure is not covered under warranty.
Difficulty removing the factory coilover
For 4WD trucks, turning the spindle may help the lower shock eyelet clear the CV boot.
Brake line bracket interference
Modify the bracket by cutting the portion off at the bend using a cut-off wheel, ensuring the brake or ABS lines are not damaged.
Before use
- Ensure the vehicle is properly supported by jack stands.
- Verify all fasteners are properly torqued before driving.
- Retorque all nuts, bolts, and lugs after 100 miles and periodically thereafter.
- Ensure the pigtail end of the coil spring is lined up with the upper mount.
- Apply thread locker to the threads of the nut before installing.
Specs in practice
- Nitrogen Charge
- Factory charged to 250 PSI for optimal performance.
- Install Time
- Estimated 3-4 hours for professional installation.
Images and diagrams
- Figures 1-2: Removal of sway bar linkage and brackets.
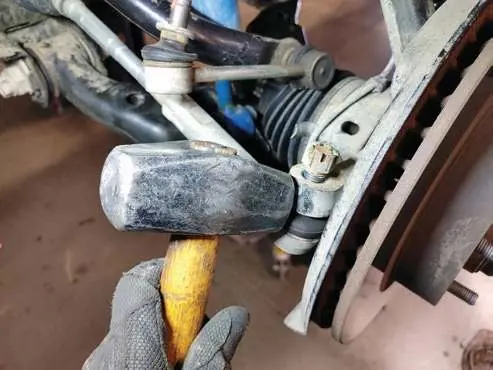
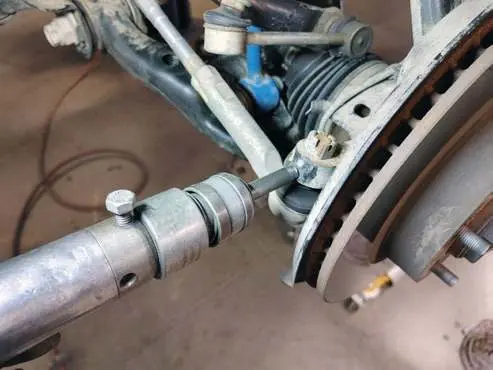
- Figures 3-6: Removal of the tie rod from the spindle.
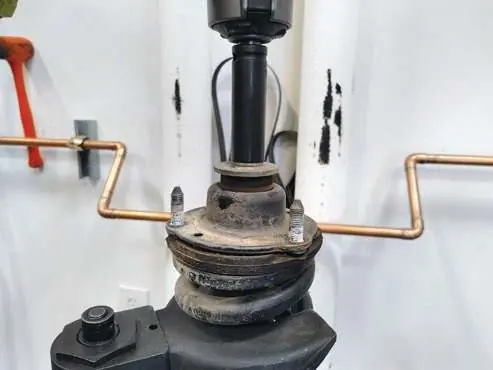
- Figures 9-11: Disassembly of the factory coil spring and upper mount.
- Figures 12-19: Assembly of the new ICON coilover with circlip and coil seat.
- Figures 21-28: Modification and relocation of the ABS/Brake line bracket.
Model compatibility
- Designed specifically for 05-UP Toyota Tacoma.
- Not intended for race applications or commercial vehicles.
- Warranty is void if installed contrary to instructions or if components are substituted.

Manual page author
Emily Carter
User documentation editor
Prepares concise manual descriptions and highlights the most useful setup, operation, and maintenance information for readers.