Furniture / Home Furnishing
User Manual for Salus Saunas Laurel 2-Person Infrared Sauna
Quick guide for the Salus Saunas Laurel 2-Person Infrared Sauna. Includes assembly instructions, control panel operation, safety guidelines, and troubleshooting steps.
Table of contents
Manual images
Click an image to enlargeQuick guide from the manual
The Salus Saunas Laurel is an indoor infrared sauna designed for 1 or 2 people. It requires a dedicated 120VAC 15 AMP circuit. Before assembly, ensure the location is dry, level, and away from any water sources. Two adults are required for assembly. Always inspect heaters for damage before installation. Do not use the sauna outdoors.
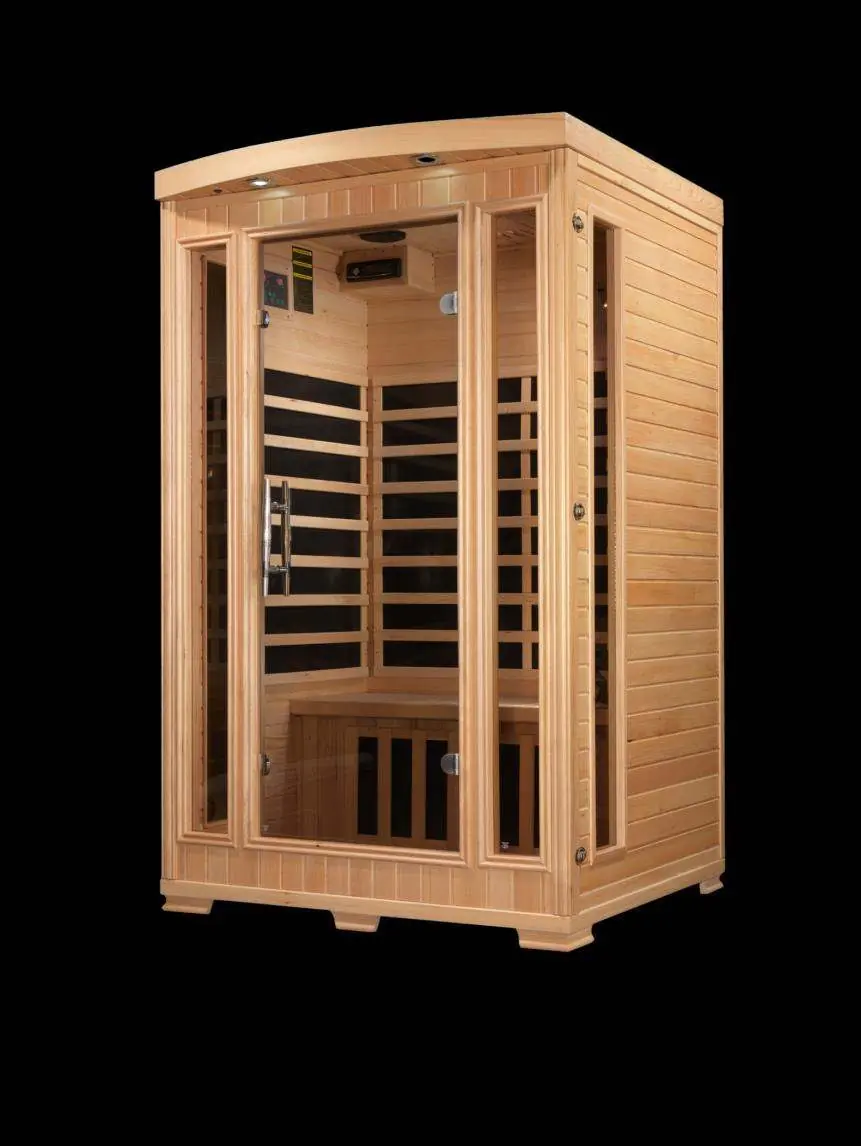
Product Description
The sauna consists of a wood cabin, infrared heat emitters, and a control system. Key components include the floor panel, front panel with glass door, side wall panels, rear wall panel, roof panel, bench, and bench heat emitter panel. Optional accessories may include a drink shelf, reading lamp, and MP3 AUX input.
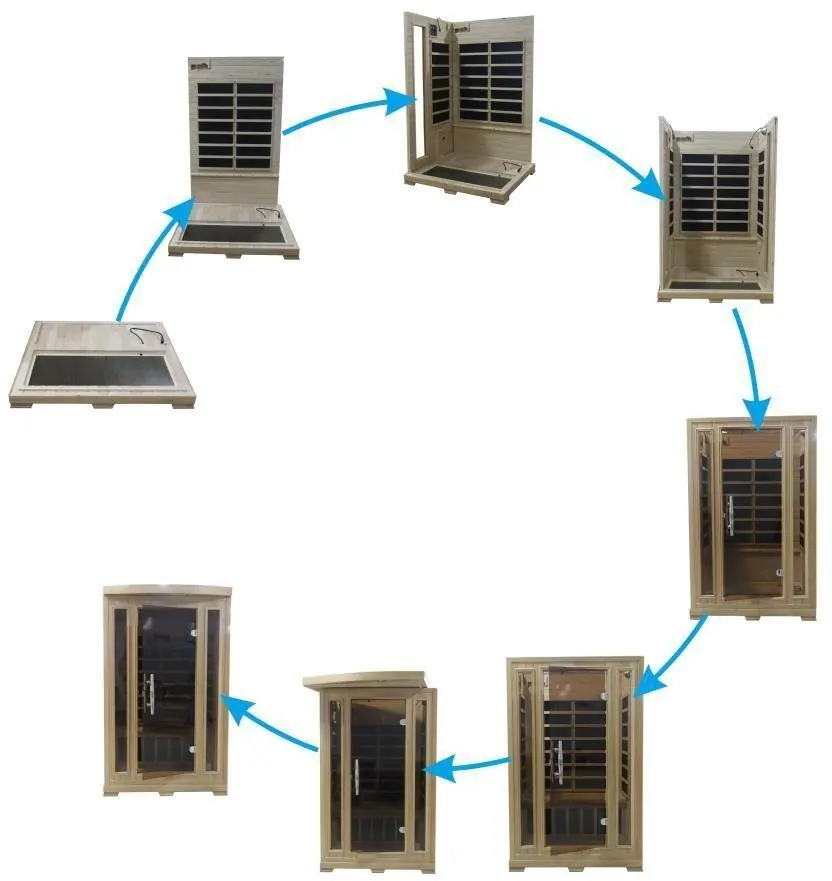
Assembly Instructions
Two adults are required for assembly. The general installation order is: Floor Panel, Front Wall Panel, Right Side Wall Panel, Left Side Wall Panel, Rear Wall Panel, Bench Heat Emitter Panel, Bench, Roof Panel, and Roof Cover.
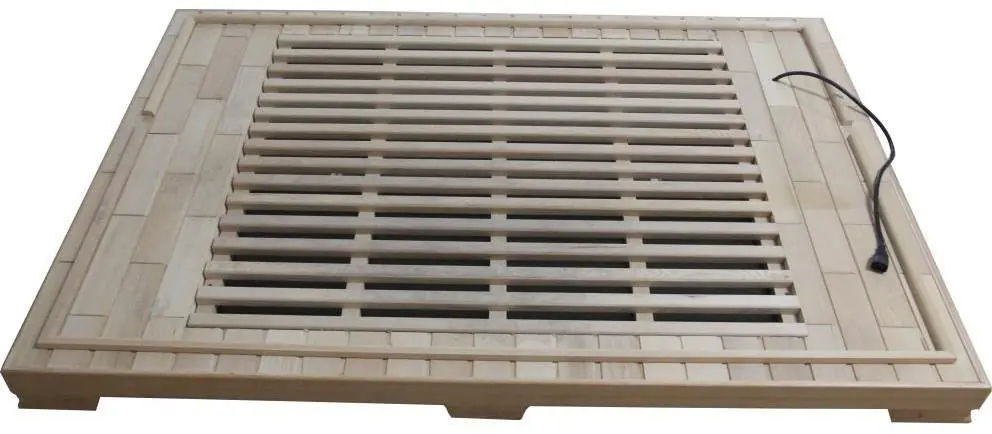
- Floor Panel: Place on a level surface. Check for wood braces on the underside if provided.
- Wall Panels: Align and lock the external buckles to connect the rear and side wall panels.
- Front Panel: Attach the front panel with the glass door to the side wall panels using the buckles.
- Bench: Slide the bench heat emitter panel into place at an angle, then install the bench. Connect the heat emitter plugs to the corresponding inlets on the side wall panels.
- Roof Panel: Carefully feed wires through the holes in the roof panel. Ensure it sits snugly on the wall panels.
- Wiring: Connect all plugs according to their labels (e.g., CTRL, buzzer, heater cords).
- Radio: Assemble the radio housing box and install the radio unit.
- Temperature Sensor: Remove the protective tape and ensure the sensor is vertical and pointing downward.
- Roof Cover: Place over the roof panel and secure with screws.
Operating the Sauna
Before turning on the sauna, remove the plastic protective covering from the control panel. Ensure all electrical connections are secure.
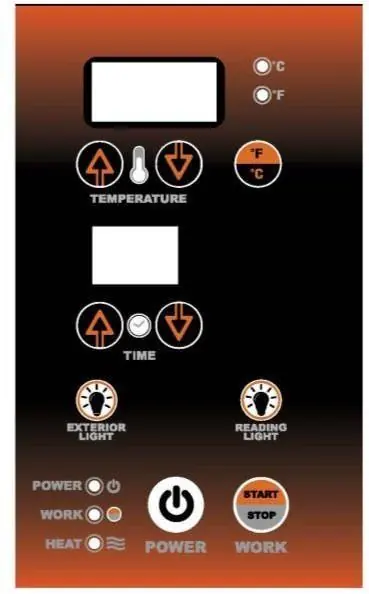
- Power: Press the POWER button. The display will show the default time (90 minutes) and temperature (66°C).
- Adjustments: Use the up/down arrows to set the desired time and temperature. Press the C/F button to toggle between Celsius and Fahrenheit.
- Start: Press the START/WORK button to begin heating.
- Pre-heating: It typically takes 20-30 minutes to pre-heat to 50°C/122°F.
Tips for Using Your Sauna
- Drink water before, during, and after your session to prevent dehydration.
- Use 2-3 towels: one on the bench for comfort, one on the floor (if applicable), and one to wipe away perspiration.
- Do not shower immediately after use; allow your body to cool down for about 20 minutes.
- Use the roof ventilation or leave the door slightly open to regulate temperature.
Safety Instructions
Hyperthermia Danger: Do not allow your body temperature to rise above 39°C (103°F). Symptoms include dizziness, lethargy, and fainting. If you feel dizzy or uncomfortable, exit the sauna immediately. Do not use the sauna if you are pregnant, have a medical history of heart disease, or are under the influence of alcohol or drugs. Never sleep inside the sauna.
Troubleshooting

- No Heat: Check all heater cord connections, including those under the bench and on the roof. Ensure the power supply is properly connected.
- Control Panel Malfunction: Check the 'CTRL' connection on the roof for bent pins or loose fit.
- No Power: Check the wall outlet and main circuit breaker. Press the RESET button on the power supply box located on the roof.
- CD Player Issues: Ensure the lock screws on top of the radio have been removed.
Practical help
Common problems
No heat coming from some emitters
Check all heater cord connections, including the one under the bench and those on the roof. Ensure they are plugged into the power supply.
Control panel not working or won't turn off
Check the 'CTRL' connection on the roof. Disconnect, inspect for bent pins, and reconnect securely.
Sauna has no power
Check the wall outlet and circuit breaker. Press the RESET button on the power supply box on the roof.
CD player does not work
Ensure the lock screws on top of the radio unit have been removed.
Before use
- Ensure the location is dry, level, and away from water.
- Verify a dedicated 120VAC 15 AMP circuit is available.
- Remove plastic protective covering from control panels.
- Inspect all heaters for damage before assembly.
- Check that all wiring harnesses and plugs are securely connected.
Specs in practice
- 120VAC 15 AMP
- Requires a dedicated electrical circuit to operate safely.
- Pre-heat time
- Approximately 20-30 minutes to reach 50°C/122°F.
- Temperature Sensor
- Must be installed vertically, pointing downward inside the sauna.
Images and diagrams
- Power Supply Box: Located on the roof, acts as the central hub for all electrical connections.
- Buckles: Used to securely connect the wall panels together.
- Control Panel: Interface for managing power, time, temperature, and lighting.
Model compatibility
- Indoor use only.
- Not for outdoor use.
- Consult a physician if pregnant or have health conditions.

Manual page author
Michael Turner
Technical manual editor
Reviews PDF manuals for structure, safety notes, and practical product details so readers can find the right information quickly.