Furniture / Home Furnishing
User Manual for Salus Saunas Sparkle Infrared Sauna
Quick guide for the Salus Saunas Sparkle infrared sauna. Includes assembly steps, operating instructions, safety precautions, and troubleshooting.
Table of contents
Manual images
Click an image to enlargeQuick guide from the manual
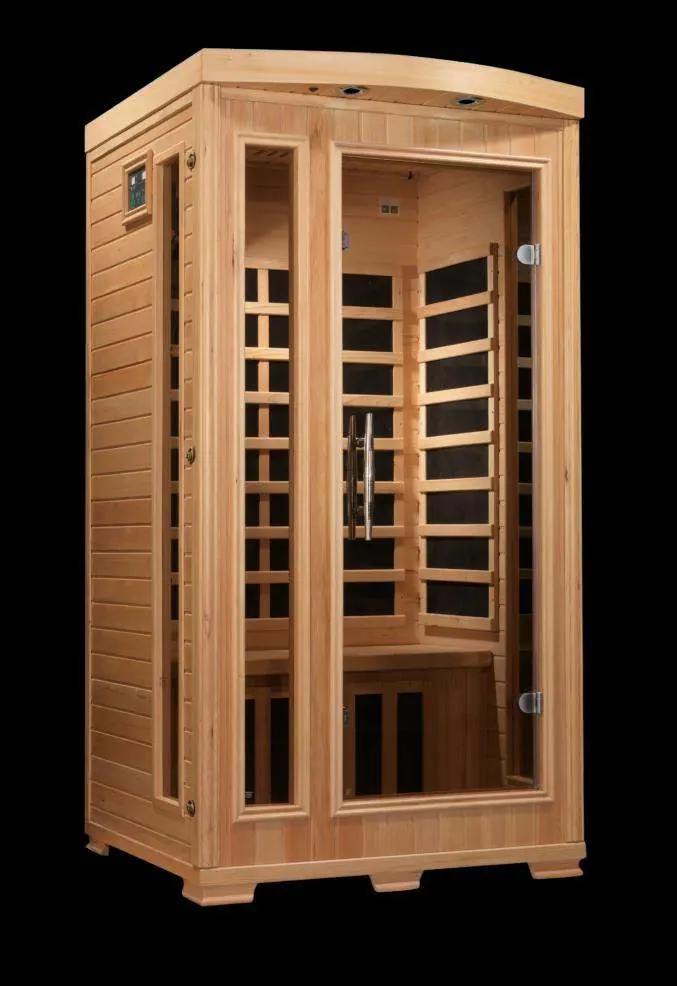
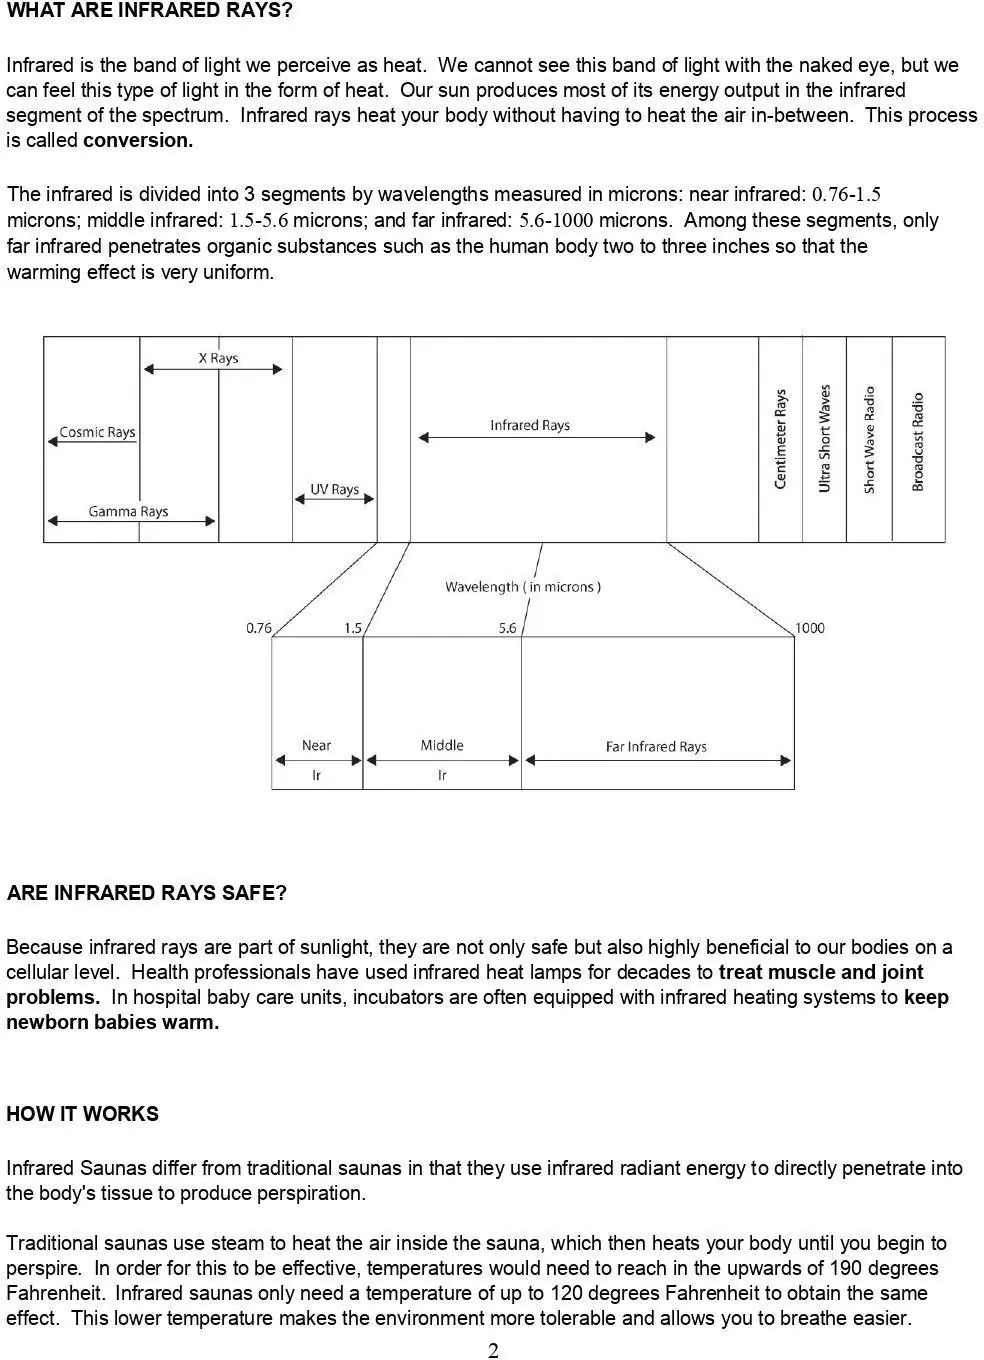
The Salus Saunas Sparkle is an infrared sauna designed for indoor use only. It requires a dedicated 120VAC 15 AMP circuit. The sauna uses infrared radiant energy to heat the body directly rather than heating the air, providing a comfortable experience at lower temperatures than traditional saunas. Always consult a physician before use if you have health conditions, are pregnant, or are taking prescription medications.
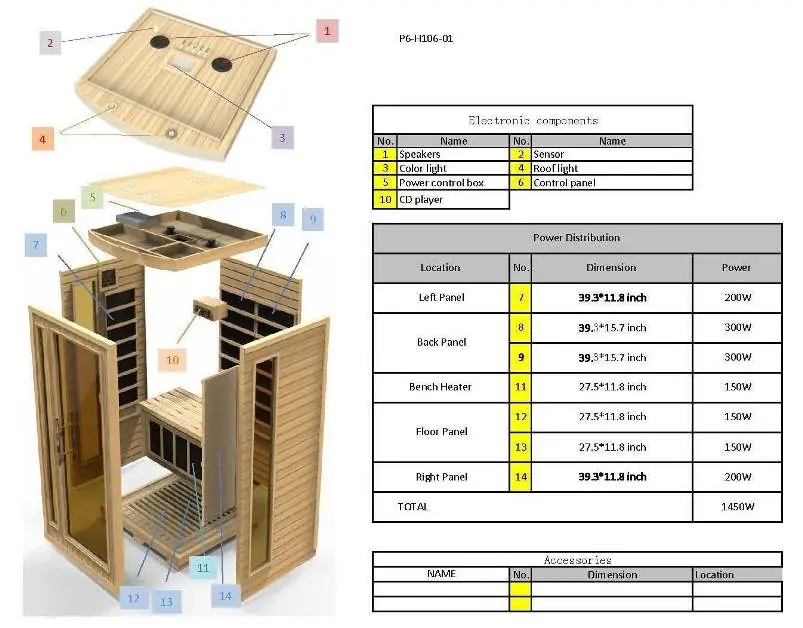
Assembly Instructions
Assembly requires two adults, a Philips screwdriver, and a ladder. The sauna is pre-assembled and tested at the factory, but requires final assembly of the panels.
- Location: Choose a dry, level area away from water sources. Ensure the main power cord is easily accessible.
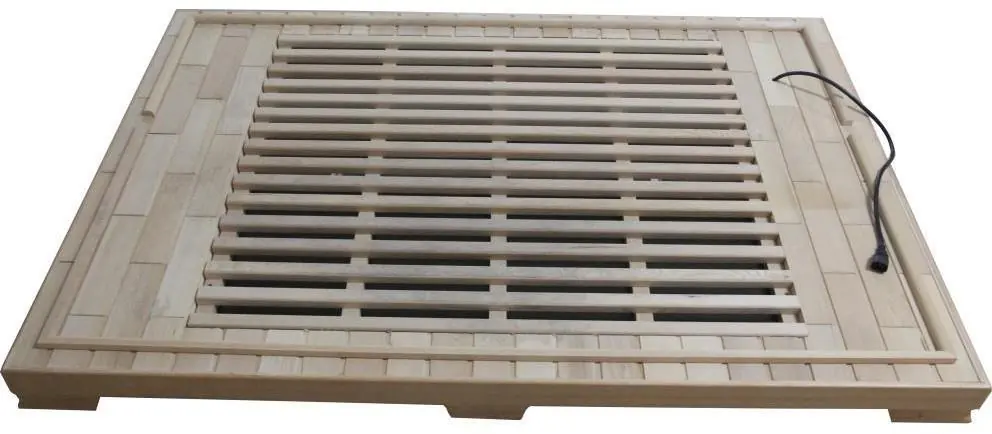
- Floor Panel: Place the floor panel in the desired location. Check for wood braces on the underside if applicable.
- Wall Panels: Install the rear wall panel, then the side wall panels. Use the external buckles to secure the panels together.
- Front Panel: Attach the front wall panel with the glass door to the side panels using the buckles.
- Bench: Install the bench heat emitter panel and the bench. Ensure the smooth side of the bench faces upward.
- Roof Panel: Carefully feed wires through the roof panel holes and place the roof panel on top of the wall panels.
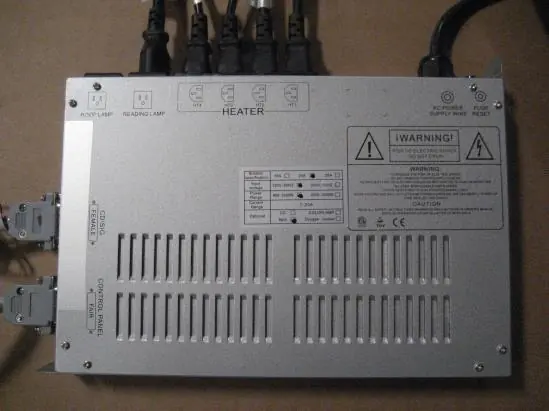
- Connections: Connect all wiring harnesses (CTRL, heater cords, speakers, etc.) according to their labels on the roof.
- Radio: Assemble the radio housing box and install the radio unit.
- Roof Cover: Place the roof cover over the top and secure it with screws.
Operating the Sauna
Before turning on the sauna, remove all protective plastic from the control panels and verify all electrical connections are secure.
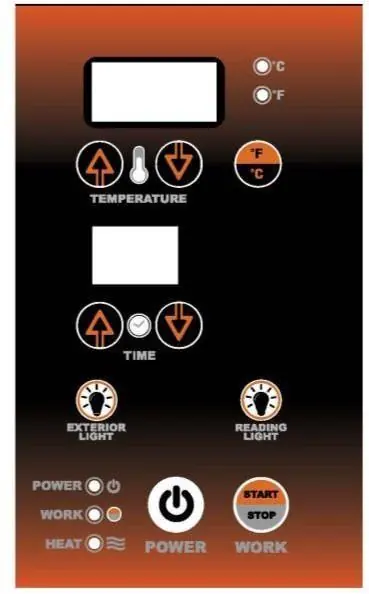
- Power: Press the POWER button. The control panel will display the default time (90 minutes) and temperature (66°C).
- Settings: Use the up/down arrows under the TIME display to set the duration. Use the C/F button to toggle temperature units. Use the up/down arrows under the TEMPERATURE display to set the desired heat.
- Start: Press the START/WORK button to begin heating.
- Preheating: It typically takes 20-30 minutes to preheat to 50°C (122°F).
- Lighting: Use the buttons on the control panel to operate reading or chromotherapy lights if equipped.
Safety and Maintenance
- Hydration: Drink water before, during, and after your session.
- Cooling: Do not shower immediately after use; allow your body to cool down for about 20 minutes.
- Cleaning: Wipe the interior with a soft cloth and water. Do not use liquid or aerosol cleaners.
- Safety: Never sleep in the sauna. Do not stack items on top of the sauna. Do not use during electrical storms.
Troubleshooting
- No Heat: Check all heater cord connections, especially those on the roof and under the bench. If some emitters work, the non-working ones may be damaged.
- Control Panel Issues: If the panel is unresponsive, check the 'CTRL' connection on the roof for bent pins or loose fit.
- No Power: Check the wall outlet and main circuit breaker. Ensure the power supply on the roof is not damaged and press the RESET button if necessary.
Practical help
Common problems
No heat from some emitters
Check all heater cord connections on the roof and under the bench. Ensure they are securely plugged into the power supply.
Control panel will not turn off or function
Check the 'CTRL' connection on the roof. Disconnect, inspect for bent pins, and reconnect securely.
Sauna has no power
Check the wall outlet and circuit breaker. Press the RESET button on the power supply box located on the roof.
CD player not working
Ensure the lock screws on top of the radio unit have been removed.
Before use
- Ensure the location is dry, level, and away from water.
- Verify a dedicated 120VAC 15 AMP circuit is available.
- Remove all plastic protective coverings from control panels.
- Confirm all wiring harnesses and plugs are securely connected.
- Preheat the sauna for 20-30 minutes before entering.
Specs in practice
- 120VAC 15 AMP
- Requires a dedicated electrical circuit to operate safely.
- Infrared Conversion
- Heating method that penetrates body tissue directly rather than heating the air.
- Hyperthermia
- A dangerous condition where body temperature rises above 39°C (103°F); avoid excessively high settings.
Images and diagrams
- Power Supply Box: The central control unit located on the roof panel.
- Buckles: Metal latches used to secure the wall panels together.
- Control Panel: Interface for adjusting time, temperature, and lighting settings.
Model compatibility
- Indoor use only.
- Not for use by children without adult supervision.
- Consult a physician if pregnant or if you have health conditions.

Manual page author
David Miller
Documentation analyst
Organizes user manual content into clear summaries, with attention to model details, product context, and everyday usability.