General / Accessories
Installation Instructions for SW Motech 00-787-33200-B-N PRO Tank Ring
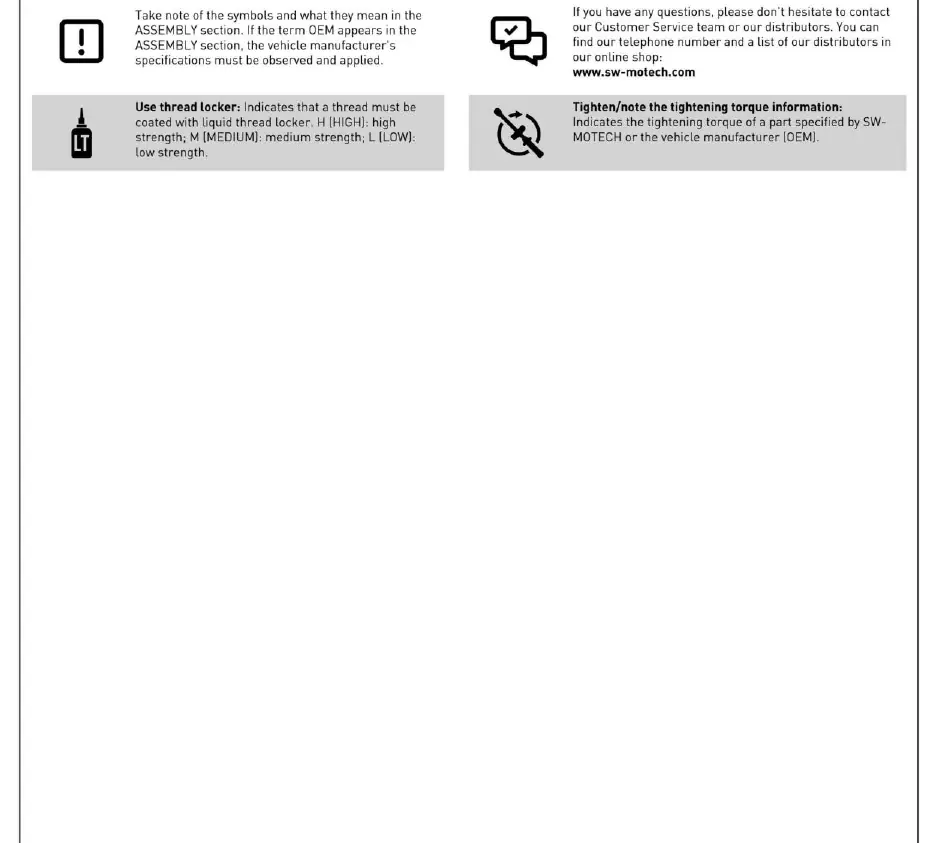
A comprehensive installation guide for the SW Motech PRO Tank Ring, including step-by-step mounting procedures, safety warnings, and technical requirements for proper vehicle integration.
Table of contents
Quick guide from the manual
This document provides instructions for installing the SW Motech PRO Tank Ring. The installation requires approximately 0.75 hours and is rated as an easy task. Before beginning, ensure the vehicle is parked on a stable surface, the engine is off, and the ignition key is removed. Always use proper tools and wear eye and hand protection during the process.
Safety and Preparation
Assembly should be performed by a qualified and certified motorcycle workshop. If you choose to perform the installation yourself, ensure you have advanced technical skills and a good understanding of tool usage and torque specifications. Always use a medium-strength liquid threadlocker on threads unless otherwise specified. After the first 50 km and at regular intervals thereafter, check the tightening torque of all connections.
Mounting Steps
- Tank Ring Assembly: Carefully screw the tank ring (2) to the mounting bracket (1). Insert the rubber dampers (4) into the openings in the mounting bracket.
- Vehicle Preparation: Remove the original screw of the handlebar damper. Protect the tank from scratches with a suitable base and place the handlebar damper on it. Remove the five original screws from the specified attachment points.
- Bracket Installation: Screw the mounting bracket (1) to the vehicle using the provided screws (5) and (8), along with washers (6), spacers (7), and dampers (9). Ensure all screws are tightened according to the vehicle manufacturer's specifications.
- Final Assembly: Screw the handlebar damper back onto its mount and tighten the original screw to the manufacturer's specified torque.
Product-Specific Notes
Observe all country-specific regulations regarding the registration and operation of your vehicle, including applicable TÜV regulations. After assembly, ensure that all parts are registered in the vehicle documents by your test center if required.
Practical help
Common problems
Obstruction of moving parts
After mounting, ensure that no moving parts are obstructed and the vehicle's function is not impeded.
Damage to tank ring
Do not over-tighten the sleeve nuts (3) as this may damage the tank ring (2).
Loose connections
Check the tightening torque of all connections after the first 50 km and at regular intervals.
Before use
- Ensure the vehicle is standing securely.
- Switch off the engine and remove the ignition key.
- Allow the engine/exhaust to cool down.
- Disconnect the battery if working on the electrical system.
- Verify all parts from the parts list are available.
- Have medium-strength liquid threadlocker ready.
Specs in practice
- Mounting time
- Approximately 0.75 hours.
- Threadlocker (M)
- Medium-strength liquid threadlocker must be used on specified threads.
Images and diagrams
- Page 3: Parts list identifying components 1 through 9.
- Page 4: Exploded view of the tank ring and mounting bracket assembly.
- Page 6: Detailed view of the mounting bracket attachment points on the vehicle.
Model compatibility
- Compatibility with original accessories or accessories from other manufacturers cannot be guaranteed.
- Observe country-specific regulations for vehicle registration after assembly.

Manual page author
David Miller
Documentation analyst
Organizes user manual content into clear summaries, with attention to model details, product context, and everyday usability.