Tools / Soldering Stations
Weller WAD 101 / WAD 101IG Hot Air Station User Manual
Quick guide for the Weller WAD 101 / WAD 101IG hot air station. Includes setup, operation, temperature settings, maintenance, and technical specifications.
Table of contents
Manual images
Click an image to enlargeQuick guide from the manual
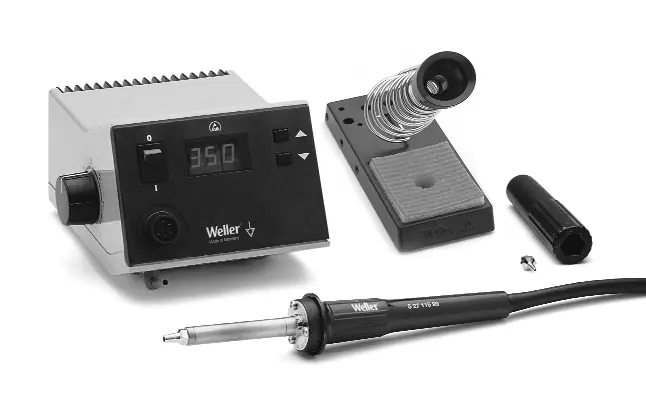
The Weller WAD 101 and WAD 101IG are professional hot air stations. The WAD 101 is designed for general hot air applications, while the WAD 101IG is specifically for inert gas soldering. Ensure you read the safety instructions before operation. Always ensure the soldering tip or nozzle is correctly seated and clean to maintain temperature accuracy.
Description
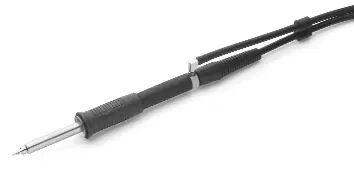
The WAD 101 features a wide variety of functions controlled by a microprocessor. The WAD 101IG is an inert gas soldering station designed for use with WP 80IG and WP 120IG soldering irons. Both units feature digital temperature displays and optical regulation monitors (red LED).
Commissioning
Place the soldering tool in the safety holder. Connect the compressed air hose (6mm outer diameter) to the quick-action coupling (12). Provide a supply of dry, oil-free compressed air or nitrogen (N2) at 400 kPa (58 psi). Connect the soldering tool's electrical lead to the 7-pole socket (7) on the front panel and lock it. Ensure the mains voltage matches the rating plate before connecting to the power supply.
Operation
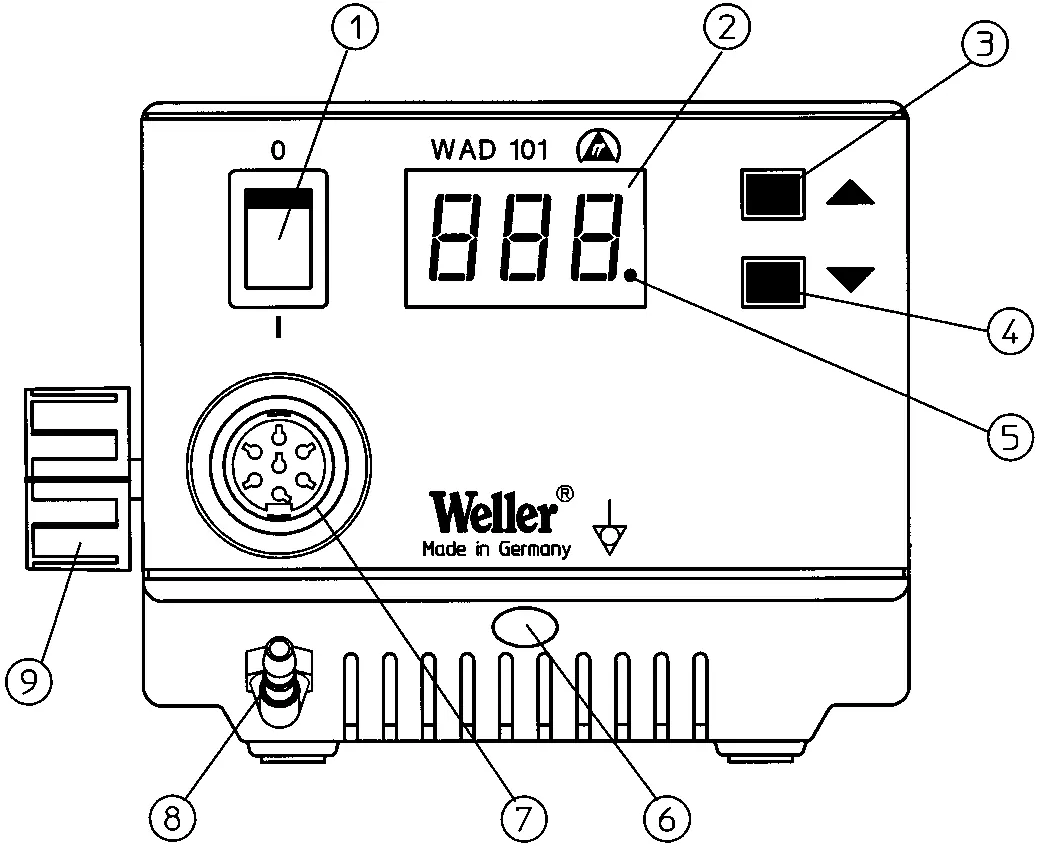
Switch the unit on using the mains switch (1). The unit performs a self-test. Use the UP/DOWN buttons (3, 4) to set the desired temperature. The red dot (5) on the display serves as an optical regulation monitor; continuous light indicates heating, while flashing indicates the operating temperature has been reached. Air flow rate is adjusted via the flow control valve (9).
Equipotential Bonding
The 3.5 mm jack bush (6) allows for four variations of equipotential bonding: hard-grounded (no plug), equipotential bonding (plug with equalizer at center contact), potential-free (with plug), and soft-grounded (plug with soldered resistance).
Maintenance
Keep the transition between the heater/sensor and the soldering tip clean. When heating for the first time, wet the tip with solder to remove oxide layers. Always ensure the tip is well-tinned during breaks. For hot air nozzles, use an 8mm socket spanner to change the nozzle, holding the heater element with an open-ended spanner. Important: Maximum thread depth is 5 mm (0.2"). A longer thread will irreparably damage the heater element.
Technical Data
- Dimensions: 166 x 134 x 101 mm
- Mains Voltage: 230 V / 50 Hz (120 V / 60 Hz)
- Power Consumption: 105 W (WAD 101), 150 W (WAD 101IG)
- Temperature Range: 50°C - 550°C (Hot Air), 50°C - 450°C (Soldering Iron)
- Air Flow: 0-10 l/min (WAD 101), 0-5 l/min (WAD 101IG)
Manufacturer information
Weller Tools
Practical help
Common problems
System not heating
Check mains connection and ensure the mains switch (1) is in the ON position.
Nozzle damage
Ensure the thread depth of the nozzle does not exceed 5mm (0.2").
Temperature inaccuracy
Clean the transition between the heater/sensor and the soldering tip/nozzle.
Before use
- Check mains voltage matches the rating plate.
- Ensure the mains switch (1) is OFF before connecting.
- Connect compressed air (6mm hose) or nitrogen.
- Ensure the soldering tip or nozzle is correctly seated.
- Check for sufficient room ventilation if using nitrogen.
Specs in practice
- Temperature Range
- 50°C - 550°C for hot air; 50°C - 450°C for soldering irons.
- Compressed Air
- 400 kPa (58 psi) dry, oil-free air or nitrogen.
Images and diagrams
- Front panel controls (1-12)
- Rear panel connections (10-12)
- Equipotential bonding options
Model compatibility
- WAD 101IG is for inert gas soldering irons WP 80IG and WP 120IG.
- Hot air tool cannot be used with WAD 101IG.

Manual page author
Emily Carter
User documentation editor
Prepares concise manual descriptions and highlights the most useful setup, operation, and maintenance information for readers.