Electronics / Cameras
Arenti Mini 18S IP Camera User Guide
Quick setup and operation guide for the Arenti Mini 18S IP Camera. Includes installation, app connection, configuration, and troubleshooting steps.
Table of contents
Manual images
Jump to the sectionQuick guide from the manual
This document provides essential instructions for setting up and operating the Arenti Mini 18S IP Camera. Key procedures include physical installation, connecting the camera to the Smart Life app via Wi-Fi, and basic troubleshooting. Ensure your router supports 2.4GHz or 5GHz Wi-Fi and that your network credentials are ready before starting the configuration.
What's in the box
- Mini 18S Camera
- Power adapter
- Type-C cable
- Adhesive tape
- User manual
Description
The camera features a lens, microphone, speaker, SD card slot (supports up to 128GB), reset button, and a status light. The status light indicates the device state: solid red (abnormal network), blinking red (waiting for connection), solid blue (running correctly), and blinking blue (connecting).
Installation


- Stick the adhesive tape to the bottom of the camera.
- Place the camera on a clean, flat surface.
Connection
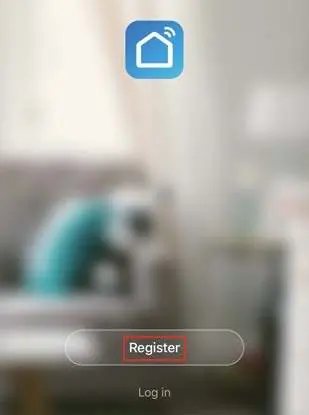
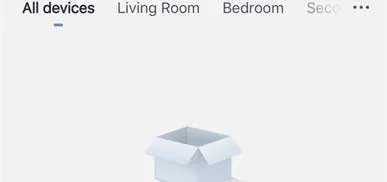
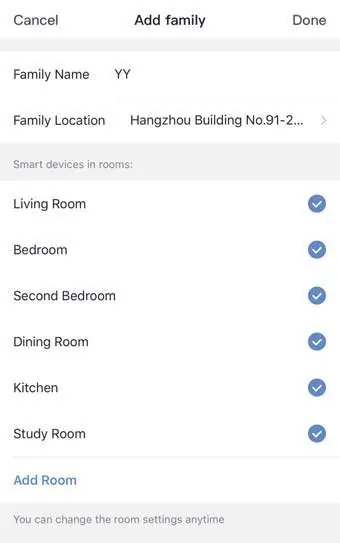
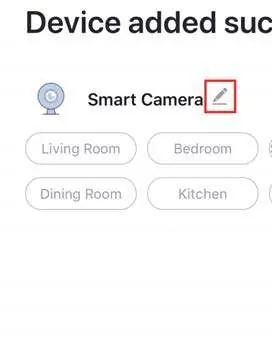
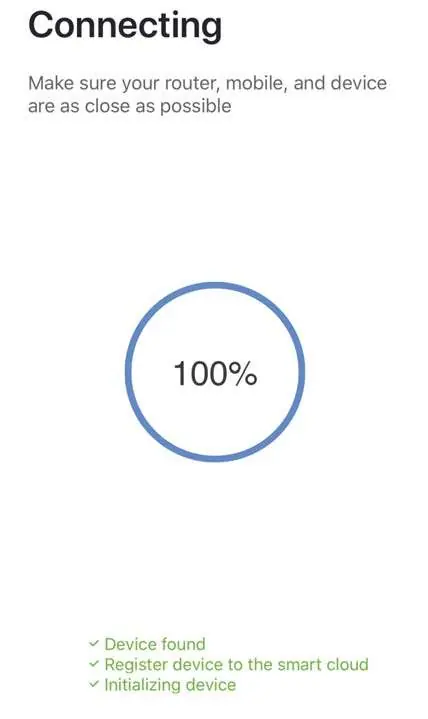
Download the Smart Life app from the App Store or Android Market. Ensure your router is set up and you have your Wi-Fi SSID and password ready. Follow the registration process in the app, then navigate to Security & Sensor to add the Smart Camera. Follow the on-screen prompts to input your Wi-Fi password and scan the QR code with the camera to complete the configuration.

Settings
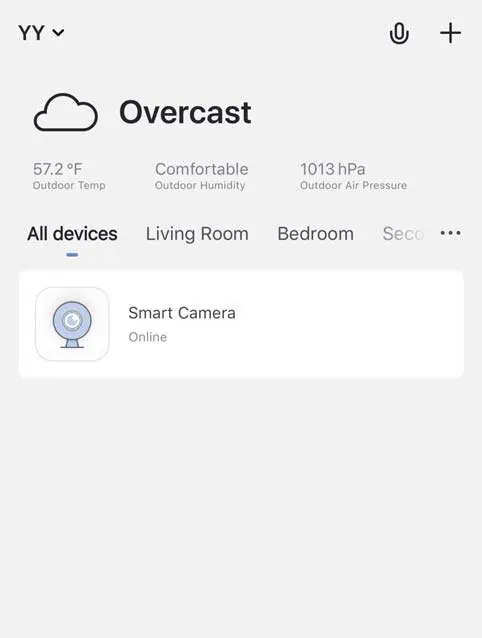
Once connected, you can access camera functions through the Smart Life app interface, including taking screenshots, two-way audio (Speak), and recording video.
Functions
- Video flip: Allows flipping the video stream.
- Motion detection: Built-in sensors detect movement and send push notifications.
- Record: Supports 24H continuous recording via SD card or cloud storage.
- Daytime & Night: Features night-vision technology for low-light conditions.
Troubleshooting
- Device not previewing: Check network status, place the camera closer to the router, or reset the device.
- Device still in list after reset: The reset only clears network configuration; you must manually remove the device from the app.
- SD card not identified: Ensure the card is FAT32 formatted and inserted after a power cycle.
- No notifications: Ensure the app is running and notification permissions are enabled in your phone settings.
Manufacturer information
Arenti
Practical help
Common problems
Device cannot be previewed properly
Check network status, move the camera closer to the router, or reset the device and add it again.
Device still appears in the app list after reset
The reset only clears network settings; you must manually delete the device from the app.
SD card not identified
Ensure the card is formatted as FAT32 and insert it after a power cycle.
Not receiving notifications
Confirm the app is running and that notification permissions are enabled in your phone's system settings.
Before use
- Ensure your router supports 2.4GHz or 5GHz Wi-Fi.
- Record your Wi-Fi SSID and password.
- Ensure the Wi-Fi password is no longer than 24 digits.
- Download the Smart Life app.
- Ensure the camera is powered on and the indicator is flashing.
Images and diagrams
- The status light indicates connection status: solid red (abnormal), blinking red (waiting), solid blue (running), blinking blue (connecting).
- QR code configuration requires holding the camera 15-20cm in front of the mobile phone screen.
Model compatibility
- Supports both iOS and Android operating systems.
- Supports 2.4GHz and 5GHz Wi-Fi networks.

Manual page author
David Miller
Documentation analyst
Organizes user manual content into clear summaries, with attention to model details, product context, and everyday usability.