Furniture / Tables Desks
IKEA ALEX 132x58cm Desk Assembly Instruction
A comprehensive assembly guide for the IKEA ALEX 132x58cm desk, including a full list of required hardware, step-by-step construction procedures, and hinge adjustment instructions.
Table of contents
Manual images
Jump to the sectionQuick guide from the manual
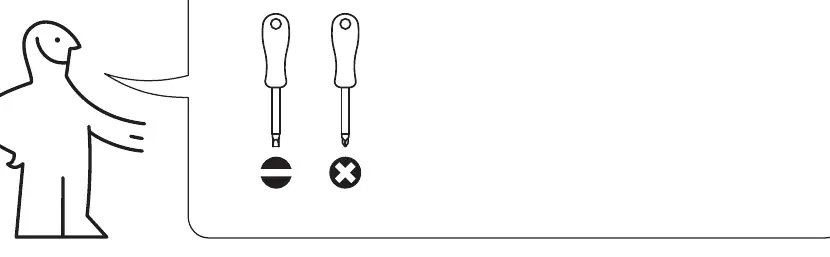
This document provides the assembly instructions for the IKEA ALEX 132x58cm desk. It is essential to use the correct tools (flathead and Phillips screwdrivers) and assemble the furniture on a soft surface to prevent damage. If you encounter difficulties during assembly, please refer to the provided diagrams or contact IKEA support.
Hardware and components
The desk comes with a variety of screws, dowels, cam locks, and hinges. Ensure you have all parts listed on page 3 and 4 before beginning assembly. Key components include the desk frame, drawer units, and the main tabletop.
Assembly procedure
- Prepare the drawer components by inserting the necessary dowels and cam bolts.
- Assemble the side frames and attach the back panel.
- Secure the frame components using the provided cam locks and screws.
- Attach the tabletop to the assembled frame structure.
- Install the drawer slides and hinges as shown in the detailed diagrams.
- Insert the drawers into the desk frame.
Hinge adjustment
The desk features adjustable hinges. Use the provided hex key (106699) to adjust the position of the desk components for proper alignment. Follow the diagrams on page 21 to move the parts horizontally, vertically, or in depth.

Manufacturer information
IKEA
Practical help
Common problems
Desk components are misaligned
Use the provided hex key to adjust the hinges as shown in the adjustment section of the manual.
Difficulty inserting drawers
Ensure the drawer slides are correctly installed and that the frame is square.
Before use
- Verify all parts listed on pages 3 and 4 are present.
- Prepare a flathead and a Phillips screwdriver.
- Clear a large, soft area on the floor for assembly.
- Do not use a hammer during assembly.
Images and diagrams
- The manual uses pictograms to indicate the use of specific tools.
- Arrows indicate the direction of movement or insertion for parts.
- Crossed-out symbols indicate actions to avoid, such as using a hammer.

Manual page author
Michael Turner
Technical manual editor
Reviews PDF manuals for structure, safety notes, and practical product details so readers can find the right information quickly.