Lighting / Outdoor Lighting
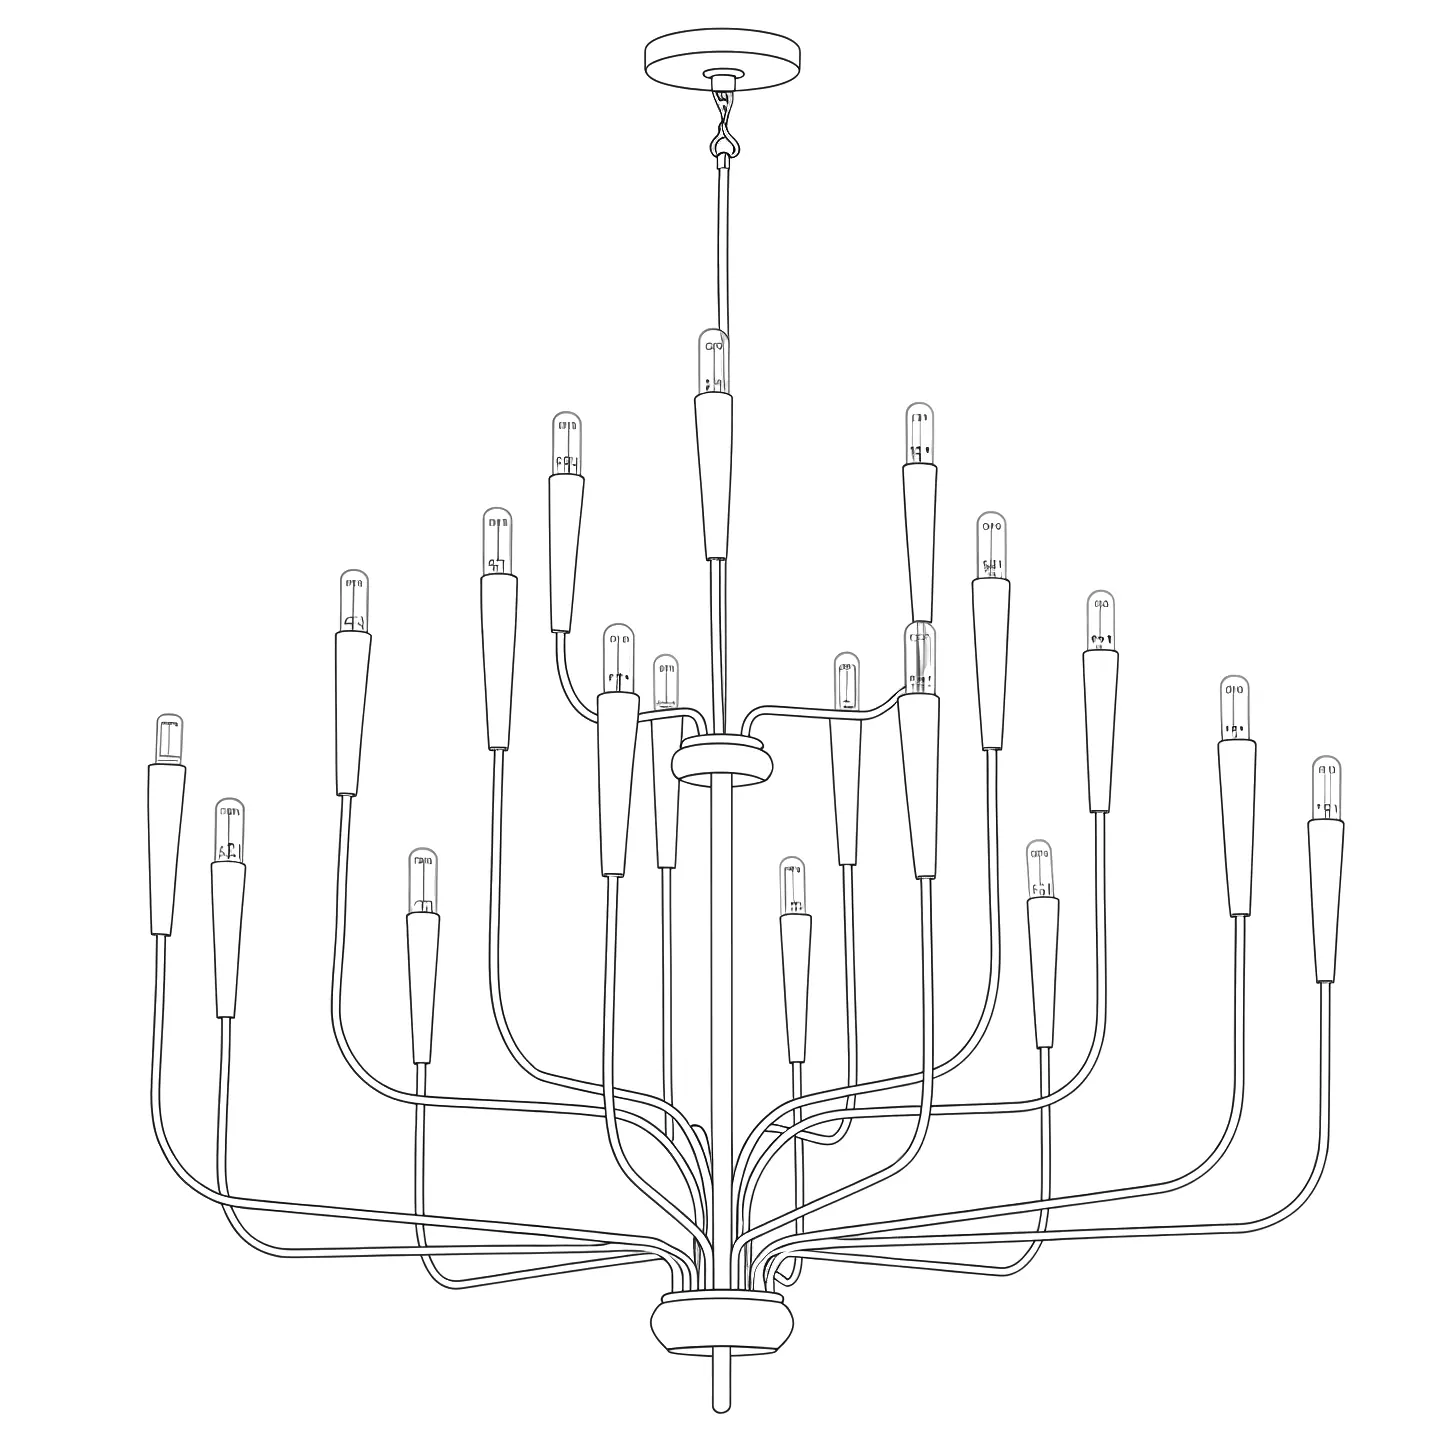
User Manual for Maxim Lighting Vela 18-Light Chandelier 24818
Quick guide for the Maxim Lighting Vela 18-Light Chandelier (24818). Includes assembly instructions, wiring diagram, parts list, and maintenance tips.
Table of contents
Quick Guide
The Maxim Lighting Vela 18-Light Chandelier (Model 24818) is a lighting fixture designed for 120V systems. It requires 18 x E12 60W bulbs (not included). Installation should be performed by a qualified electrician. Always disconnect the power source before beginning any assembly or maintenance.
Parts List
Before starting, ensure the package contains the following components:
- A: Chandelier body
- B: Bottom cap
- C: Chain link
- D: Canopy
- E: Canopy ring
- F: Mounting hardware assembly
- G: Wire nuts (x3)
- H: Mounting screws (#8/32-1")
- I, J, K: Extension rods
Assembly and Wiring
Follow these steps to assemble and install the fixture:
- Preparation: Ensure the power is disconnected at the circuit breaker.
- Wiring: Connect the fixture wires to the house supply wires using the provided wire nuts (G). Connect the Neutral (N) wire, the Ground (Green) wire, and the Positive (L) wire.
- Mounting: Secure the mounting hardware (F) to the ceiling junction box using screws (H).
- Assembly: Attach the canopy (D) and ring (E) to the mounting assembly. Connect the extension rods (I/J/K) to the fixture body (A) and the canopy assembly using the chain link (C).
- Finishing: Install the 18 E12 bulbs and attach the bottom cap (B).
Care and Maintenance
To keep your chandelier in optimal condition:
- Cleaning: Use a soft cloth and mild detergent. Avoid abrasive or harsh cleaners. For polished finishes, talc powder can help reduce fingerprints.
- Maintenance: Periodically (every 90-180 days) check that all screws and bolts are fully tightened.
- Heat Warning: Prolonged exposure to heat sources may cause glazing, melting, or scorching.
Safety Information
Always handle the package with care when using sharp tools to avoid damaging components. Keep all packaging materials and small parts away from children to prevent suffocation hazards. If the product cord appears torn or frayed, do not install or use the fixture.
Practical help
Common problems
Fixture is loose or wobbling
Periodically check and tighten all screws and bolts every 90-180 days.
Light not turning on
Ensure bulbs are properly installed and the circuit breaker is on. Verify wiring connections are secure.
Cord damage
Check the product cord before installation; if it is torn or frayed, do not use the product.
Before use
- Ensure you have all parts (A-K) listed in the manual.
- Consult a qualified electrician for installation.
- Disconnect power source before starting.
- Verify you have 18 x E12 60W bulbs (not included).
- Choose a clean, level, and spacious area for assembly.
Images and diagrams
- The wiring diagram illustrates the connection of Neutral (N), Ground (Green), and Positive (L) wires using wire nuts (G).
- The assembly sequence shows the connection of the central stem (I/J/K) to the fixture body (A) and the canopy (D).
Model compatibility
- Designed for 120V systems only.

Manual page author
David Miller
Documentation analyst
Organizes user manual content into clear summaries, with attention to model details, product context, and everyday usability.