Documents / Warranty Safety
Installation and Service Guide for Praxis Podium Pedals
Comprehensive installation and maintenance guide for Praxis Podium Pedals. Includes step-by-step instructions for pedal installation, axle removal, bearing service, and torque specifications.
Table of contents
Manual images
Jump to the sectionQuick guide from the manual
This document provides essential instructions for the installation and maintenance of Praxis Podium Pedals. Key requirements include using a torque wrench for installation (35-40 Nm) and identifying the correct pedal for the drive and non-drive sides. The manual also details the procedure for a full pedal rebuild, including bearing and bushing replacement.
Safety information
Read before every ride:
- Ensure the chain tension is correct and the chain is not damaged.
- Check that there is no play or looseness in the pedal/axle connection.
- Retighten pedals to 35-40 Nm at periodic intervals.
- If you feel any looseness or play in the bearings, the crank or pedals should be inspected or replaced.
- Be careful not to let clothing get caught in the chain.
- Warning: These pedals are not made for use on indoor exercise bicycles or equipment.
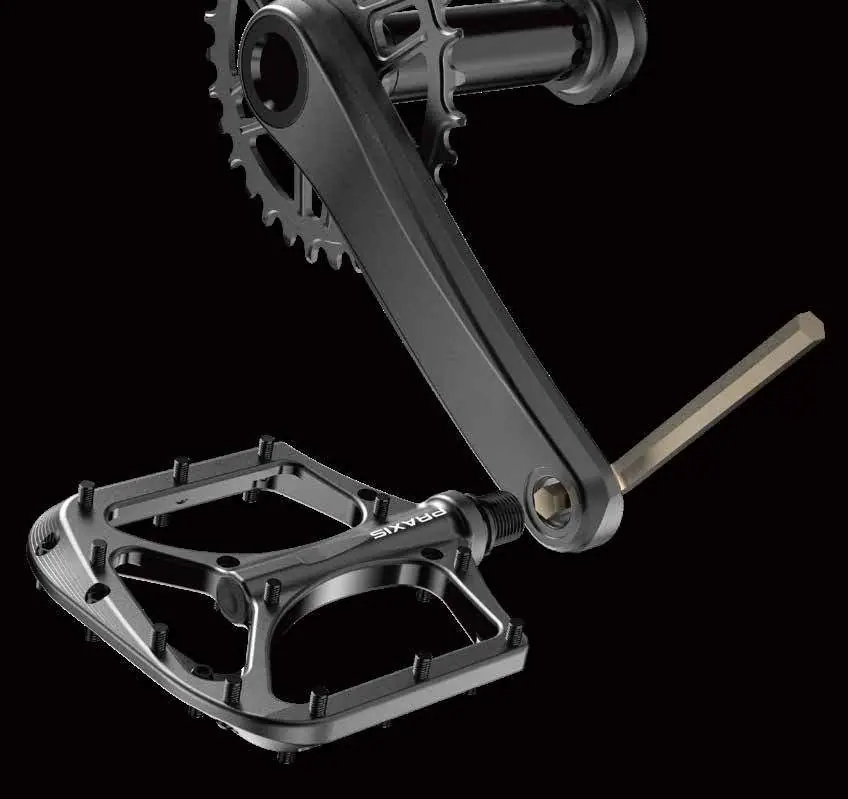
Pedal installation
Tools required: 8mm Allen key, torque wrench, and grease.
- Dab grease on the pedal threads.
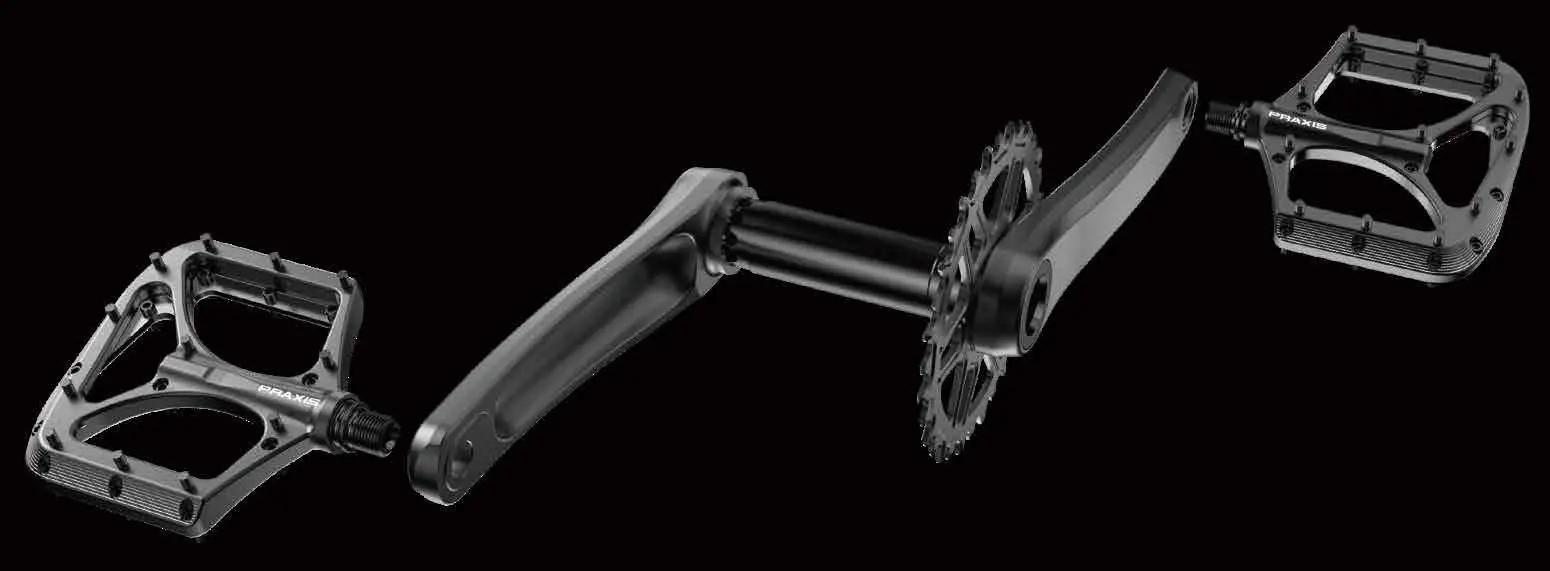
- Thread the LEFT pedal into the LEFT crank (Reverse Threaded/Left-Hand Thread).
- Thread the RIGHT pedal into the RIGHT crank (Regular Threaded/Right-Hand Thread).
- Tighten both pedals to 35-40 Nm using an 8mm Allen key.
- Ensure both pedal flanges are flush with the crank arm surface; there should be no gap.
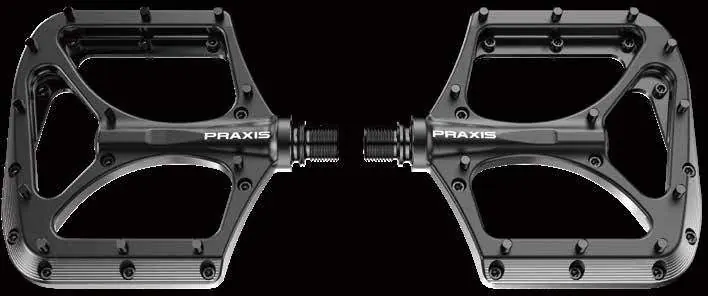
Identification: The Left pedal has an annular groove on the axle shoulder to indicate left-hand threads. The Praxis logo on the pedal body should be readable from left to right when positioned on the bike.
Rebuild and maintenance
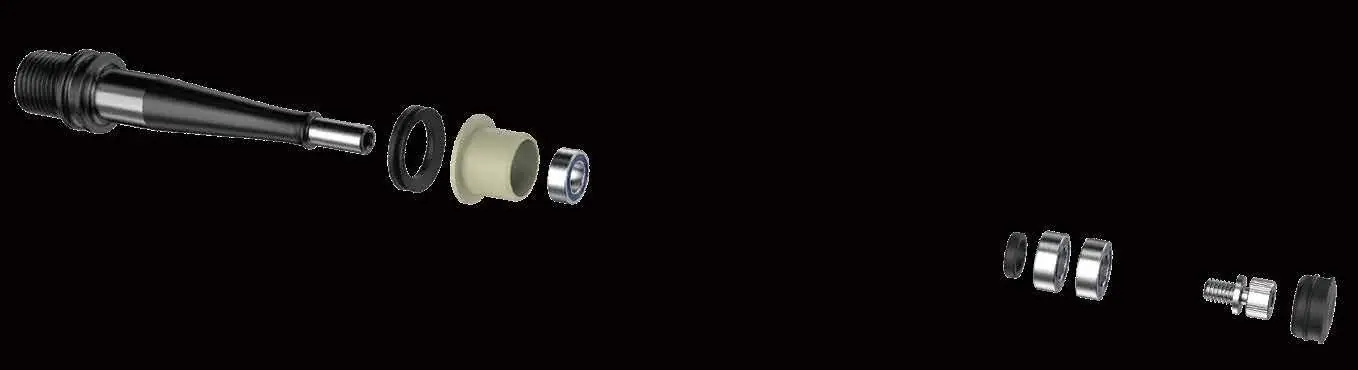
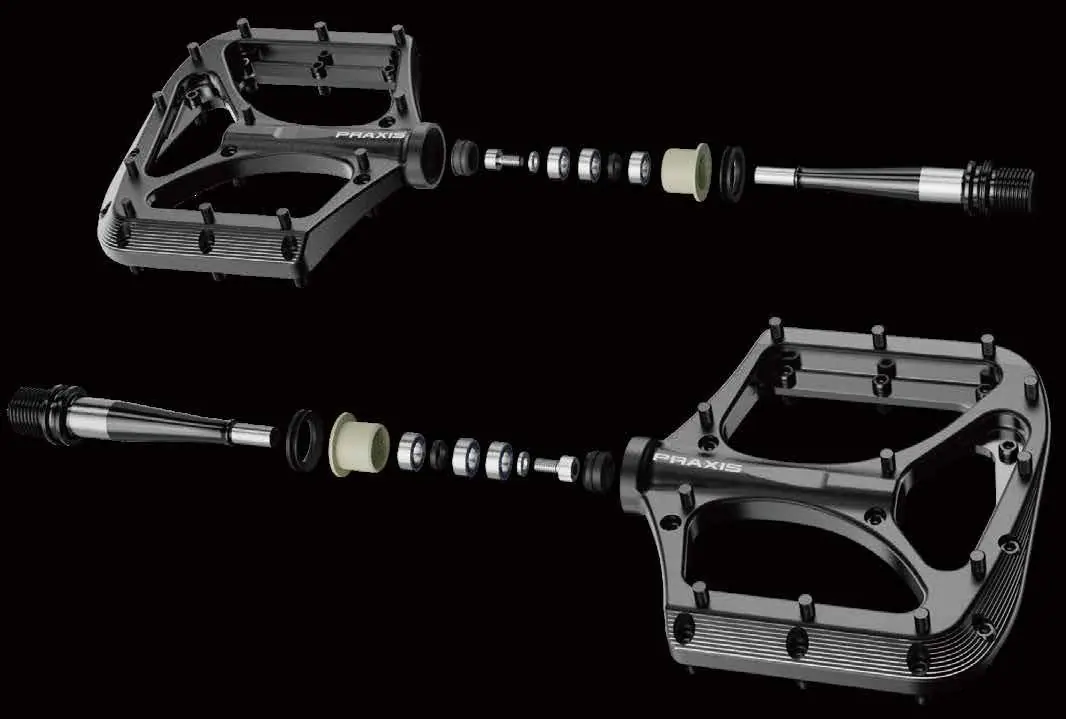
The manual provides a detailed exploded view and step-by-step instructions for rebuilding the pedals. This includes removing the rubber axle plug, loosening the axle screw, removing the axle, and cleaning or replacing bearings, V-rings, and Igus bushings.

Tools for rebuild: 8mm, 6mm, 4mm, and 3mm Allen keys, pick or flat head screwdriver, small hammer, blue Loctite, and marine-grade grease. A tap (M13x1.5 or 1/2-13) is only required if the Igus bushing needs replacement.
Warranty
Praxis Works products are warrantied against defects in materials or workmanship for two years after the original purchase. The warranty is non-transferable and valid only for the original purchaser. Modifications such as drilling, grinding, or painting will void the warranty.
Practical help
Common problems
Pedal feels loose or has play
Inspect bearings and crank connection. Retighten pedals to 35-40 Nm.
Difficulty identifying Left/Right pedal
The Left pedal has an annular groove on the axle shoulder. The Right pedal does not.
Pedal binding after rebuild
Ensure bearings are seated correctly and the axle assembly is not overtightened. Re-check assembly steps.
Before use
- Check chain tension and condition.
- Verify pedal/axle connection has no play.
- Ensure pedal flanges are flush with crank arm surface.
- Check torque after 60 miles (100 km).
Specs in practice
- Pedal to crank torque
- 35-40 Nm
- Left pedal thread
- Reverse threaded (Left-Hand)
- Right pedal thread
- Regular threaded (Right-Hand)
- Axle screw torque
- 4 Nm
Images and diagrams
- Exploded view shows axle, bearings, V-ring, and Igus bushing arrangement.
- Groove on axle shoulder indicates Left-Hand thread.
Model compatibility
- Not for use on indoor exercise bicycles.
- Compatible with pedal washers up to 2mm per side.
- If using pedal washers on carbon cranks, ensure they do not interfere with the carbon insert.

Manual page author
Emily Carter
User documentation editor
Prepares concise manual descriptions and highlights the most useful setup, operation, and maintenance information for readers.