Tools / Laser Engravers
User Guide for xTool F2 15W Portable Dual Laser Engraver
Quick start guide for the xTool F2 15W portable dual laser engraver. Includes setup, software connection, manual focus, accessory usage, and maintenance instructions.
Table of contents
Manual images
Click an image to enlargeQuick guide from the manual
This guide provides essential steps to set up and operate your xTool F2 15W laser engraver. Before starting, ensure the baseplate is installed, the lens protector is removed, the emergency stop button is released, and the key is fully inserted. Connect the machine to a power supply and your computer via USB to begin.
What's in the box
The package includes the xTool F2 machine, pipe, baseplate, slatted panel, L-shaped positioning piece, power adapter, power cable, USB cable, grease, pre-installed key, screwdriver, lint-free cloth, material pack, quick start guide, and safety instructions.
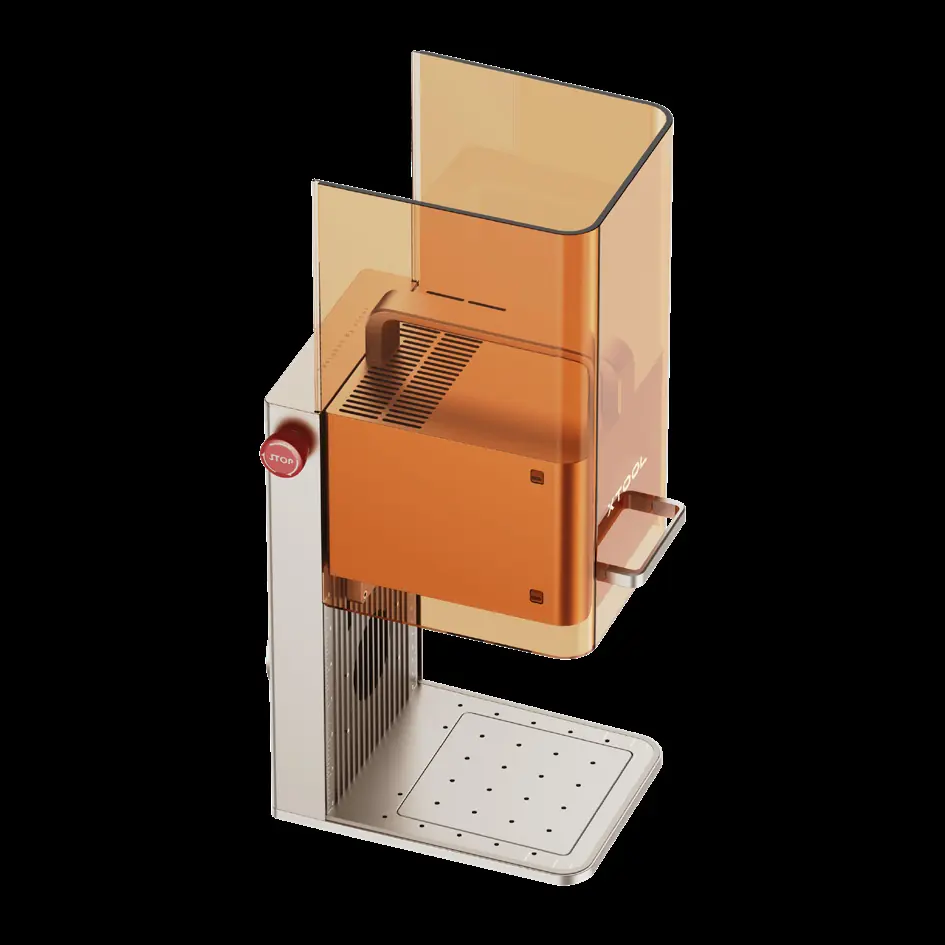
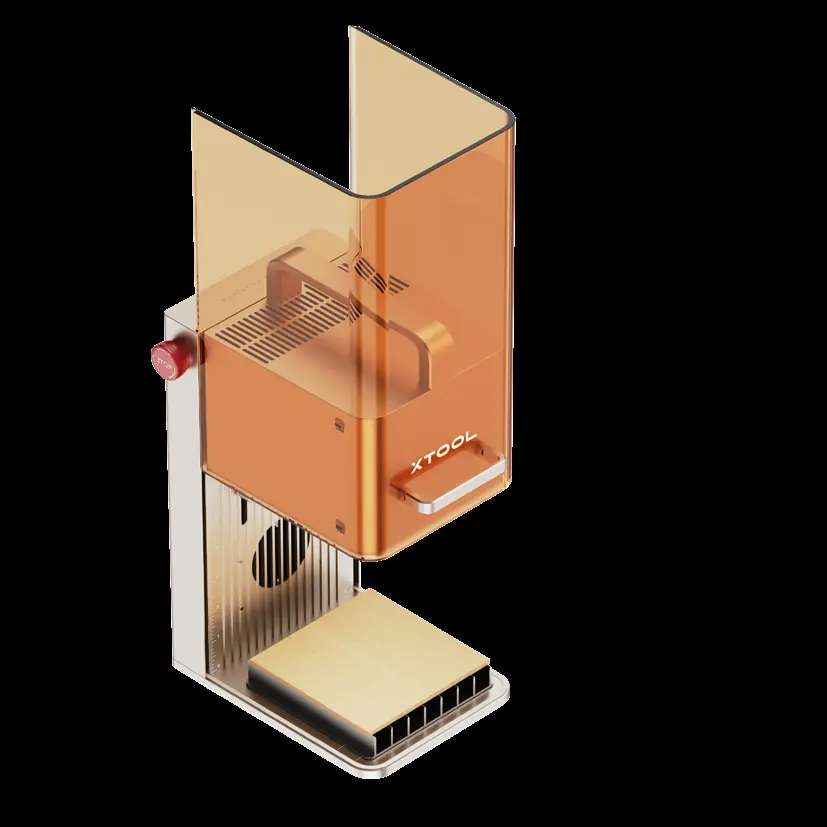
Meet your xTool F2
The machine features a protective enclosure, emergency stop button, camera, fill light, and red light indicator. The rear panel contains the power switch, power port, smoke purifier port, quick switch port, touchscreen controller port, port for key, port for USB cable, and port for rotary attachment/slide extension.
Getting the machine ready
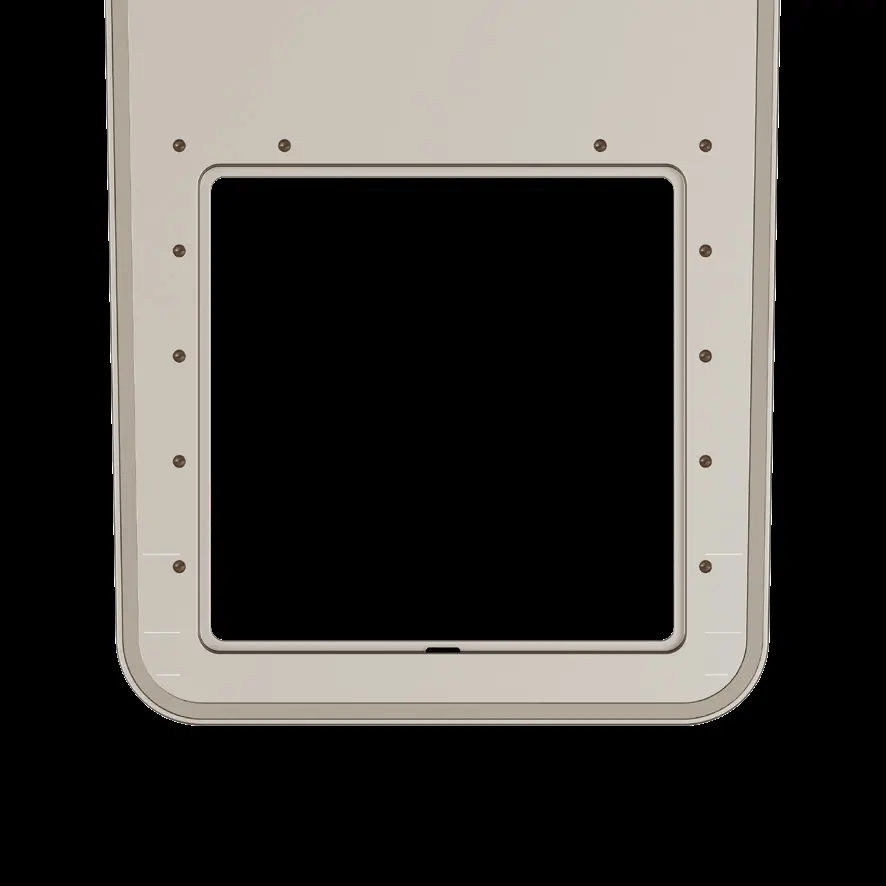
- Open the protective enclosure and install the baseplate in the direction indicated by the arrow.
- Pull down the field lens protector to remove it. Ensure this is done before every use.
- Ensure the emergency stop button is released. If pressed, rotate it to release.
- Ensure the key is fully inserted. Removing the key disables processing functions.
- Install the pipe for smoke exhaust.
- Connect the power cable and adapter to the machine and a power supply.
Using your xTool F2
Press the power button to turn on the machine. Never use the emergency stop button as a power button. Visit s.xtool.com/software to download and install the required software. Connect the machine to your computer using the USB cable and connect it within the software.
Manual focus setting
Turn the knob to adjust the height of the laser module. The focus is successfully set when the red and blue light spots overlap on the material surface.

Using accessories
- Slatted panel: Use for cutting materials to reduce burn areas and protect the baseplate. Orient with openings facing the machine for optimal smoke exhaust.
- L-shaped positioning piece: Use for batch processing to maintain consistent material placement.
- Touchscreen controller: Allows manual focus adjustment, framing, and starting/stopping processing. Note: Not included in the pack.
- Rotary attachment: Align the front bottom edge to the corresponding marking line on the base. Note: Not included in the pack.
Maintenance
- Clean the field lens: If laser power drops or patterns are shallow, clean the lens with a lint-free cloth moistened with alcohol.
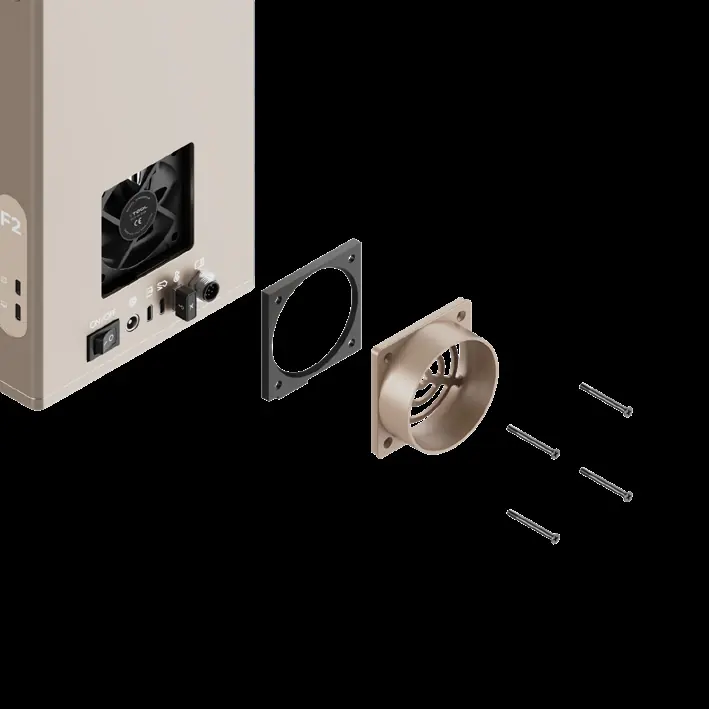
- Clean the fan module: If smoke is not exhausting properly, remove the pipe, open the cover, and take out the fan module. Use a brush to clean both sides. The module can be rinsed with water but must be completely dry before reinstallation.
- Lubricate the protective enclosure: If the enclosure does not move smoothly, apply white lithium grease to the edges of the two sides.
Specifications
- Product name: xTool F2
- Model: MKF-K005-002
- Working laser: 15W blue-light diode laser, 5W infrared laser
- Internal working area: 115 mm x 115 mm
- Maximum processing speed: 6,000 mm/s
- Input power: 25 V, 6 A, 150 W
Official resources from the manual
Practical help
Common problems
Laser power attenuation (shallow engraving or cutting issues)
Clean the field lens with a lint-free cloth moistened with alcohol.
Cannot overlap red and blue light spots during focus
Visit support.xtool.com/article/2373 or contact customer support.
Protective enclosure moves roughly
Apply white lithium grease to the edges of the two sides.
Smoke not exhausting properly
Clean the fan module by removing it and brushing off dust.
Before use
- Ensure the baseplate is installed.
- Remove the field lens protector.
- Ensure the emergency stop button is released.
- Ensure the key is fully inserted.
- Connect the pipe for smoke exhaust.
- Connect to a power supply.
Specs in practice
- Working laser
- 15W blue-light diode laser and 5W infrared laser.
- Internal working area
- 115 mm x 115 mm.
- Maximum processing speed
- 6,000 mm/s.
Images and diagrams
- The machine features a camera, fill light, and red light indicator.
- The rear panel contains the power switch, power port, smoke purifier port, and USB port.
Model compatibility
- Supports Wi-Fi, USB, and IP connection modes.
- Touchscreen controller and rotary attachment are not included in the pack.

Manual page author
Emily Carter
User documentation editor
Prepares concise manual descriptions and highlights the most useful setup, operation, and maintenance information for readers.