Mobile / Smartphones
Aideepen Solar Charge Controller
Quick guide for the Aideepen solar charge controller. Learn about installation, wiring, display settings, and protection features for 10A, 30A, 60A, and 100A models.
Table of contents
Manual images
Click an image to enlargeQuick guide from the manual
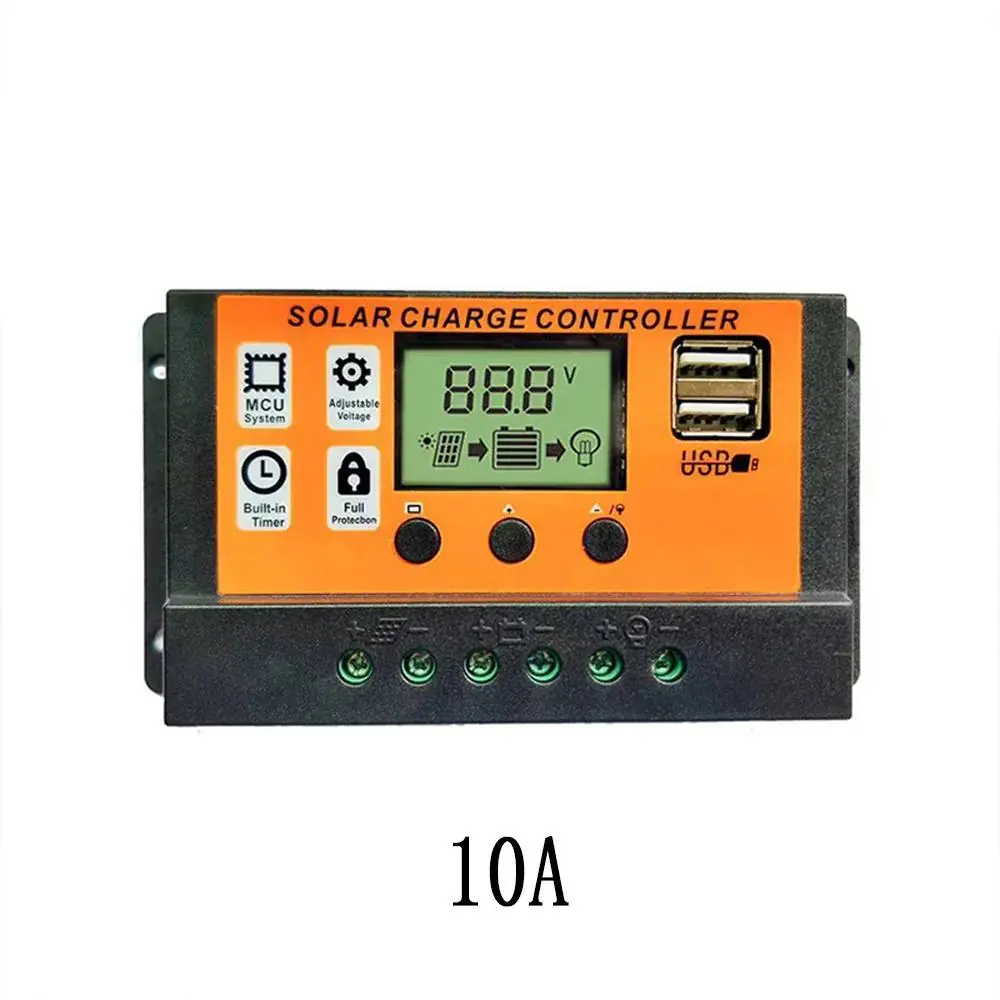
This document provides essential information for operating the Aideepen solar charge controller, which is available in 10A, 30A, 60A, and 100A variants. The device features automatic 12V/24V identification, dual USB ports, and multiple protection programs to ensure safe battery charging.
Product overview
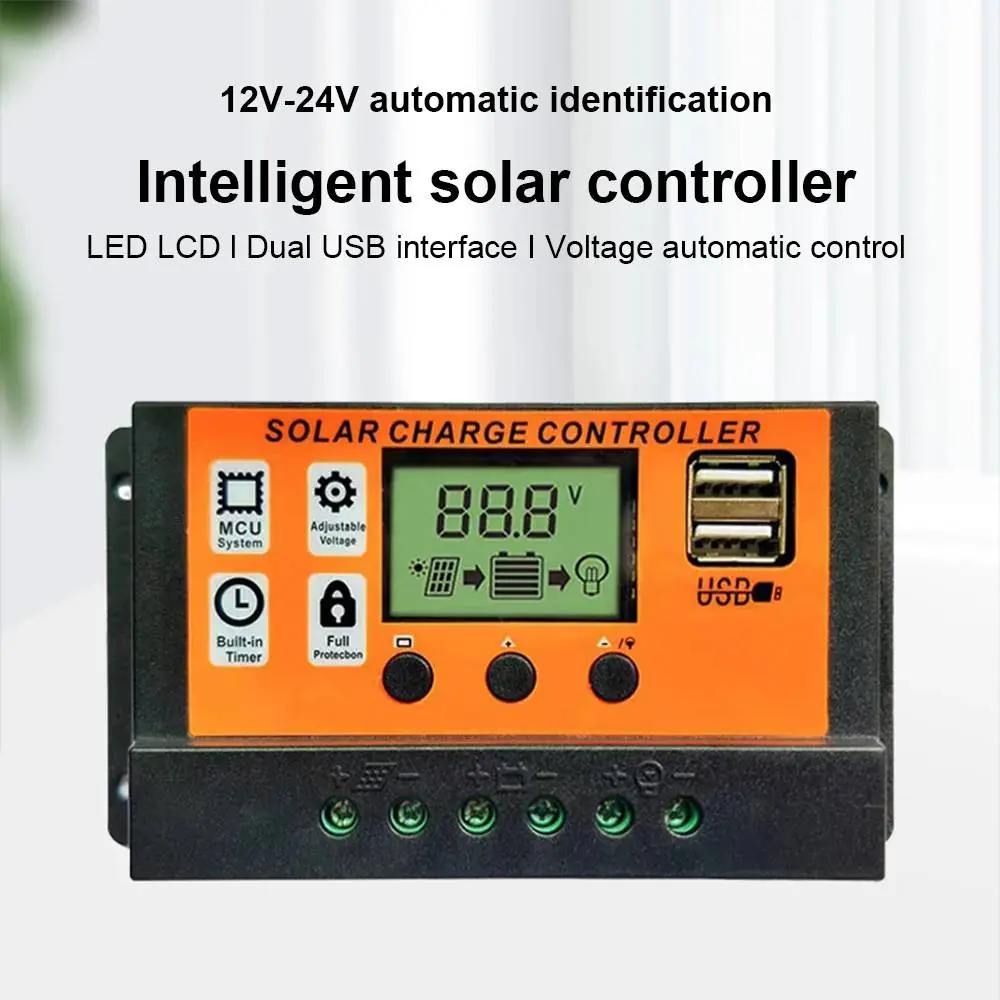
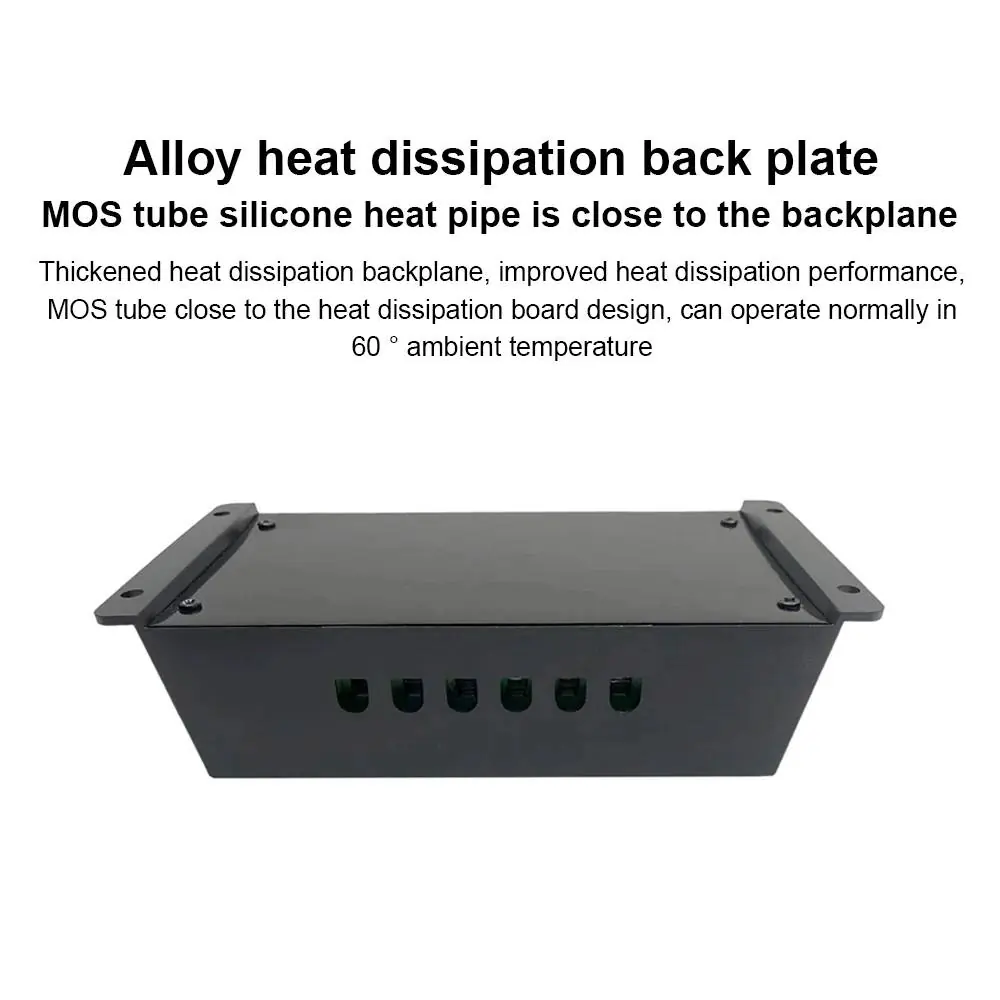
The controller is designed with a flame-retardant material and an aluminum alloy backplate for efficient heat dissipation. It includes an LED LCD display for monitoring system status and dual 5V/2A USB ports for charging external devices.
Technical specifications
- Working Voltage: 12V/24V automatic identification
- Working Current: 10A, 30A, 60A, or 100A (depending on model)
- Protection Level: IP32
- USB Output: 2 x 5V/2A
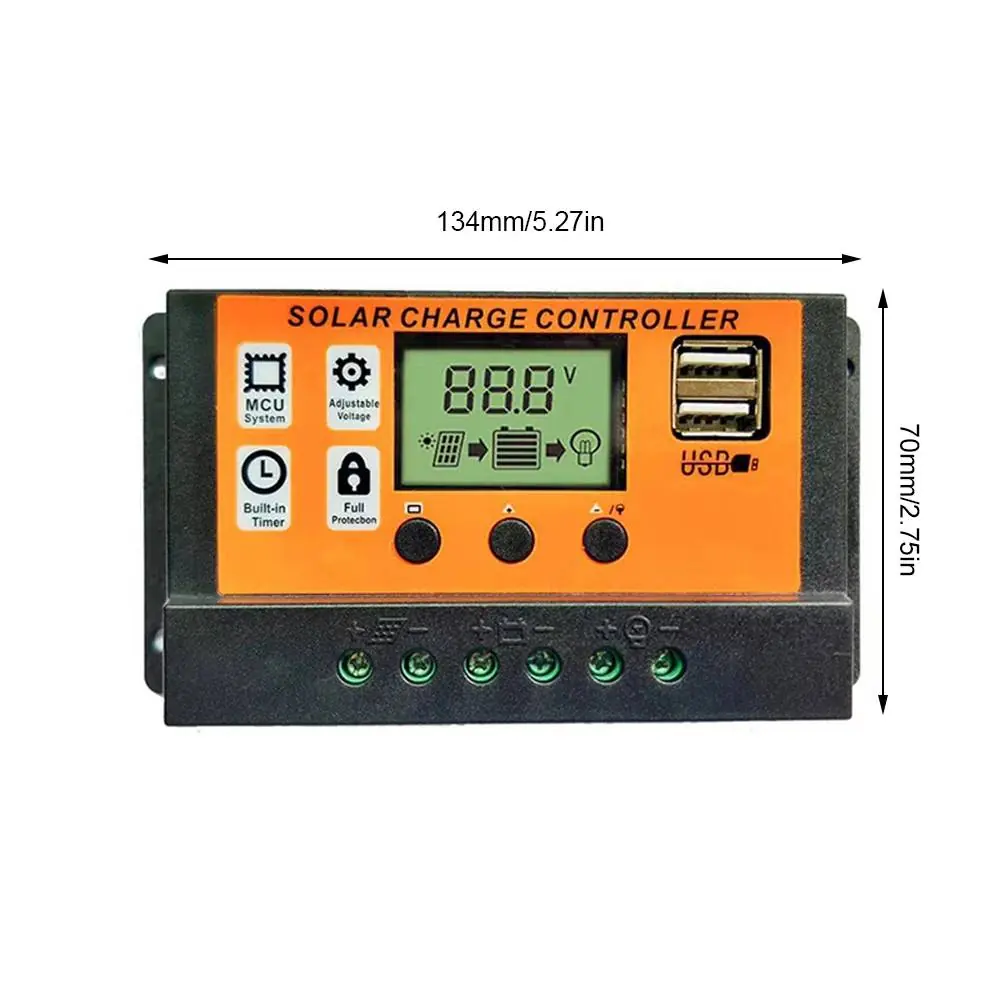
- Dimensions: 134mm x 70mm x 35mm
- Material: PC + Aluminum Alloy
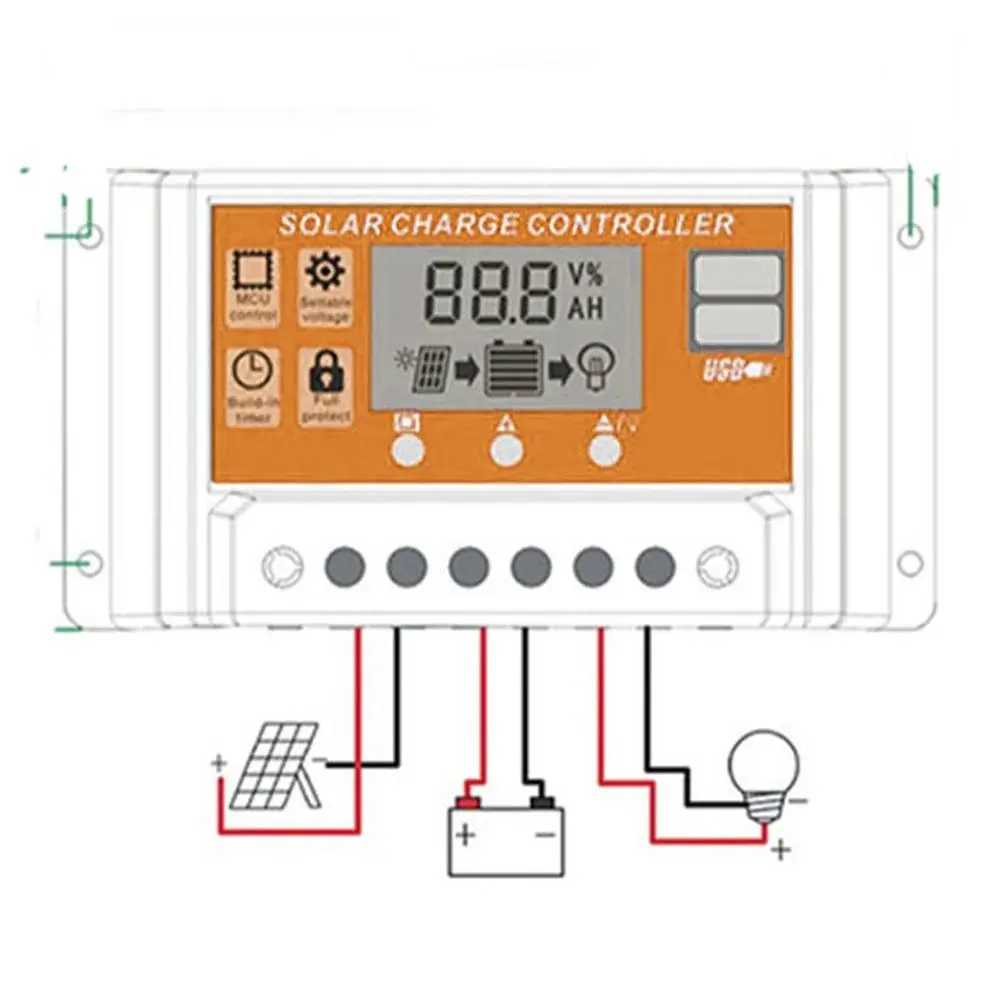
Wiring and installation
Proper connection is critical for the controller to function correctly. Always connect the battery first to allow the controller to detect the system voltage (12V or 24V). Follow the wiring diagram to connect the solar panel, battery, and load in the correct polarity.
Display and operation
The front panel features an LED LCD display and three control buttons:
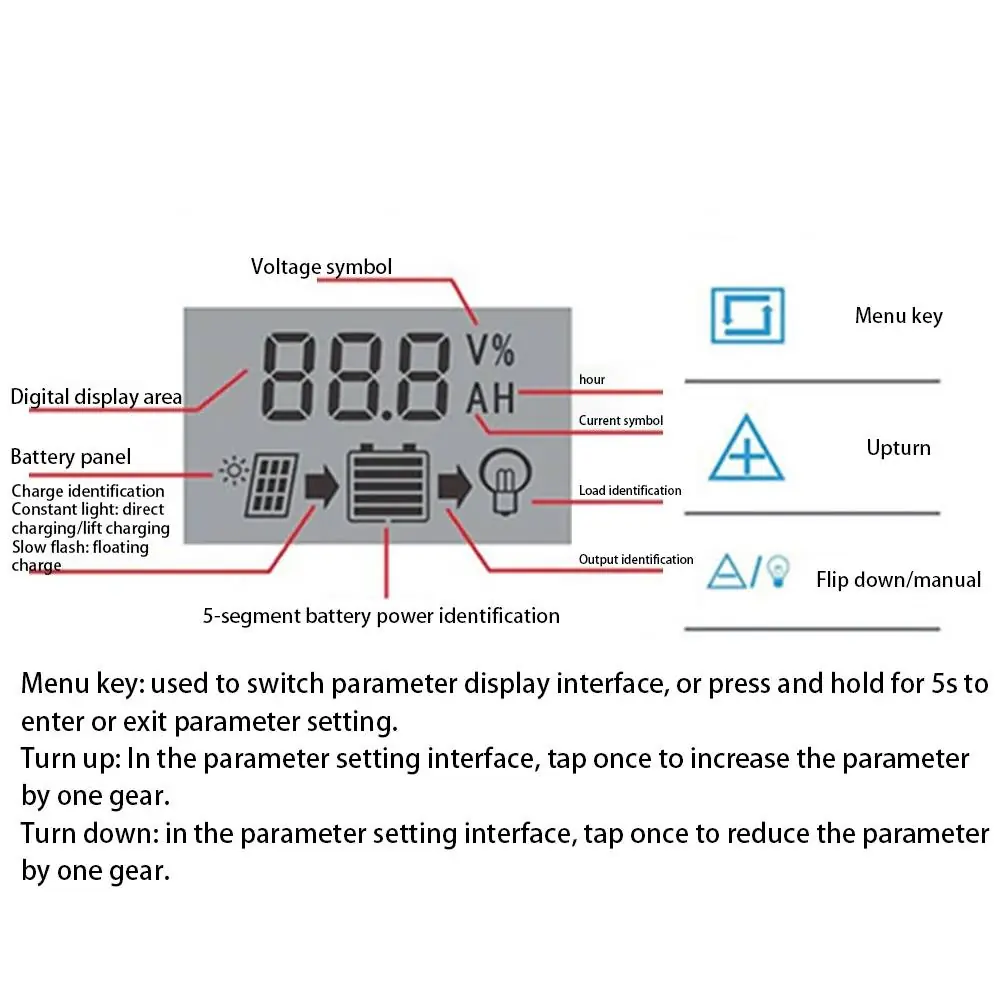
- Menu key: Used to switch between parameter display interfaces. Press and hold for 5 seconds to enter or exit parameter setting mode.
- Up key: In the parameter setting interface, tap once to increase the parameter by one gear.
- Down key: In the parameter setting interface, tap once to reduce the parameter by one gear.
The display provides visual feedback on charge status, battery power (5-segment identification), and load status.
Protection features
The controller includes built-in protection programs to safeguard your system, including:
- Overcharge protection
- Over-discharge protection
- Temperature compensation
- Undervoltage protection
- Reverse connection protection
Manufacturer information
Aideepen
Practical help
Common problems
Controller does not detect system voltage correctly
Ensure the battery is connected first before connecting the solar panel or load, as the controller performs automatic 12V/24V identification upon battery connection.
Cannot change settings
You must press and hold the Menu key for 5 seconds to enter the parameter setting interface before you can use the Up/Down keys to adjust values.
Before use
- Verify that your battery type (lead-acid or lithium) is compatible.
- Ensure the solar panel voltage matches the system requirements.
- Check that all wiring connections are secure and polarity is correct.
- Confirm the ambient temperature is within the operating range.
- Ensure the controller is mounted in a location with adequate ventilation.
Specs in practice
- 12V/24V Auto-ID
- The controller automatically detects whether a 12V or 24V battery system is connected.
Images and diagrams
- The wiring diagram illustrates the sequence: Solar Panel -> Controller -> Battery -> Load.
- The display symbols indicate the status of the solar panel, battery charge level, and load output.
Model compatibility
- Supports both lead-acid and lithium batteries.
- Compatible with 12V and 24V systems.

Manual page author
David Miller
Documentation analyst
Organizes user manual content into clear summaries, with attention to model details, product context, and everyday usability.