Automotive / Exhaust Systems
Installation Guide for Akrapovič Optional Headers for Kawasaki Ninja 1000SX
Quick installation guide for Akrapovič Optional Headers on the Kawasaki Ninja 1000SX. Includes step-by-step removal of stock exhaust, installation procedures, maintenance tips, and safety warnings.
Table of contents
Manual images
Click an image to enlargeQuick guide from the manual
This manual provides instructions for installing the Akrapovič Optional Headers on the Kawasaki Ninja 1000SX. It is essential to verify that the exhaust system and this manual correspond to your specific motorcycle model. The installation should only be performed by persons skilled in motorcycle exhaust system installation. For optimal performance and engine durability, it is recommended to use the exhaust system in combination with professional ECU fuel-mapping enrichment.
Safety and compliance
- The exhaust system becomes extremely hot during and after use; allow the engine and exhaust to cool completely before starting work.
- Ensure the motorcycle is securely positioned to prevent tipping.
- Verify all parts against the parts list before beginning installation.
- The exhaust system must be used in accordance with relevant laws and regulations.
- Do not stand behind the muffler at any time.
Tools and equipment
- Mechanic gloves
- T-handle 4 mm and 6 mm hexagon wrenches
- Torx 40 wrench
- T-handle swivelling 12 mm wrench
- Combination 15 mm, 17 mm, and 22 mm wrenches
- Spring puller
Removal of stock exhaust
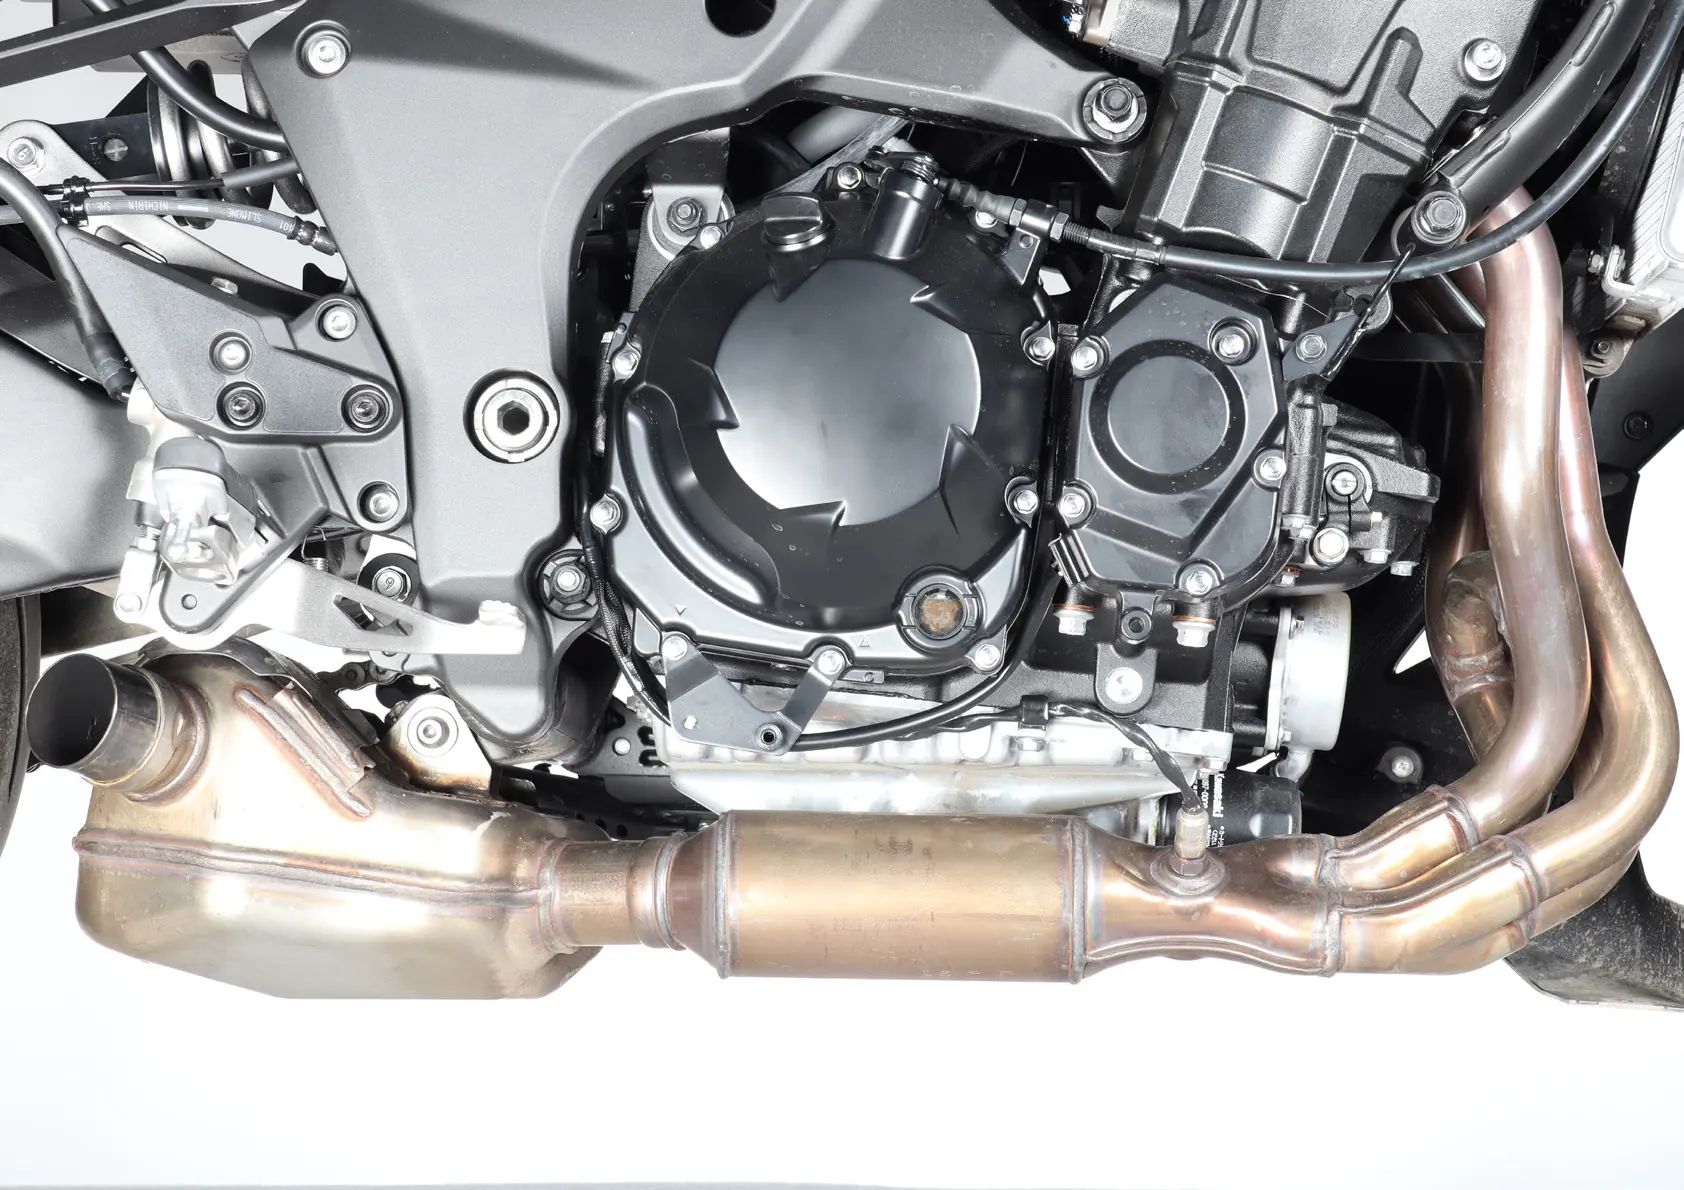
- Place the motorcycle on a side stand or central racing stand on a solid, flat surface.
- Remove the muffler (refer to the Slip-On manual).
- Unscrew marked bolts and remove the seat.
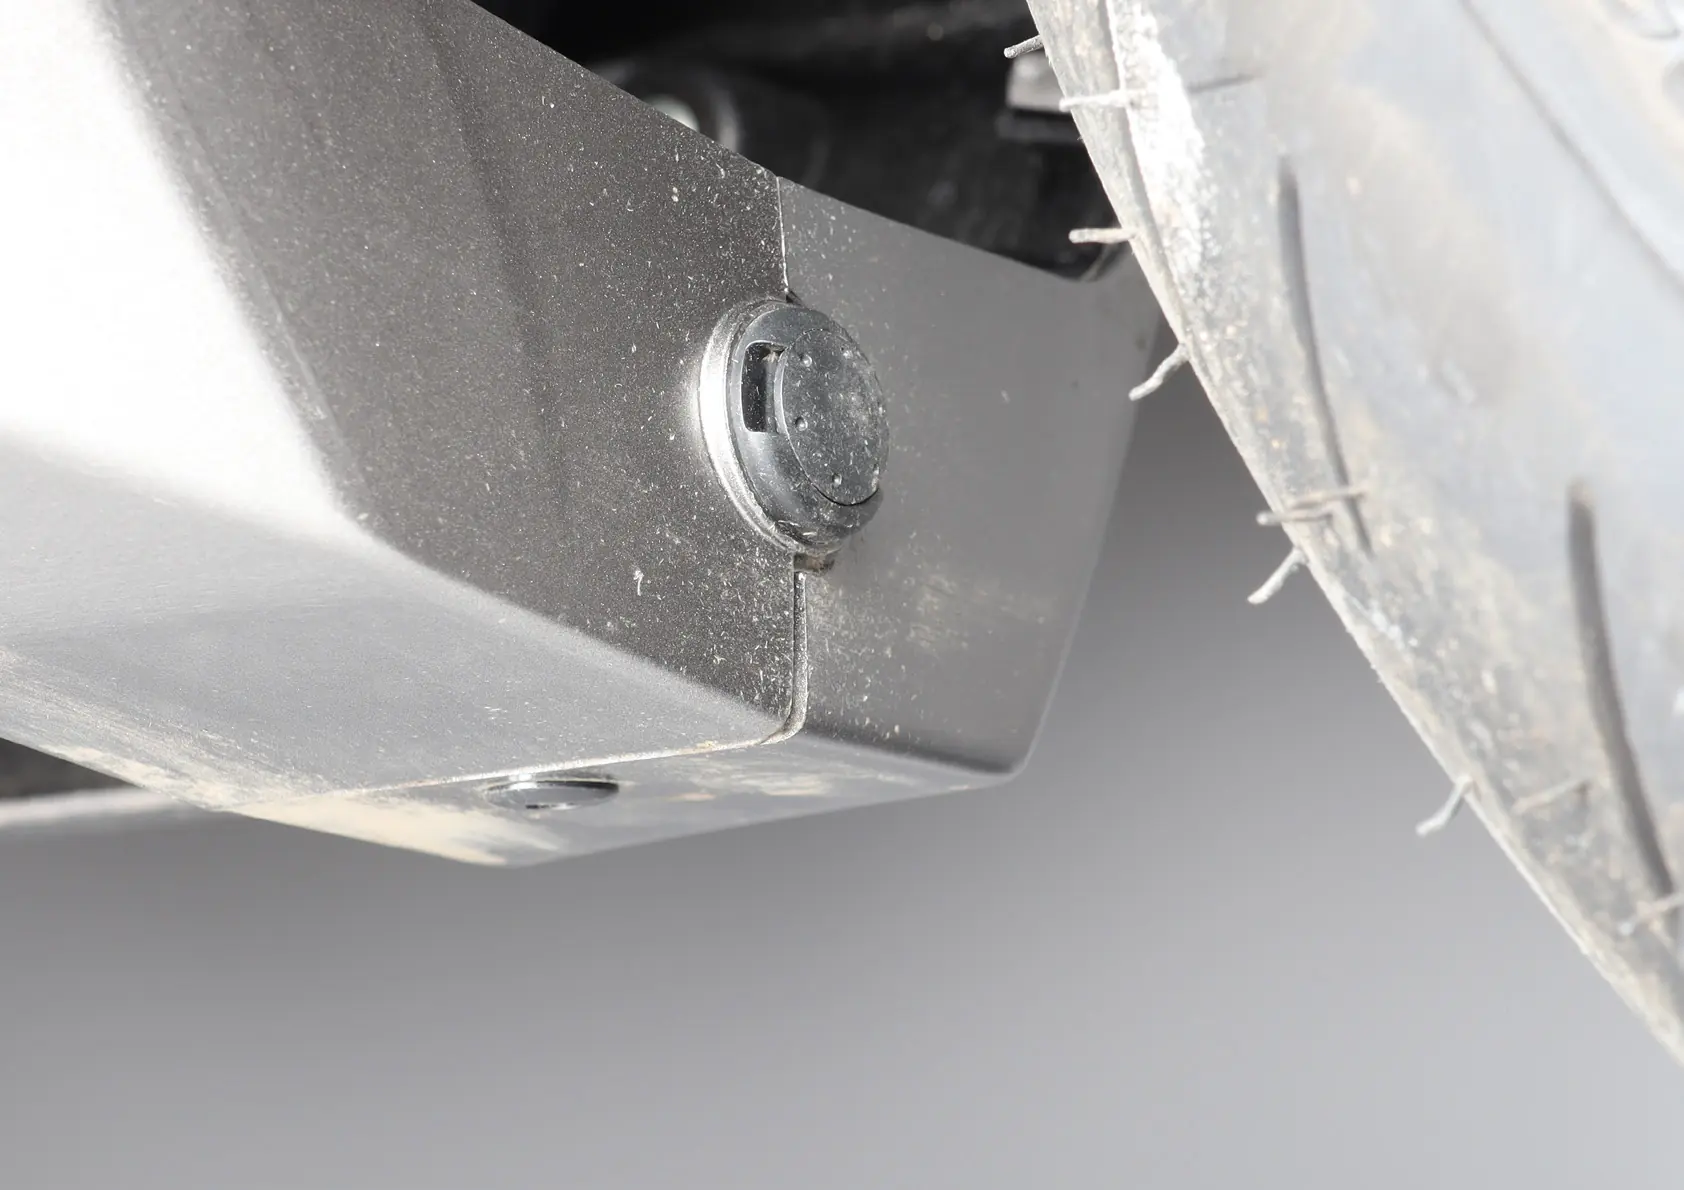
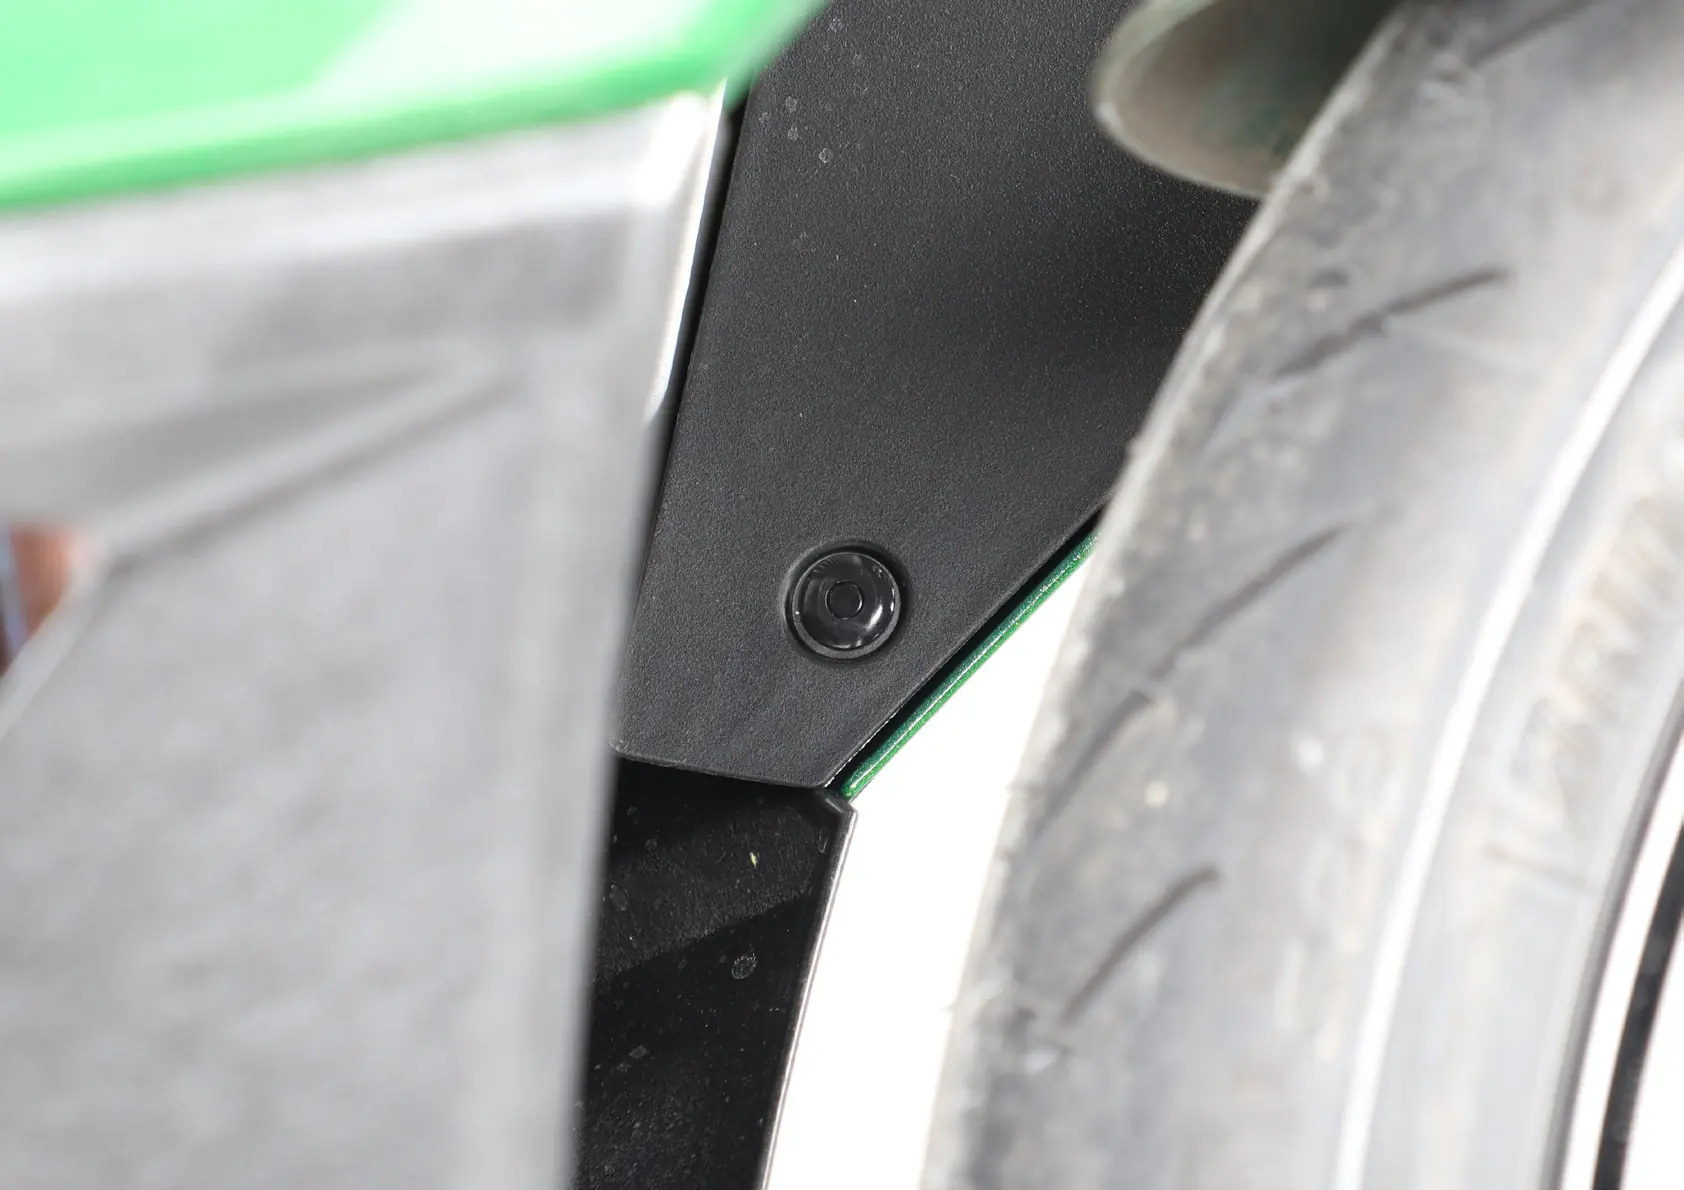
- Remove plastic fasteners from the lower cowling and side cowlings.
- Disconnect the turn signal electrical connector.
- Unscrew the eight flange nuts (support the stock exhaust during this process).
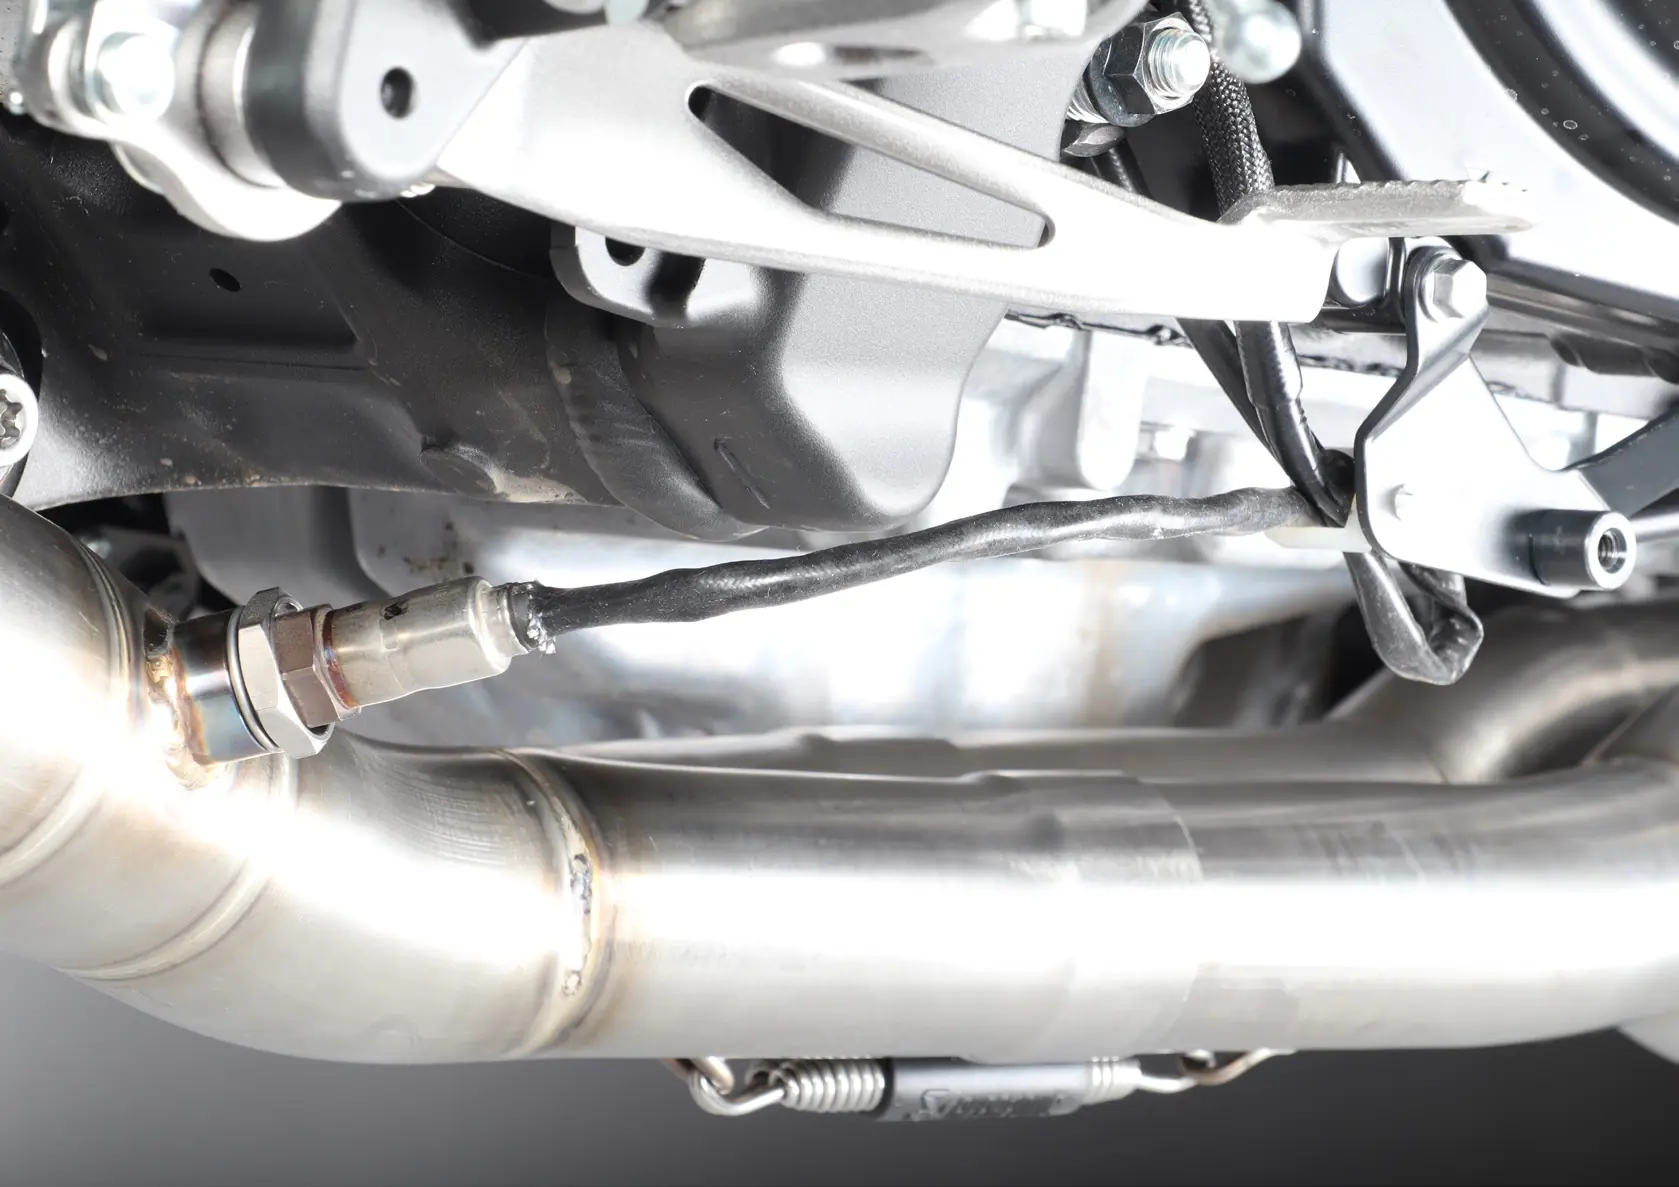
- Unscrew the lambda sensor and bolt, then carefully remove the stock exhaust.
Installation of Akrapovič exhaust system
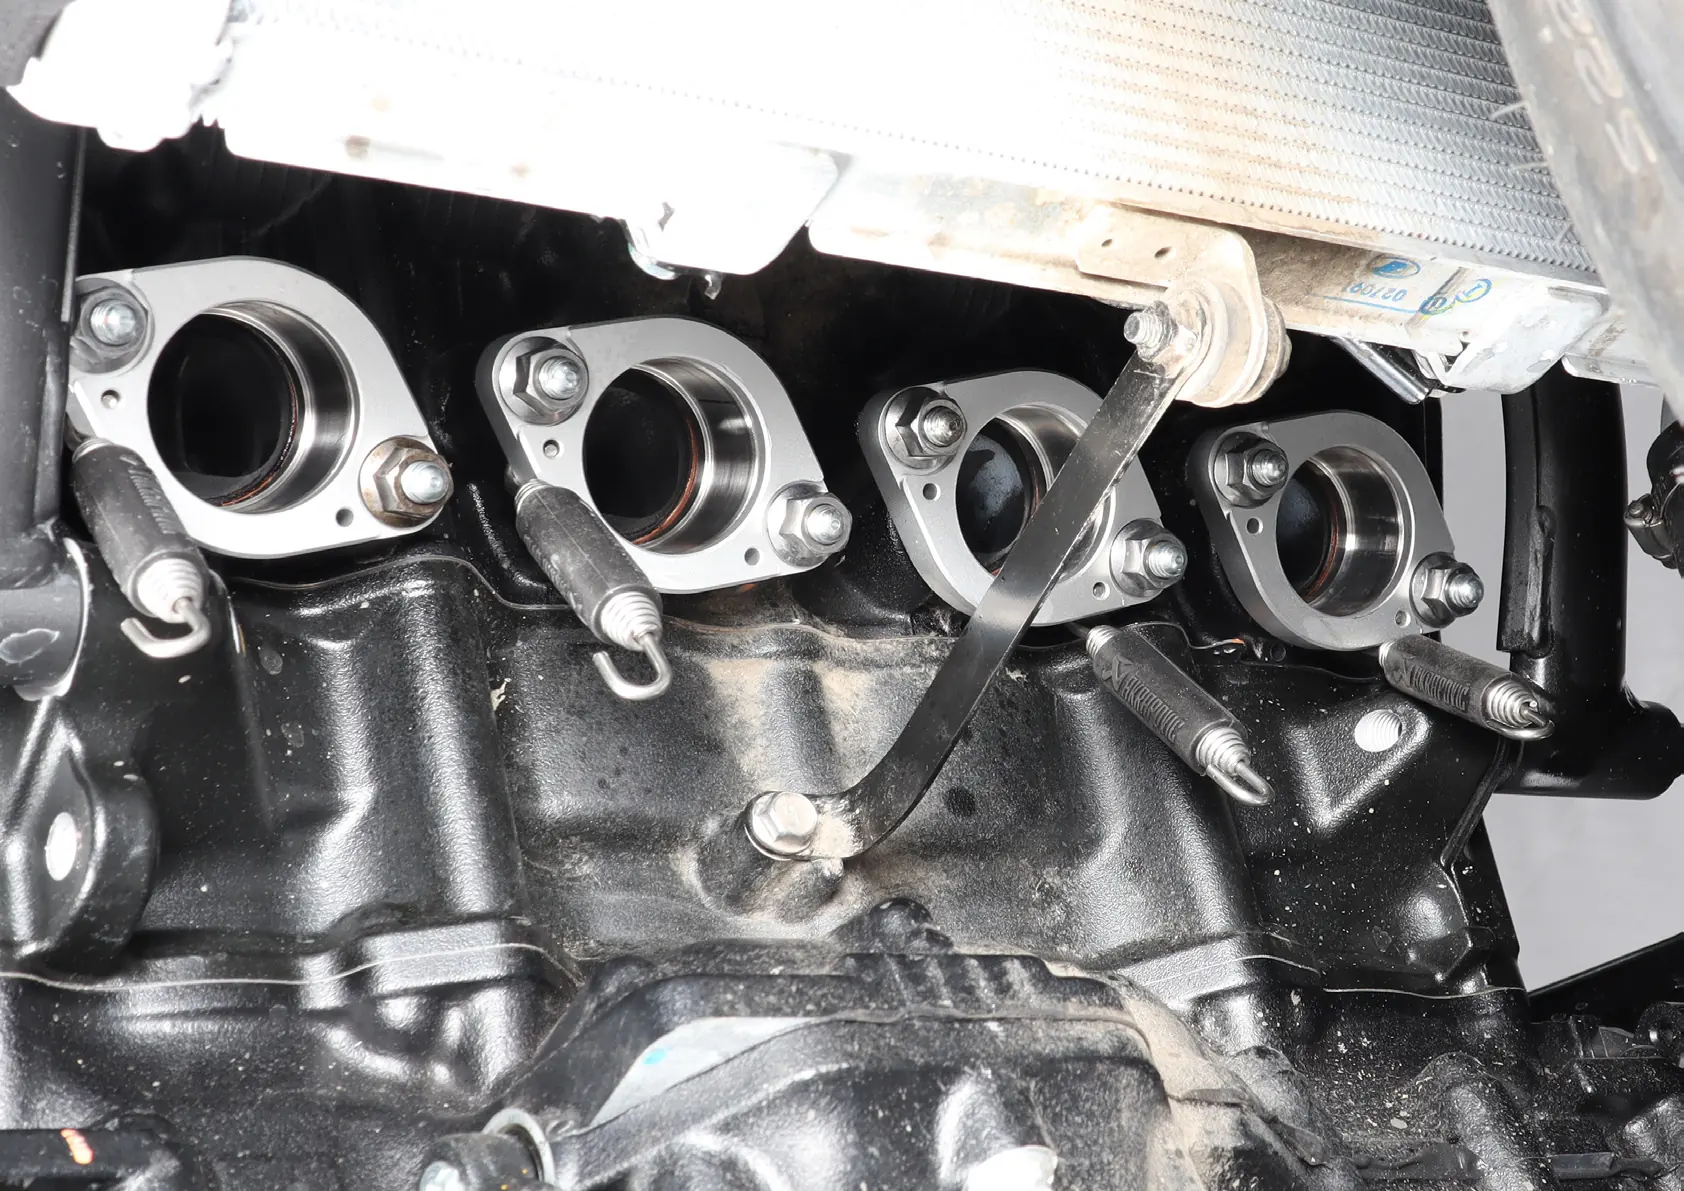
- Set up and hand-tighten the sleeves, flanges, and springs onto the cylinder head. Do not fully tighten the flanges yet.
- Assemble the header tubes with collectors using the provided springs. Use a rubber mallet if necessary to ensure connections are fully seated.
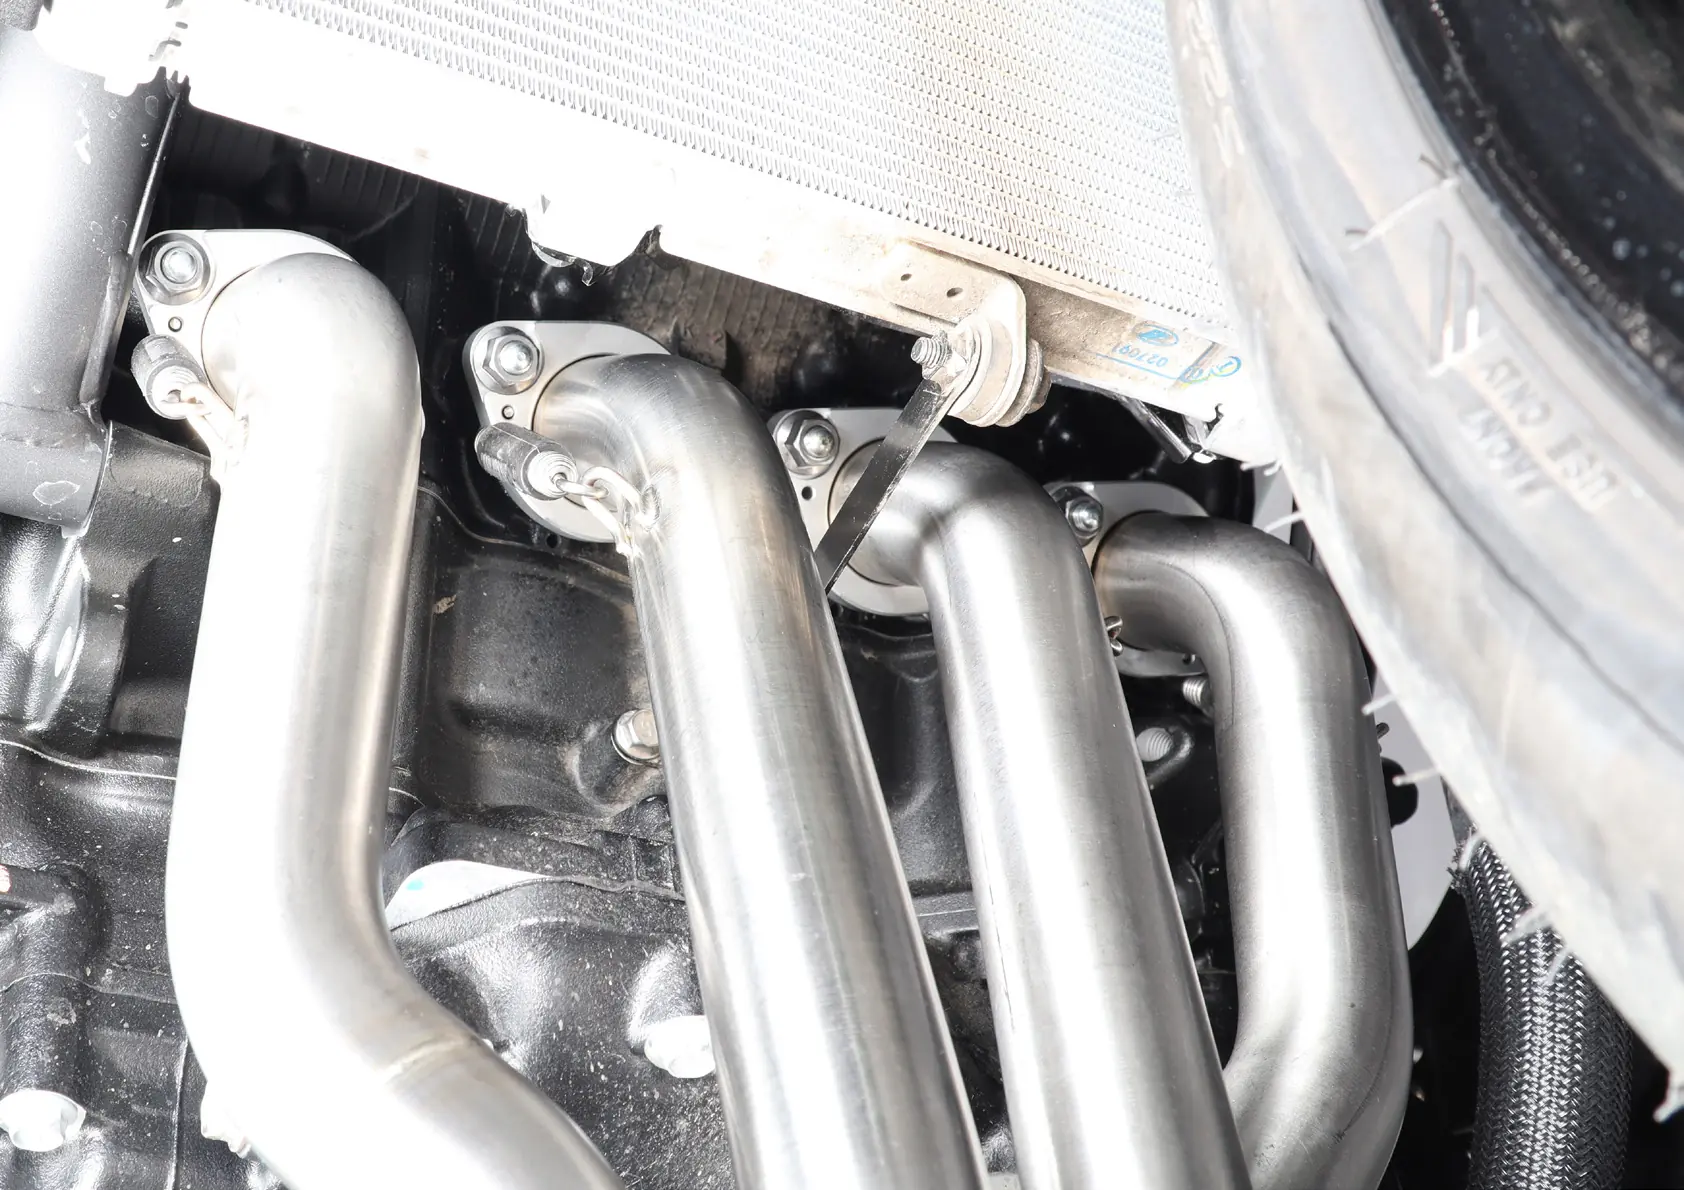
- Insert the header tubes into the sleeves, attach springs, and tighten the flanges and radiator bracket to specified torques.
- Slide the link pipe onto the collectors, attach springs, and tighten the link-pipe bracket to the frame.
- Tighten the lambda sensor to the specified torque and secure the electrical lead.
- Install the Akrapovič Slip-On muffler.
Final installation and maintenance
Clean all grease spots off the exhaust surfaces after installation to prevent burning. Do not use aggressive chemical cleaners or acidic additives.
- Titanium outer sleeve/pipes: Use a soft cloth with multi-purpose spray lubricant (e.g., WD-40).
- Carbon-fiber sleeve/cap: Use a soft dry cloth with all-purpose foam cleaner.
- Painted/Chrome parts: Use a soft cloth with all-purpose foam cleaner.
- Stainless steel pipes: Use a soft cloth with contact cleaner.
Note: It is normal for white smoke to appear during the first 100 km and for the exhaust color to change due to high temperatures.
Troubleshooting
If exhaust gas leaks from the muffler/pipe clamp connections, check if the clamp is loose or if the connection is not fully joined. Tighten the clamp to the specified torque and ensure the connection is properly seated.
Practical help
Common problems
Exhaust gas leaks from muffler/pipe clamp connections
Ensure the connection is fully joined and tighten the clamp to the specified torque.
Before use
- Verify the exhaust system matches your specific motorcycle model.
- Ensure the motorcycle is securely positioned to prevent tipping.
- Check all received parts against the parts list.
- Allow the engine and exhaust to cool completely.
- Ensure ECU fuel-mapping enrichment is compliant with local laws.
Specs in practice
- ECU fuel-mapping
- Recommended for perfect performance, throttle response, and engine durability.
- Color change
- Normal due to high operating temperatures.
Images and diagrams
- F01-F11: Step-by-step removal of stock exhaust components.
- F12-F18: Step-by-step installation of the Akrapovič exhaust system.
Model compatibility
- This manual is specific to the Kawasaki Ninja 1000SX.
- Installation procedures vary by motorcycle type.

Manual page author
Michael Turner
Technical manual editor
Reviews PDF manuals for structure, safety notes, and practical product details so readers can find the right information quickly.