Power / Batteries & Chargers
User Manual for APA 16547NV Power Pack 5-in-1
Quick guide and user manual for the APA 16547NV 5-in-1 Power Pack. Includes instructions for jump starting, using the compressor, voltage converter, and charging the device.
Table of contents
Manual images
Click an image to enlargeQuick Guide
The APA 16547NV Power Pack 5-in-1 is a versatile device designed for jump starting 12V vehicles, inflating tires, powering 230V devices, and charging USB electronics. Before first use, ensure the fuses are inserted (positions 12 and 16) and charge the unit fully for 48 hours.
Overview
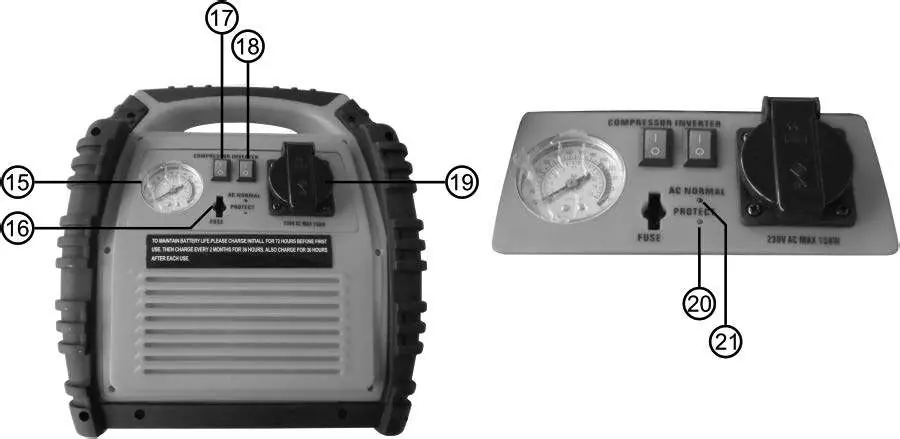
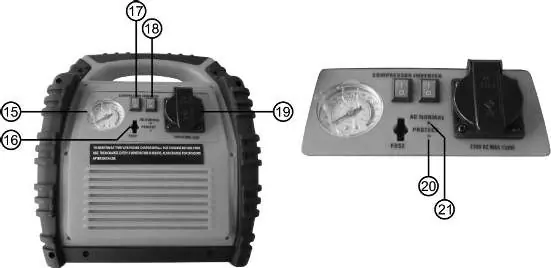
The device features a front panel with a jump start switch, voltmeter, 12V socket, LED lamp, and USB ports. The rear panel contains the compressor switch, voltage converter switch, and 230V AC socket. Clamps are stored on the sides.
Charging
The internal lead battery can be charged using the included plug charger or the 12V car charging cable. Never leave the charger connected for longer than 48 hours.
- Plug Charger: Connect to the charging socket (pos 14). Charging takes approx. 34 hours.
- 12V Car Cable: Connect to the charging socket (pos 14) and the vehicle's 12V socket. Charging takes approx. 12 hours. Only charge while the engine is running to avoid draining the car battery.
Jump Starting
- Ensure the Power Pack is fully charged (check via button 11).
- Turn off the vehicle ignition and all electrical consumers.
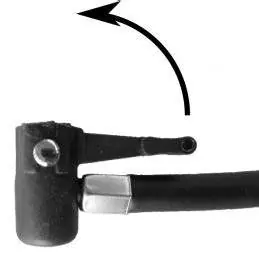
- Connect the red (+) clamp to the vehicle's positive battery terminal.
- Connect the black (-) clamp to the engine block or chassis, as far from the battery as possible.
- If connected correctly, the jump start indicator (pos 6) will light green.
- Turn the jump start switch to ON.
- Attempt to start the engine (max 6 seconds). Wait at least 5 minutes between attempts.
- After starting, turn the switch to OFF and disconnect in reverse order (black first, then red).
Compressor
The compressor can inflate tires, balls, and leisure items. Do not operate for more than 10 minutes continuously to prevent overheating.

- Remove the air hose from the storage compartment.
- Attach the appropriate adapter (bicycle, ball, or leisure item) if needed.
- Secure the valve connection, turn on the compressor switch (pos 17), and monitor pressure via the manometer.
- Turn off the compressor when the desired pressure is reached.
Voltage Converter
The inverter provides 230V AC power (max 150W continuous). Do not use for sensitive electronic devices.
- Turn off the inverter and the device to be connected.
- Plug the device into the 230V socket (pos 19).
- Turn on the inverter. The indicator (pos 21) should light green.
- If the red warning light (pos 20) illuminates, the battery is too low; turn off the device and recharge the Power Pack.
Maintenance
Store in a dry, frost-free place. If not used for a long period, recharge every 2 months in winter and every month in summer. Clean the housing with a soft, dry cloth; do not use aggressive cleaners.
Practical help
Common problems
Jump start fails
Check clamp connections, ensure battery is charged, and wait at least 5 minutes between start attempts.
Inverter warning light (red) is on
Battery power is too low. Turn off the inverter and all other functions, then recharge the Power Pack.
Device functions (compressor, 12V, USB) not working
Check the 15A fuse (pos 12) and replace if blown.
Before use
- Check charge status by pressing button 11.
- Ensure fuses are inserted in positions 12 and 16.
- Inspect the device for any physical damage.
- Ensure the jump start switch is in the OFF position before connecting.
- Verify the vehicle battery is not frozen.
Images and diagrams
- Front panel: Contains the main controls, voltmeter, USB ports, and charging socket.
- Rear panel: Contains the compressor and inverter switches, and the 230V AC socket.
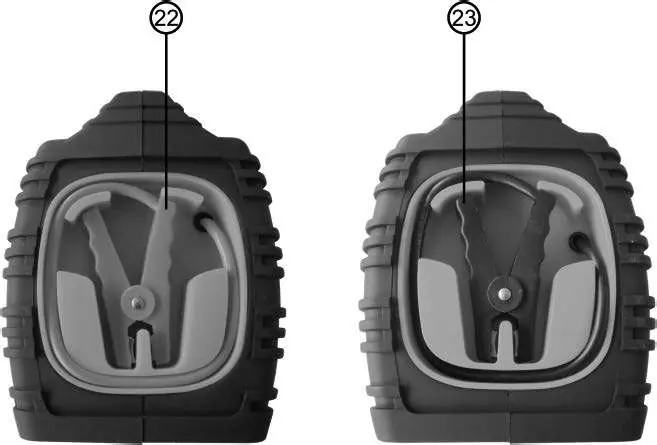
- Side panels: Houses the red (+) and black (-) clamps.
Model compatibility
- Jump starter is for 12V vehicles only.
- Voltage converter is for simple 230V devices (bulbs, soldering irons) and not for electronic devices.
- Compressor is for tires, balls, and leisure items.

Manual page author
Emily Carter
User documentation editor
Prepares concise manual descriptions and highlights the most useful setup, operation, and maintenance information for readers.