Tools / Laser Engraving Accessories
User Manual for Atomstack Air Assist Kit
Quick guide for the Atomstack Air Assist Kit. Includes parts list, installation instructions for various laser engraver models, equipment setup, and usage precautions.
Table of contents
Manual images
Click an image to enlargeQuick guide from the manual
The Atomstack Air Assist Kit is designed to improve the cutting and engraving performance of various Atomstack laser engravers. This manual provides installation procedures for different laser models, pump setup, and essential maintenance precautions. Ensure you identify your specific laser model before beginning installation, as the required parts and steps vary.
Parts List
The kit includes a collection of parts, and not every model will use all components. Key parts include:
- Air Pump
- Power Adapter
- Air Tube
- M3 self-tapping screws
- Set screw
- Inner hexagon screwdriver
- PH1 Phillips screwdriver
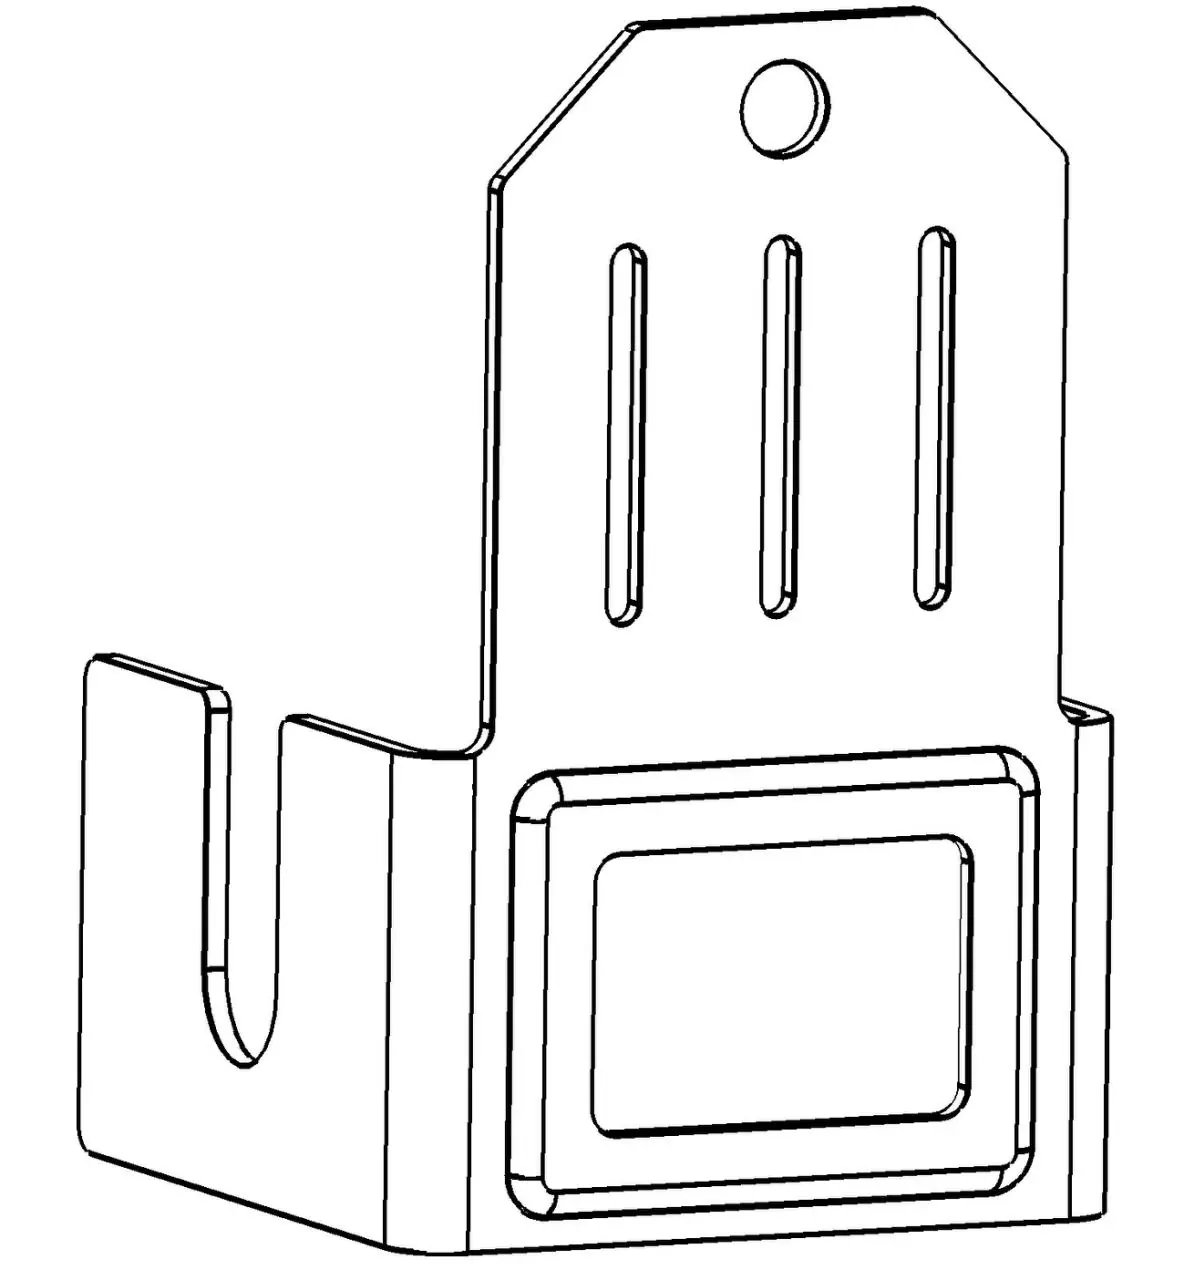
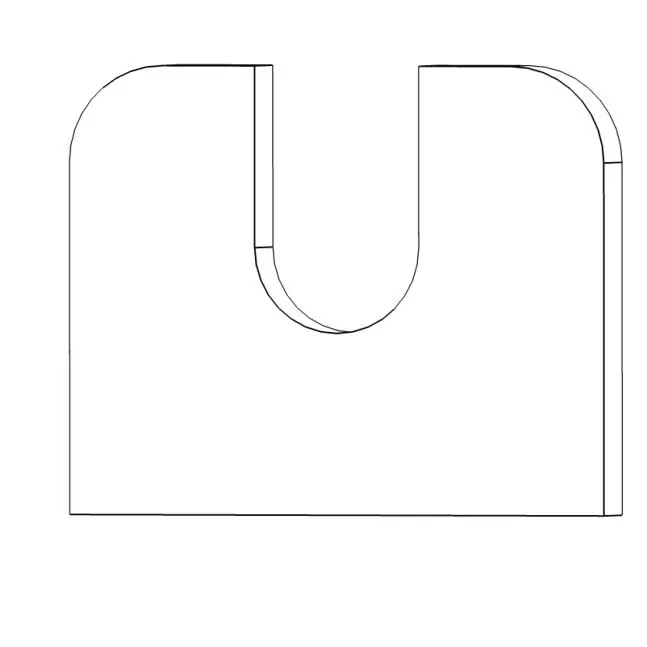
- Various air guide hood components (NO. 1, NO. 1-1, NO. 1-2, NO. 1-3, NO. 2, NO. 2-1)
- Silicone foot pads
Installation for Four Models
Applicable to: Atomstack A5 10W, A5 20W, A5 30W, A5 Pro.
- Remove the current acrylic shields.
- Rotate the laser backward 180°.
- Remove the set screw.
- Rotate the current air guide hood counterclockwise to remove it.
- Find NO.1 from the accessories and install it. Note: The air guide hood tube mouth must be on the left.
- Tighten the self-tapping screws using a PH1 Phillips screwdriver.
- Find NO.1-1 from the accessories and install it.
- Insert the tube and fix it with a tie.
Installation for Eight Models
Applicable to: Atomstack A5 M50 Pro, P9 M40, X7 Pro, P9 M50, A10 PRO, A5 M50, S10 Pro, X7.
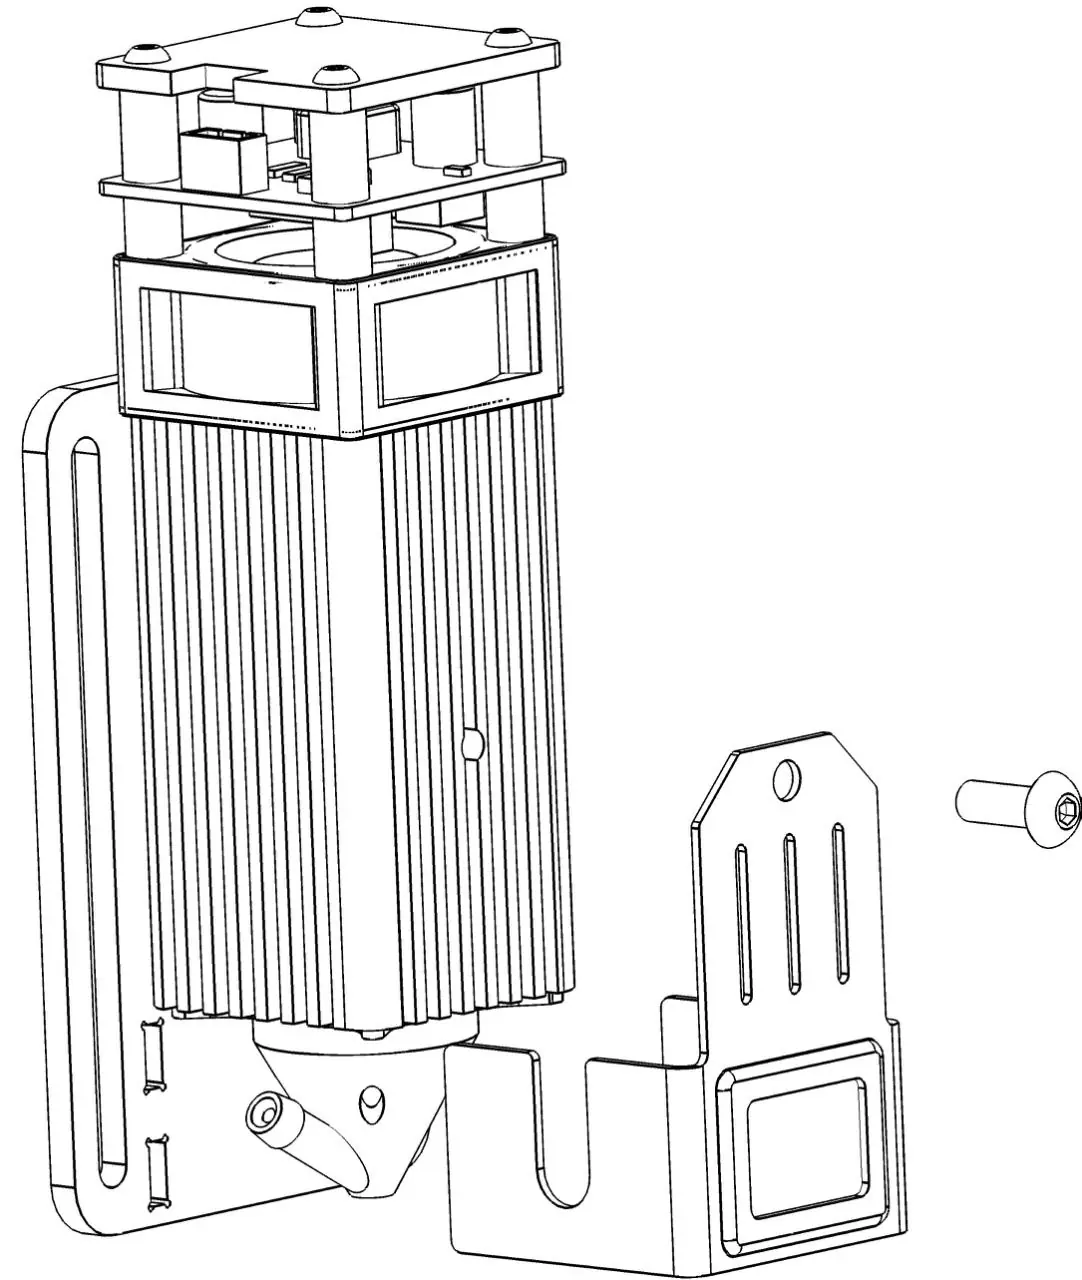
- Remove the set screw from the right side of the laser and remove the current filter glass or acrylic shield.
- Remove the current air guide hood.
- Find NO.1 and NO.1-2 from the accessories and install them simultaneously.
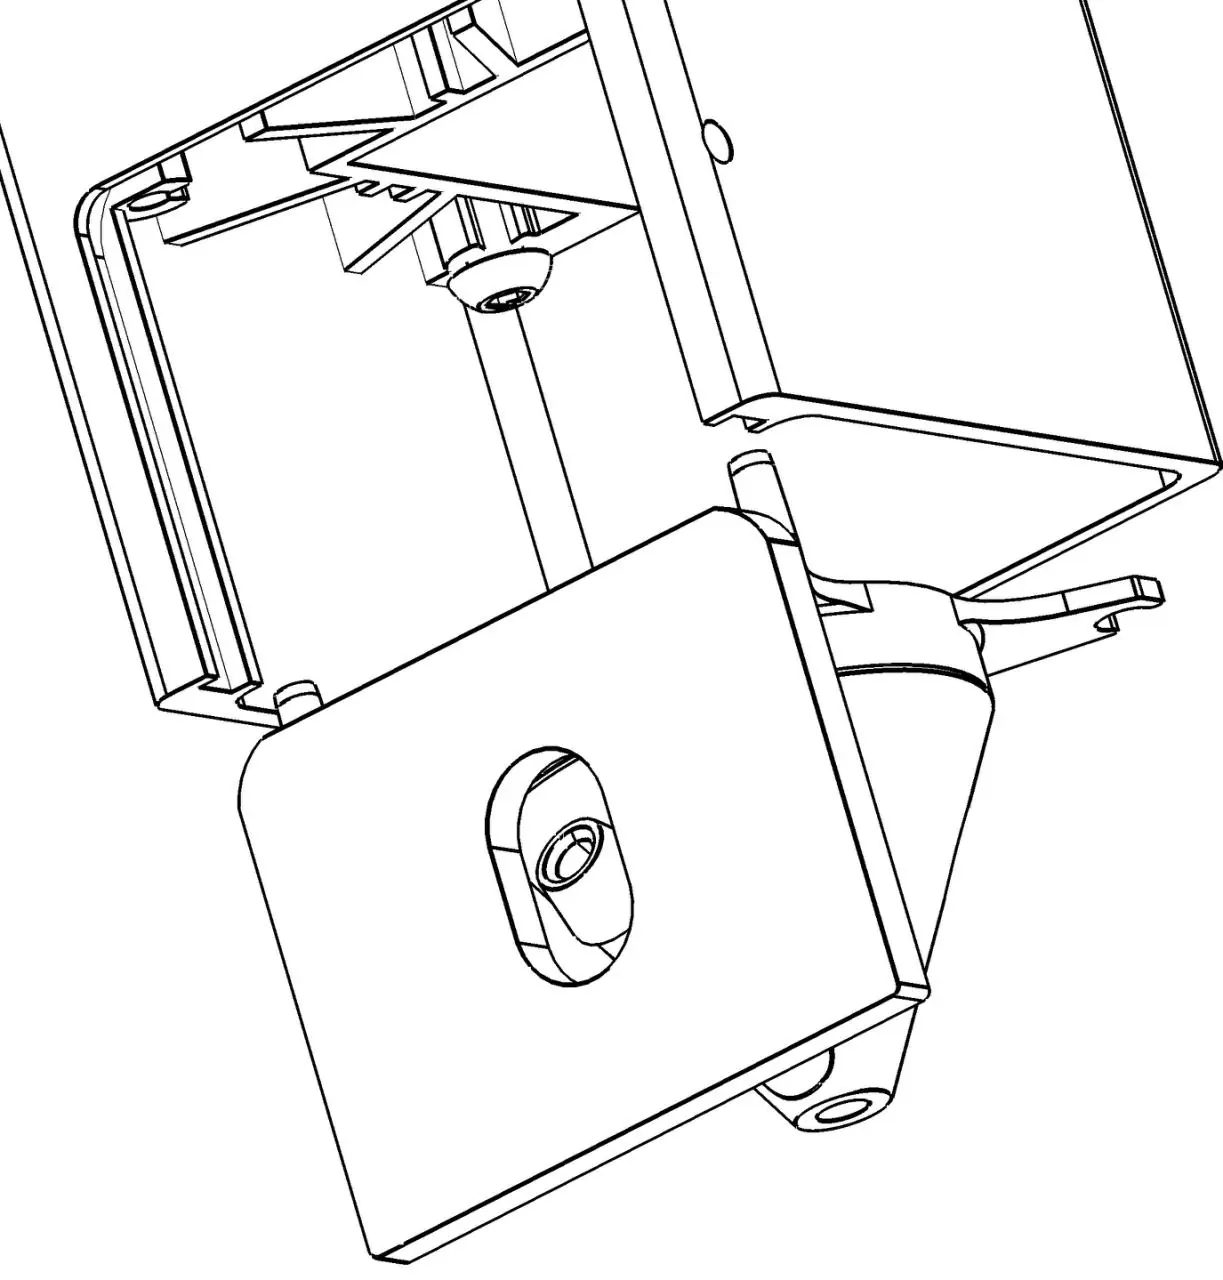
- Fix the air guide hood and the filter glass.
- Insert the tube.
Installation for Special Models
Applicable to: Atomstack A5 Pro+, Atomstack P7 M40. You must choose between two combinations based on your specific model.
- Remove the set screw from the right side of the laser and remove the current filter glass or acrylic shield.
- Remove the current air guide hood.
- Locate the combination (Combination one or Combination two) that contains the wind deflector matching your model. If the bottom surface of the glass and the laser is flush after assembly, the combination is correct.
- Install the chosen combination, mounting the air guide hood and the glass at the same time.
- Insert the tube.
Equipment Installation and Use
Once the air guide hood is installed on the laser module, set up the pump:

- Tear off the adhesive protect paper from the silicone pads, align the positioning posts with the mounting holes on the pump, and paste the pads to the pump body.
- Insert the air tube into the air pump port.
- Fix the tube on the machine using the provided nylon tie. Ensure it is not fixed too tightly, as this may block the airflow.
- Connect the power adapter to the DC power interface on the pump. Use the speed-adjusting knob to control the airflow.
Precautions for Use
- Ensure the air tube does not get stuck in the machine's wheels.
- Do not bend the tube excessively, as this will block the airflow.
- After using the air assist, clean any adhesions on the air outlet to prevent accumulation, which can affect future performance.
Customer Service
For detailed warranty policy, visit the official website at www.atomstack.net. For technical support and service, email [email protected]. The manufacturer is Shenzhen AtomStack Technologies Co., Ltd.
Official resources from the manual
Practical help
Common problems
Tube blockage
Ensure the tube is not bent too sharply or pinched by the machine's wheels.
Debris accumulation
Clean the air outlet on the air guide hood after use to prevent buildup.
Before use
- Identify your specific laser engraver model.
- Verify all parts against the parts list.
- Ensure you have the correct combination of parts for your specific model.
- Check that the air tube is not kinked or blocked.
Specs in practice
- Speed-adjusting knob
- Allows manual control of the air pump flow rate.
- DC power interface
- Connection point for the provided power adapter.
Images and diagrams
- Installation steps illustrate the removal of existing shields and the attachment of the new air guide hood.
- Pump setup diagrams show the correct orientation of silicone pads and tube connection.
- Precautions diagrams highlight incorrect tube routing and bending.
Model compatibility
- The kit is compatible with various Atomstack models, but installation procedures differ.
- Specific models like A5 Pro+ and P7 M40 require selecting one of two specific part combinations.

Manual page author
David Miller
Documentation analyst
Organizes user manual content into clear summaries, with attention to model details, product context, and everyday usability.