Automotive / Electric Bikes
User Manual for Jasion Thunder Electric Bike
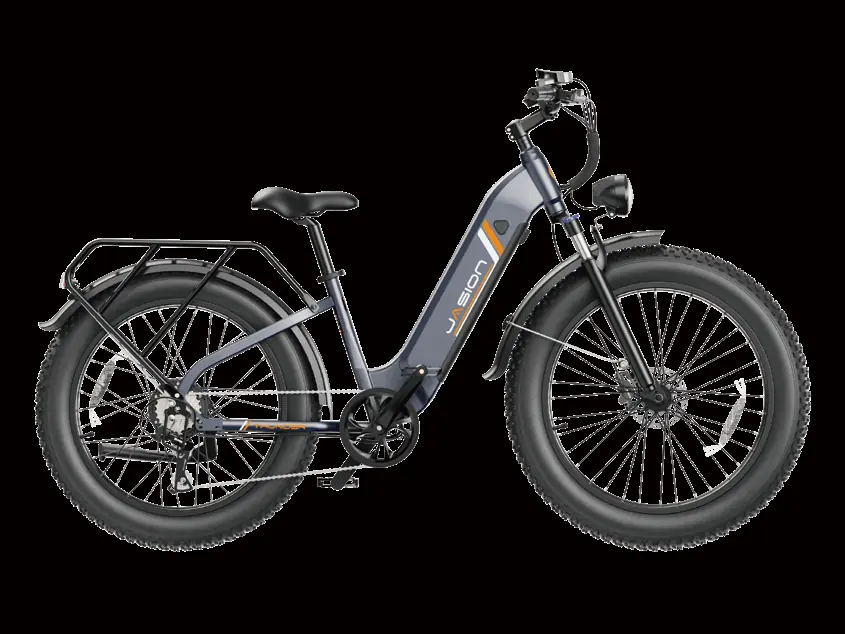
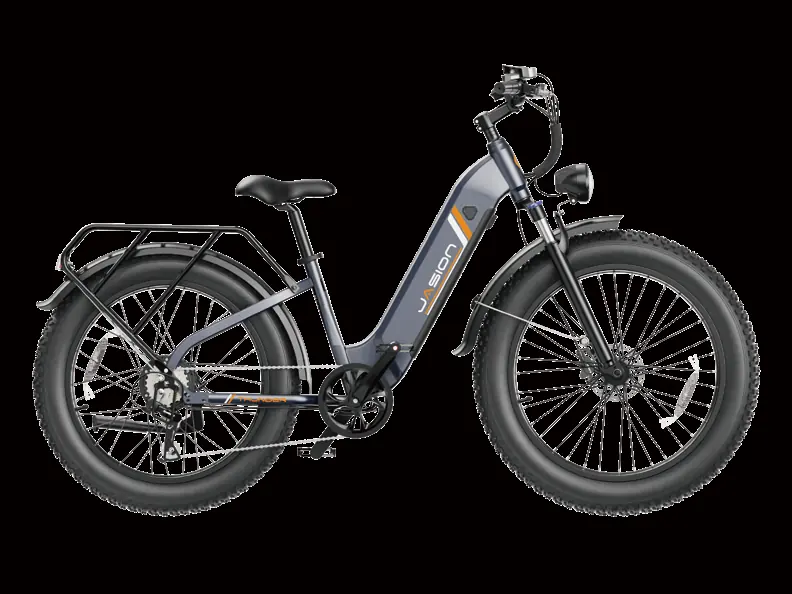
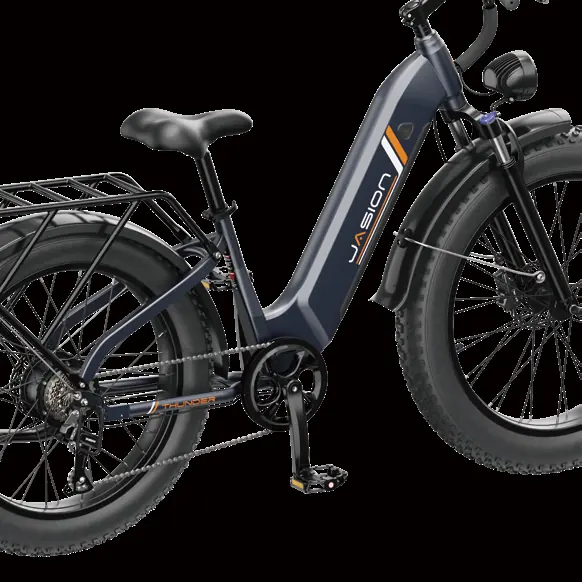
Get started with your Jasion Thunder electric bike. This guide covers assembly, battery charging, display settings, maintenance, and troubleshooting to ensure a safe and smooth ride.
Table of contents
Manual images
Click an image to enlargeQuick Guide
The Jasion Thunder is a high-performance electric bike. Before your first ride, ensure the battery is fully charged, all bolts are tightened, and the seatpost is adjusted within the safe insertion limits. Always wear a helmet and adhere to local traffic regulations.
Assembly Instructions
Follow these steps to assemble your bike:
- Front Wheel: Remove the fork protection rod. Insert the wheel into the fork slots, ensuring the disc brake is on the left. Tighten the nuts securely.
- Fender & Headlight: Attach the headlight and front mudguard to the front fork using the provided screws and anti-skid nuts. Connect the headlight power cord.
- Head Tube: Insert the stem into the fork frame, replace the riser cover, and tighten the screws.
- Rear Fender & Rack: Remove frame screws, align the rear shelf and mudguard, and secure them tightly.
- Pedals: Identify left and right pedals (marked R/L). Thread the right pedal clockwise onto the right crank.
- Seat: Adjust the seatpost height and angle, ensuring the quick-release handle is securely fastened.
Battery and Charging
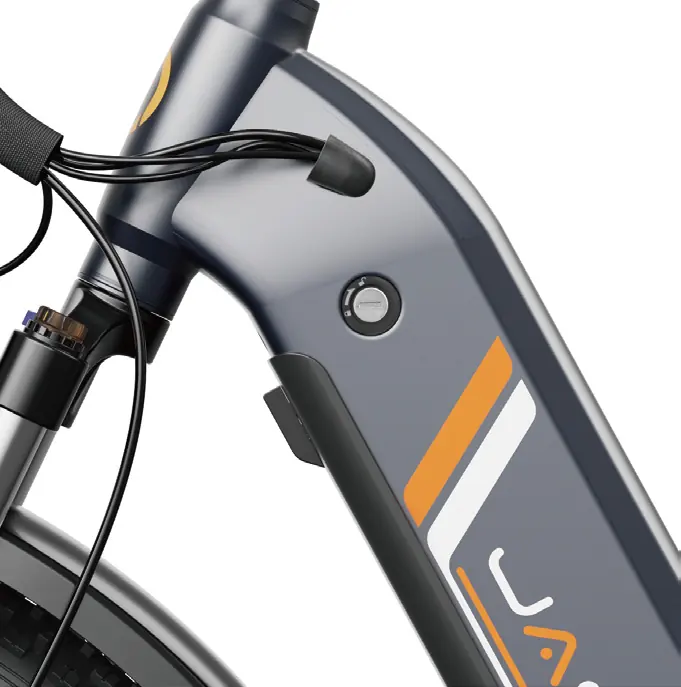
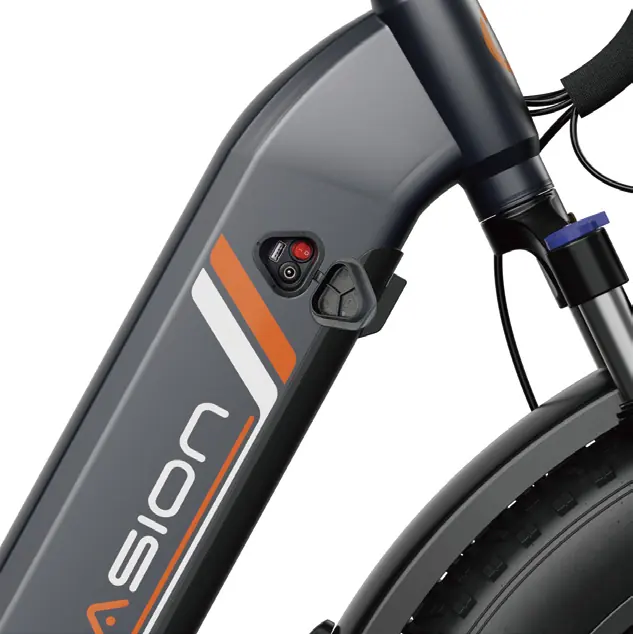
The battery can be charged on or off the bike. To remove it, insert the key, rotate it to the unlock position, and use the safety buckle release knob. Always use the original charger (Model JY-546200). Charging is indicated by a red light on the charger, turning green when fully charged.
Display and Settings
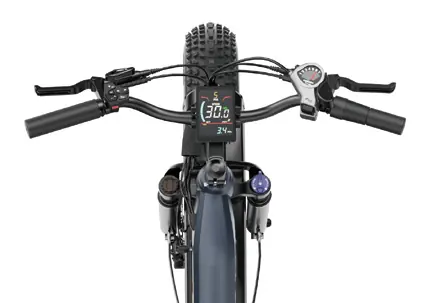
The digital display provides real-time data and control:
- Power: Long press the power button to turn on/off.
- Assist Levels: Use the + / - buttons to switch between 6 modes (0-5).
- Settings Menu: Long press the M button within 10 seconds of startup to enter settings (P01-P06).
- Fault Codes: If an error occurs, a code (e.g., E60-E66) will appear on the display. Refer to the troubleshooting section for definitions.
Maintenance and Safety
Regular maintenance is essential for safety and longevity:
- Cleaning: Use a damp cloth. Do not use high-pressure washers or corrosive solvents.
- Service Intervals: Perform weekly checks on drivetrain alignment and frame condition. Monthly checks should include brake pad alignment, cable tension, and spoke tension.
- Pre-Ride Checklist: Always verify brake function, tire pressure, battery security, and that all electrical cables are seated properly.
Practical help
Common problems
Bike does not turn on
Charge the battery, check for loose connections, ensure the battery is fully seated in the tray, or check the discharge fuse.
Reduced range
Check tire pressure, ensure the battery is balanced, and check for brake rubbing.
Motor does not respond
Check wiring, throttle connection, and motor plug. Repair or replace if damaged.
Battery will not charge
Check charger connections, ensure the charger is not damaged, and check the charge fuse.
Before use
- Check tire pressure and condition.
- Ensure battery is fully charged and locked.
- Verify brakes are functioning properly.
- Check that all bolts and quick releases are tightened.
- Ensure the seatpost is within safe insertion limits.
- Check that all electrical cables are seated and free of debris.
Images and diagrams
- Display controls: M button for data, +/- for assist levels, power button for on/off.
- Battery key positions: Position 1 (Locked), Position 2 (Unlocked/Remove).
Model compatibility
- Use only the original charger (Model JY-546200).
- Do not use aftermarket tires or tubes not provided by Jasion.

Manual page author
Emily Carter
User documentation editor
Prepares concise manual descriptions and highlights the most useful setup, operation, and maintenance information for readers.