Automotive / Exhaust Systems
Installation Manual for JBA Performance Exhaust 1674S Series Headers
Quick installation guide for JBA Performance Exhaust 1674S, 1674S-1, and 1674S-2 headers for Ford 4.0L SOHC V-6 engines. Includes step-by-step mounting instructions, parts list, and emissions compliance information.
Table of contents
Manual images
Click an image to enlargeQuick guide from the manual
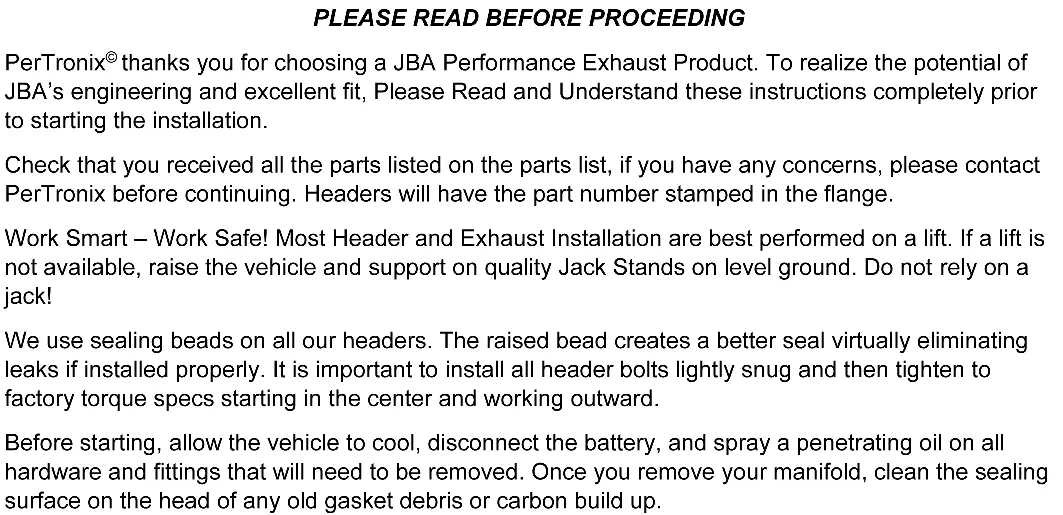
This manual provides installation instructions for JBA Performance Exhaust Cat4Ward Headers designed for Ford Ranger, Explorer, and Sport Trac vehicles with 4.0L SOHC V-6 engines. Before beginning, ensure the vehicle is on a lift or securely supported by quality jack stands on level ground. Always allow the engine to cool completely and disconnect the negative battery cable before starting work. Use a penetrating oil on all hardware to be removed.
Preparation and Removal
Before installing the new headers, perform the following steps to remove the stock components:
- Loosen the bolts connecting the exhaust system to the exhaust manifolds and move the exhaust system back about 1/2 inch to create workspace.
- If equipped, remove the EGR connection from the stock exhaust manifold (location varies by model).
- Remove the oil dipstick tube, which is bolted to the cylinder head on the driver's side. Take care not to damage the O-ring at the bottom of the tube.
- Unbolt the bracket and cable from the passenger side, above the exhaust manifold. Retain the larger bolt for reuse.
- Unbolt both the driver's and passenger's side exhaust manifolds and remove them.
- Remove old gaskets and any remaining gasket material or carbon deposits from the head surface. Use a gasket removal agent if necessary, ensuring no debris enters the exhaust ports.
Installation Procedure
Follow these steps to install the new JBA headers:

- Driver's Side: Slide the oil dipstick through the header and into the block during installation. On models with an EGR on the driver's side, loosely thread the EGR tube into the header before bolting the header to the head.
- Apply a small amount of anti-seize to the supplied header bolts and start all bolts with lock washers.
- Tighten the bolts starting from the center and working outward.
- Passenger's Side: Slip the header into position from inside the wheel well. On models with an EGR on the passenger side, loosely thread the EGR tube into the header before bolting the header to the head.
- Apply anti-seize to the bolts and tighten starting from the center and working outward.
- Re-attach the cable and bracket on top of the header using the original bolt and the two additional bolts supplied in the kit.
- Apply a thin coating of high-temp, sensor-safe silicone sealant to the collector domes and reconnect the exhaust system using the provided hardware.
Finalization and Checks
After installation, perform the following checks:
- Ensure all bolts are tight.
- Verify that all wiring, fuel lines, transmission lines, and brake lines are clear of the headers and exhaust; relocate them if necessary.
- Reconnect the negative battery cable.
- Start the engine, check for leaks, and take the vehicle for a test drive.
- Allow the engine to cool, then re-torque the header bolts.
- Periodically check and retighten the header bolts.
Parts List
- (1) Driver Side Header
- (1) Passenger Side Header
- (2) Header Gaskets
- (13) 8mm 1.25 x 25mm Header Bolts
- (13) 8mm Lock Washers
- (4) 3/8-16 x 2" Collector Bolts
- (4) 3/8-16 Collector Nuts
- (1) 6mm x 25mm bolt
- (1) CARB EO Sticker
Practical help
Common problems
Exhaust leaks after installation
Ensure all bolts are tightened starting from the center and working outward. Re-torque the header bolts after the engine has cooled down following the initial test drive.
Interference with lines or cables
Check that all wiring, fuel lines, transmission lines, and brake lines are clear of the headers and exhaust. Relocate them if necessary.
Before use
- Verify all parts from the parts list are present.
- Ensure the vehicle is on a lift or supported by quality jack stands on level ground.
- Allow the engine to cool completely.
- Disconnect the negative battery cable.
- Apply penetrating oil to all hardware and fittings to be removed.
Model compatibility
- Designed for Ford Ranger, Explorer, and Sport Trac with 4.0L SOHC V-6 engines.
- Product is 50-state legal when installed on the specified vehicle per the CARB EO exemption.

Manual page author
Emily Carter
User documentation editor
Prepares concise manual descriptions and highlights the most useful setup, operation, and maintenance information for readers.