Automotive / Exhaust Systems
Installation Instructions for JBA Performance Exhaust Cat4ward Headers
Comprehensive installation guide for JBA Performance Exhaust Cat4ward Headers. Includes step-by-step removal and installation procedures, safety precautions, and parts list for various Ford Ranger, Bronco II, and Explorer models.
Table of contents
Manual images
Click an image to enlargeQuick guide from the manual
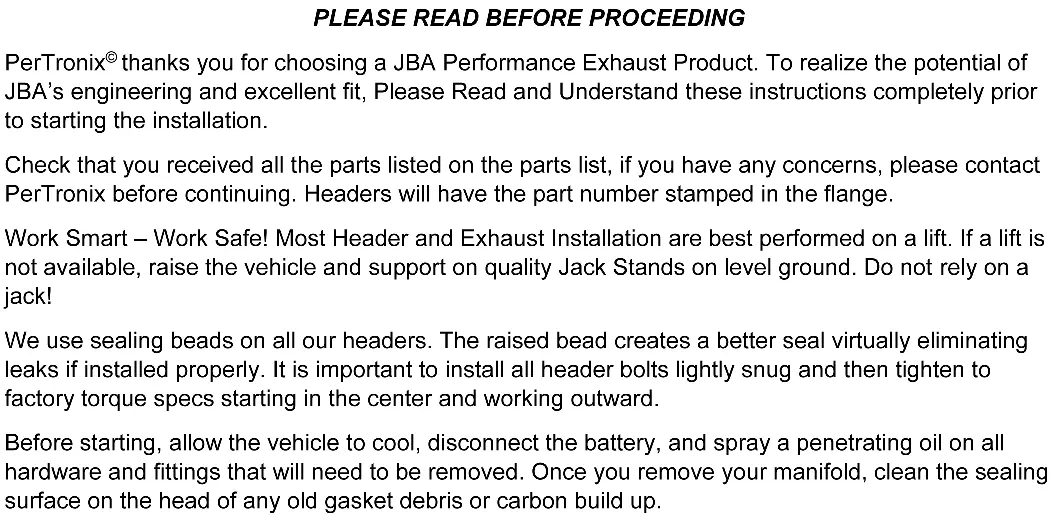
This document provides installation instructions for JBA Performance Exhaust Cat4ward Headers. Before beginning, ensure you have all parts listed. Work safely by using a lift or jack stands on level ground. Always allow the engine to cool and disconnect the battery before starting.
Preparation
Before removing any parts, spray penetrating oil on all hardware and fittings. Clean the sealing surface on the head of any old gasket debris or carbon build-up to ensure a proper seal. Use a gasket removal agent if necessary, but be careful not to get debris into ports or spark plug holes.
Removal Procedure
- Disconnect spark plug wires by grasping the boots.
- Unbolt the muffler assembly from the catalytic converter and drop it to provide clearance.
- Unbolt the catalytic converter assembly from the Y-Pipe and remove it.
- Unplug O2 sensors. Loosen the Y-Pipe from factory manifolds if access is difficult. Remove O2 sensors using a box wrench or special socket.
- Remove the EGR tube if equipped.
- Unbolt the dipstick tube bracket and remove the tube.
- Unbolt the driver's side exhaust manifold and remove it from the top.
Installation Procedure

- Apply anti-seize to header bolts if installing on aluminum heads.
- Bolt the driver's side header to the engine using supplied gaskets, bolts, and lock washers. Tighten evenly from the center out.
- For models with EGR fittings, reuse the EGR adapter fitting from the factory manifold.
- Clean the dipstick tube, apply silicone sealant to the slip-fit area, and reinstall. Ensure it is not too close to header tubes.
- Remove the passenger side manifold from underneath the vehicle.
- Install the passenger side header using the same anti-seize and tightening procedure as the driver's side.
- Install O2 sensors in the new Y-pipe. Apply high-temperature, sensor-safe silicone sealant to collector domes and Y-pipe slip joints.
- Reassemble the exhaust system, ensuring all components are aligned before tightening bolts to factory specs.
Post-Installation
Reinstall spark plug wires and battery cables, ensuring they are routed away from headers. Check that all wiring, fuel lines, and brake lines are clear of the exhaust. Start the engine, check for leaks, and let it cool down. Re-check all fasteners for tightness. Periodically check and retighten header bolts.

Practical help
Common problems
Difficulty accessing O2 sensor plugs
Loosen the Y-Pipe from the factory manifolds to improve access.
Gasket material stuck on head surface
Use a gasket removal agent to ease removal and prevent debris from entering ports.
Header bolts loosening over time
Periodically check and retighten the header bolts after installation.
Before use
- Verify all parts from the parts list are present.
- Ensure the vehicle is on a lift or supported by quality jack stands on level ground.
- Allow the engine to cool completely.
- Disconnect the battery.
- Apply penetrating oil to all hardware and fittings to be removed.
Specs in practice
- Sealing beads
- Raised beads on headers that create a better seal; ensure proper tightening to utilize them.
- Tightening sequence
- Always tighten bolts evenly starting from the center and working outward to ensure a proper seal.
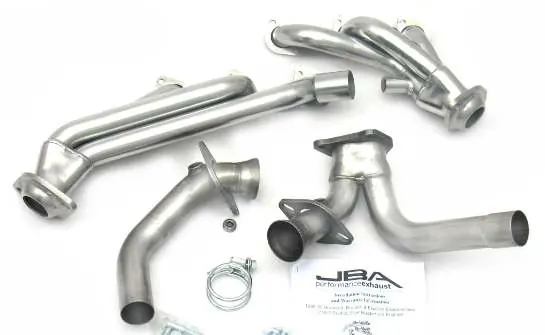
Images and diagrams
- The manual provides a visual reference of the header assembly and Y-pipe components to assist in identification during installation.
Model compatibility
- Compatible with various Ford Ranger, Bronco II, and Explorer models (1986-1997).
- Specific models (e.g., 90-94 4.0 Explorers) have unique O2 sensor and EGR configurations; use supplied plugs for unused fittings.

Manual page author
Michael Turner
Technical manual editor
Reviews PDF manuals for structure, safety notes, and practical product details so readers can find the right information quickly.