Automotive / Exhaust Systems
Installation Instructions for JBA Performance Exhaust 1526S / 1527S
Step-by-step installation guide for JBA Performance Exhaust Cat4Ward Headers (models 1526S and 1527S) for Jeep Wrangler 4.0L. Includes preparation, removal, and installation procedures.
Table of contents
Manual images
Click an image to enlargeQuick guide from the manual
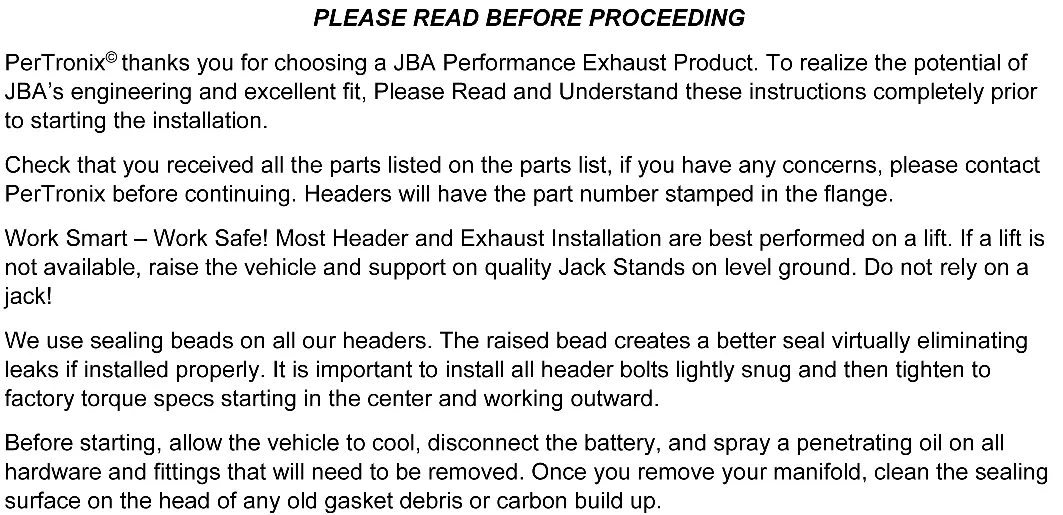
This document provides installation instructions for JBA Performance Exhaust Cat4Ward headers, specifically models 1526S (1991-99 Jeep Wrangler 4.0L) and 1527S (2000-06 Jeep Wrangler 4.0L). Key safety requirements include working on a cold engine, using a lift or jack stands, and proper handling of fuel lines. Always check for leaks after installation.
Installation preparation
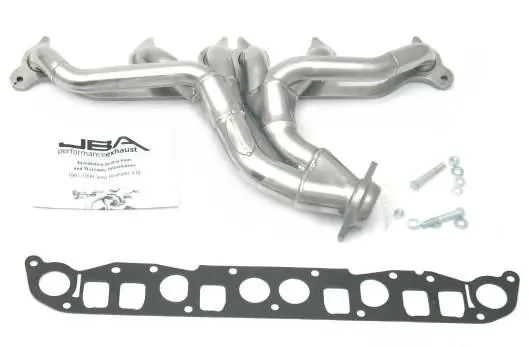
Before beginning the installation, ensure you have all parts listed in the parts list. If you have concerns, contact the manufacturer. Work on a solid, flat floor with adequate lighting. Do not attempt to work on a hot engine, as heat causes metal expansion and makes fastener removal difficult. Allow sufficient time for fuel pressure to bleed down.
Removal procedure
- Disconnect the negative battery cable.
- If a lift is not available, raise the front of the vehicle and support it with large-base jack stands. Do not rely on a jack. Block the tires.
- Apply penetrating oil to all accessible fasteners and fittings.
- Disconnect the exhaust system from the exhaust manifold from below.
- Remove the air cleaner assembly and the serpentine belt.
- Unbolt the power steering pump from the intake manifold.
- Unplug the wire harness from fuel injectors, O2 sensor, TPS, and temp sender. Unbolt the wire harness trough and move it aside.
- Disconnect vacuum lines on the intake manifold.
- Unbolt the fuel line bracket. Disconnect the fuel line from the fuel rail using the proper tool. Cover the fuel line end to prevent contamination and leakage.
- Remove bolts attaching the intake manifold to the cylinder head and remove the manifold.
- Remove two nuts and one bolt attaching the exhaust manifold to the head, then remove the exhaust manifold.
- Clean the head surface of any old gasket material or carbon deposits. Use a gasket removal agent if necessary, taking care not to get debris into ports or spark plug holes.
Installation procedure
- Place the supplied gasket over the exhaust studs and dowel pins.
- Install the header using factory nuts and bolts.
- Pre-install the two lower center bolts, leaving them loose enough to slip the intake manifold under the washers and over the dowel pins.
- Install the remaining intake bolts and tighten them to factory specifications using the proper torque sequence.
- Reconnect all electrical connectors, vacuum lines, and the wire trough.
- Reconnect the fuel line and reattach the fuel line bracket.
- Reconnect the power steering pump and serpentine belt.
- Reinstall the air cleaner assembly.
- Reconnect the exhaust system to the header using the supplied hardware.
- Reconnect the battery cable.
Post-installation checks
Energize the ignition switch several times without starting the engine to check for fuel leaks. Start the engine and let it warm up. Check for leaks. Shut the engine off, let it cool down, and verify that all fasteners are tight. Ensure all wiring, fuel lines, transmission lines, and brake lines are clear of the headers and exhaust, relocating them if necessary.
Warranty information
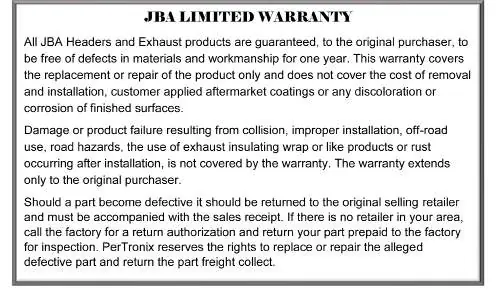
JBA Headers and Exhaust products are guaranteed to the original purchaser to be free of defects in materials and workmanship for one year. This warranty covers replacement or repair of the product only and does not cover removal, installation, or cosmetic issues like discoloration or corrosion. Damage from collision, improper installation, off-road use, or road hazards is not covered.
Practical help
Common problems
Exhaust leaks
Ensure sealing beads are intact. Install header bolts lightly snug first, then tighten to factory torque specs starting from the center and working outward.
Difficulty removing fasteners
Apply penetrating oil to all accessible fasteners and fittings before attempting removal. Do not work on a hot engine.
Fuel line safety
Bleed down fuel pressure before starting. Cover the end of the fuel line after disconnection to prevent contamination and leakage.
Before use
- Ensure the vehicle is on a solid, flat floor with adequate lighting.
- Allow the engine to cool completely before starting.
- Disconnect the negative battery cable.
- Verify all parts from the parts list are present.
- Have a lift or large-base jack stands ready.
Model compatibility
- Designed for Jeep Wrangler 4.0L engines.
- 1526S fits 1991-99 models.
- 1527S fits 2000-06 models.

Manual page author
Emily Carter
User documentation editor
Prepares concise manual descriptions and highlights the most useful setup, operation, and maintenance information for readers.