Tools / Flooring Tools
User Manual for Marshalltown 120-FLR EZ 20-Inch Flooring Shear
Quick guide for the Marshalltown 120-FLR EZ 20-Inch Flooring Shear. Includes assembly instructions, operation, maintenance, blade replacement, and troubleshooting.
Table of contents
Manual images
Click an image to enlargeQuick Guide
The Marshalltown 120-FLR EZ 20-Inch Flooring Shear is a professional-grade tool designed for cutting various flooring materials. Before use, ensure the shear is properly assembled, the blade is honed, and you are familiar with the safety lock mechanism. Always wear safety glasses and keep hands away from moving parts during operation.
Safety Precautions
- Read all operating and maintenance instructions before use.
- Keep inexperienced and unauthorized people away from the shear.
- Never operate the shear if any components have been removed.
- Keep hands and feet away from moving parts.
- Operate on level ground to prevent the unit from tipping.
- Wear safety glasses and proper protective clothing.
- Handle solvents and cleaning agents with care.
Assembly
Tools required: Electric drill or impact driver with #3 Phillips bit, #3 Phillips screwdriver, #2 Phillips screwdriver, 1/2" or 13mm wrench.
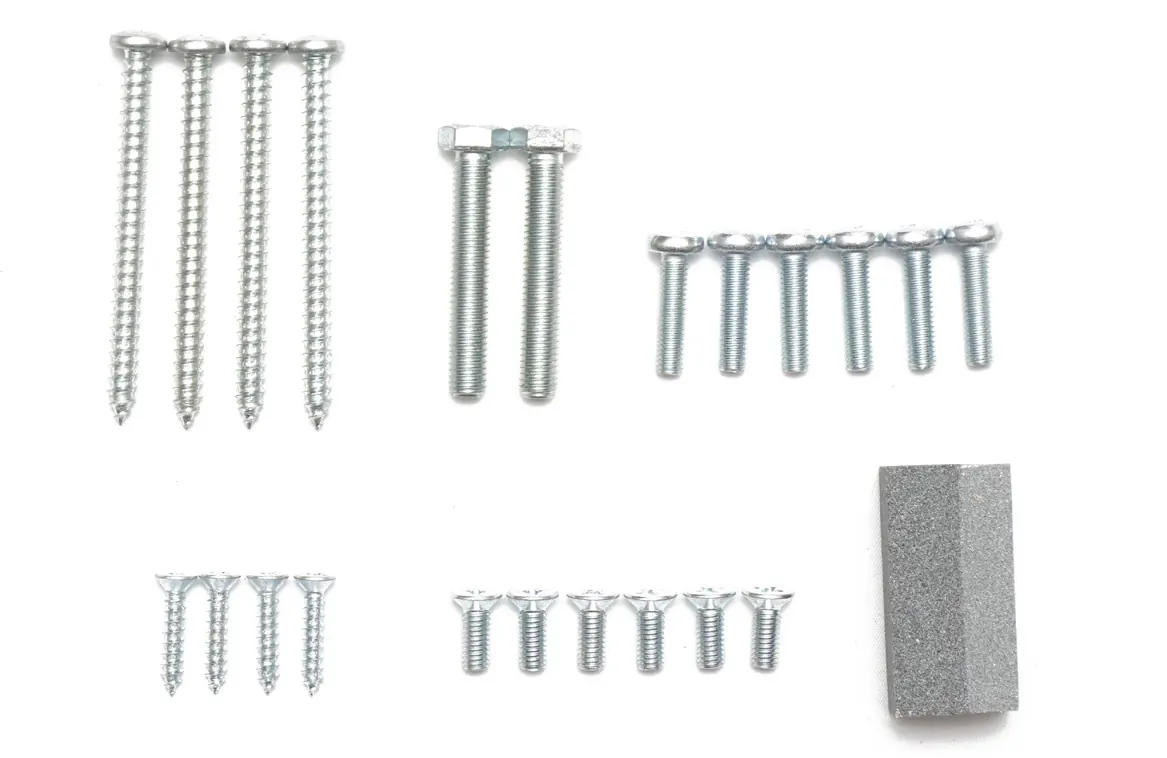
- Lay out all parts (Bed, Shear Assembly, Bed Brace, Leg, Bed Fence, Handle Assembly, Handle).
- Attach the Bed Brace (C) to the Leg (D) using Hardware Set (J).
- Attach the Shear Assembly (B) to the Bed Brace (C) using Hardware Set (H).
- Attach the Bed (A) to the Shear Assembly (B) using Hardware Set (K) for the back and Hardware Set (L) for the front.
- Attach the Handle Assembly (F) to the Shear Assembly (B) using Hardware Set (I).
- Attach the Bed Fence (E) to the Bed (A).
- Attach the Handle (G) to the Handle Assembly (F).
Product Operation
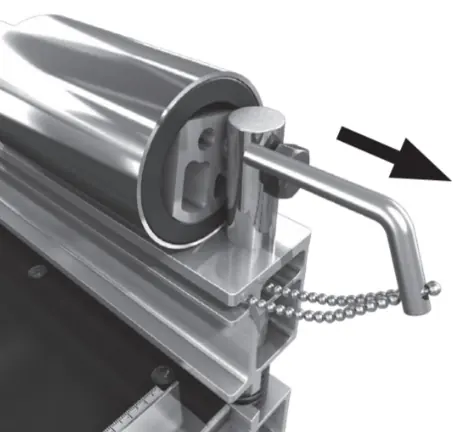
Safety Lock: When not in use, slide the Safety Lock pin into the Power Assembly to lock the tool. To unlock, gently push the handle down, pull out the Safety Lock pin, then lift the handle.
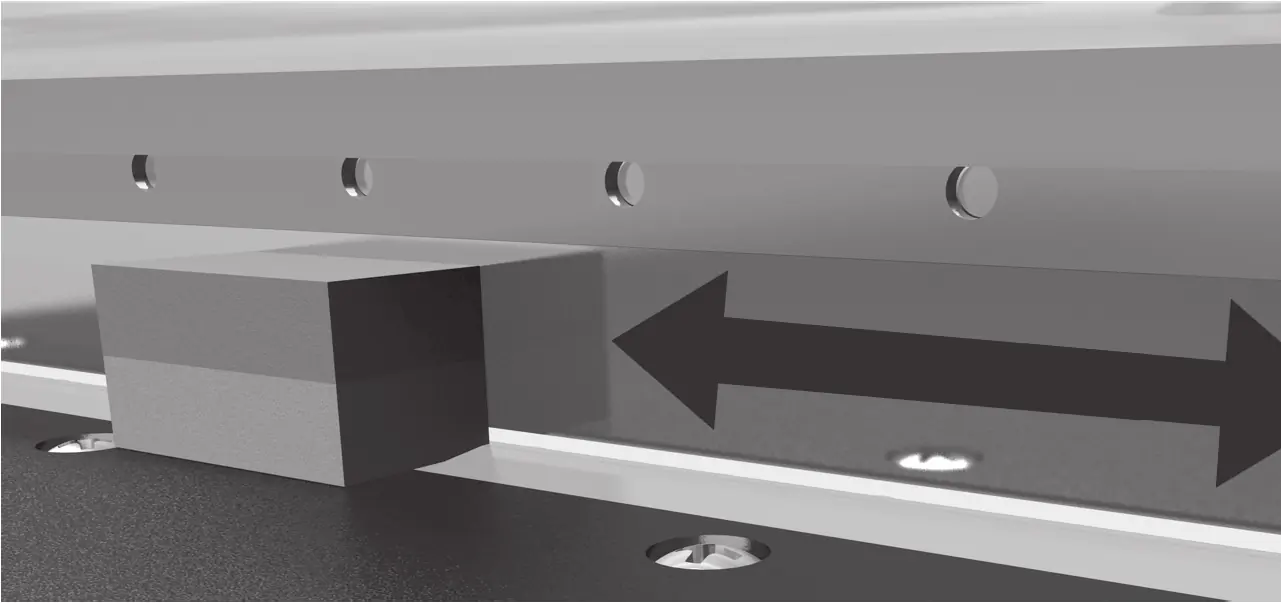
Cutting: Place the product on the table. It is recommended to hold the material in place until the cut is complete. Bring the handle down until the blade touches the material, then push the handle down to cut. Some effort may be required depending on the hardness of the material.
Cutting Guide
The shear is designed to cut materials up to 5/8" (15mm) thick and 20" (508mm) wide, including LVP, LVT, WPC, MLF, SPC, Laminate, PVC, Rubber Tile, Cove Base, Carpet Tile, and Rigid Core.
Important Limitations:
- Do not attempt to cut solid wood or high-pressure laminate.
- Do not cut engineered hardwood with a Janka Hardness Rating higher than 1250.
- Engineered hardwood with a Janka rating lower than 1250 must be cut by flipping the material over with the back facing up.
- If extreme force is required, stop immediately to avoid damage or injury.
Maintenance
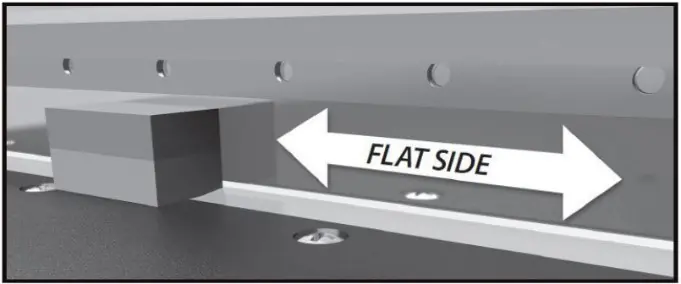
Honing the Blade: Push the handle down until the blade is 1/8" (3mm) above the tabletop. Place the provided Hone Stone against the flat side of the blade and slide it from one end to the other 3-4 times to remove burrs. Hone after the 5th cut initially, then every 10th cut for the first 100 cuts. Afterward, hone once per job.
Sharpening: The blade can be sharpened to restore a 21°-22° knife edge. Sharpen only on the beveled side. Professional power grinding is recommended.
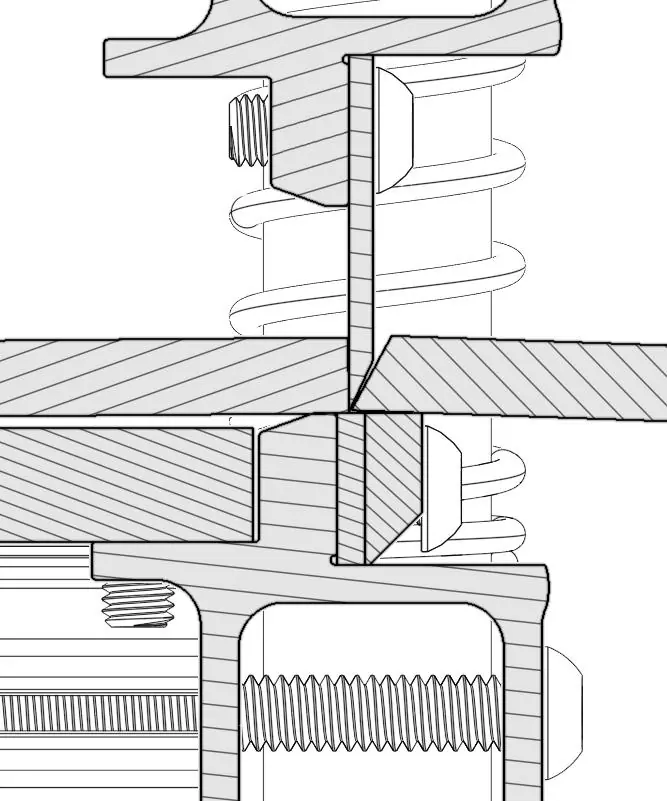
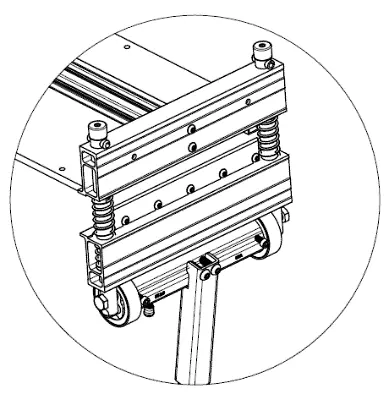
Replacing the Blade: Turn the shear upside down. Loosen the screws with a Phillips screwdriver, remove the old blade, install the new blade with the flat side facing the table, and tighten the screws starting from the center.
Lubrication: Lubricate the shear after every 100 cuts using light oil and wheel bearing grease.
Troubleshooting
If you experience issues, check the following:
- Ensure the shear is properly assembled and operated correctly.
- Check if the blade is sharp and properly honed.
- Inspect for foreign material between the blade and anvil.
- Ensure bearings are intact and lubricated.
For technical questions or repair parts, call Marshalltown customer service at 1-800-888-0127 or visit www.MARSHALLTOWN.com.
Official resources from the manual
Practical help
Common problems
Difficulty cutting
Ensure cam lock is OFF, handle is fully extended, blade is sharp, and bearings/pins are lubricated.
Not cutting completely through material
Inspect pins for wear, adjust front stroke stop, check bearings for play, and ensure blade is at the correct nominal height.
Blade sticking after cuts
Check/replace blade stops if damaged, ensure blade screws are tight, and check anvil for marks.
Cuts are not square
Loosen fence screws, align fence, and tighten. Check pins for uneven wear.
Before use
- Ensure shear is properly assembled
- Check blade sharpness
- Verify material is on the approved list
- Ensure work area is clear
- Wear safety glasses
Specs in practice
- Janka Hardness Rating
- A measure of wood hardness; do not cut engineered hardwood with a rating higher than 1250.
Images and diagrams
- Assembly diagrams show part identification and hardware placement.
- Blade replacement diagrams show how to access and secure the blade.
- Lubrication diagrams indicate where to apply oil and grease.
Model compatibility
- Cuts materials up to 5/8" (15mm) thick and 20" (508mm) wide.
- Approved materials: LVP, LVT, WPC, MLF, SPC, Laminate, PVC, Rubber Tile, Cove Base, Carpet Tile, Rigid Core.
- Do not cut solid wood or high-pressure laminate.

Manual page author
Michael Turner
Technical manual editor
Reviews PDF manuals for structure, safety notes, and practical product details so readers can find the right information quickly.