Electronics / Camera Stabilizers
User Manual for Proaim Heavy-Duty 150mm Camera Tripod Stand with Spreader (P-CST-150)
Quick setup guide for the Proaim Heavy-Duty 150mm Camera Tripod Stand with Spreader (P-CST-150). Learn how to assemble the spreader, adjust tripod height, and mount your camera equipment.
Table of contents
Manual images
Click an image to enlargeQuick Guide
This guide covers the assembly and setup of the Proaim Heavy-Duty 150mm Camera Tripod Stand with Spreader. Ensure all parts are present before beginning assembly. The tripod is designed for professional use and requires careful handling during setup.
What's In The Box
- 150mm Camera Tripod Stand
- Aluminum Tripod Spreader
Assembly and Setup
Follow these steps to set up your tripod:
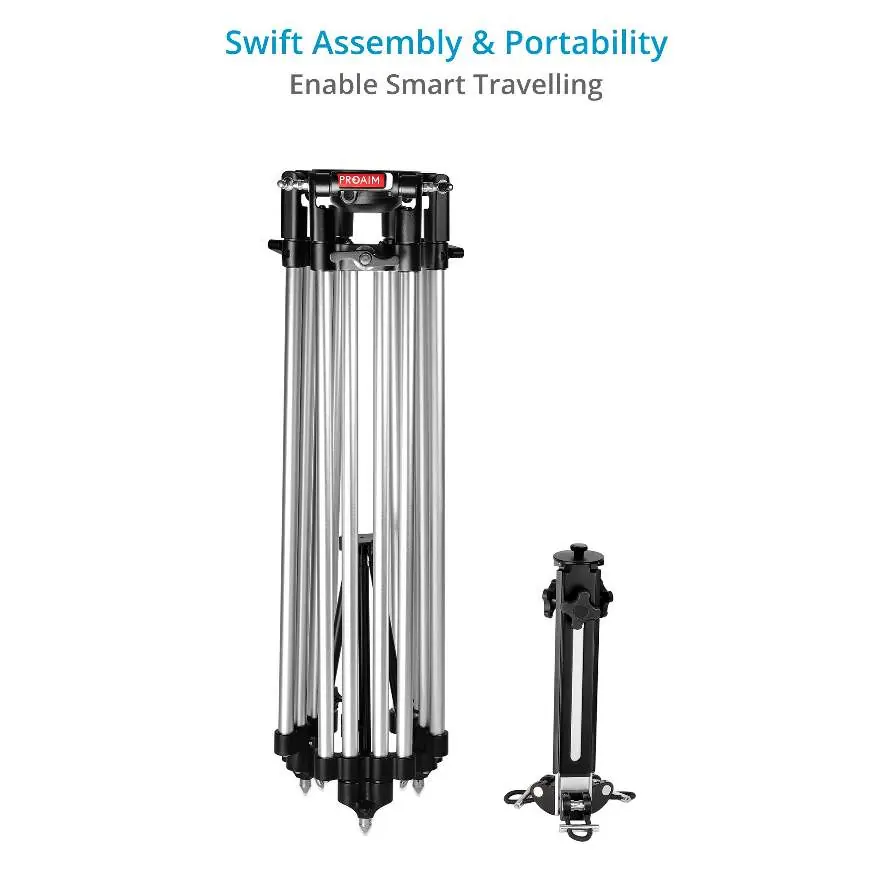
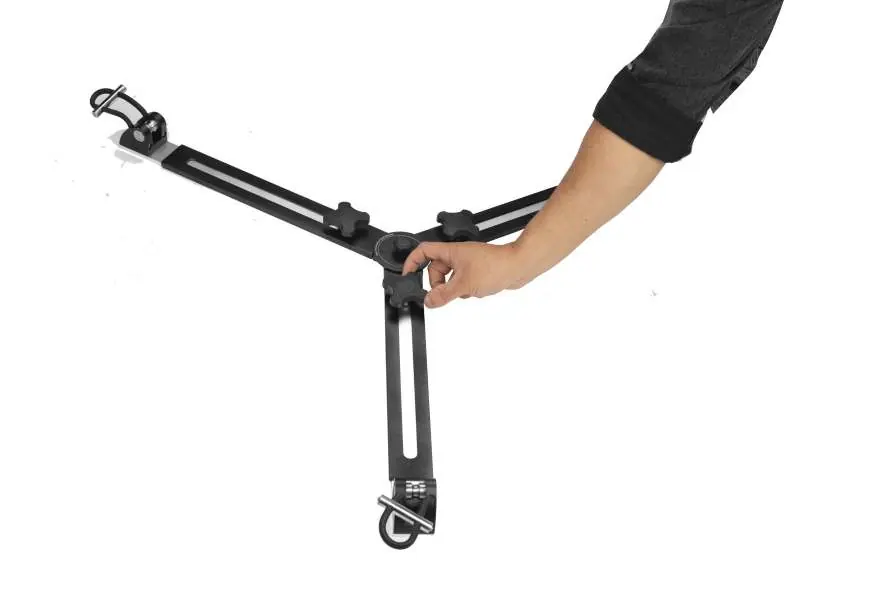
- Spreader Setup: Remove the aluminum tripod spreader and place it on the floor. Open the legs to the required width and secure them using the provided knobs.
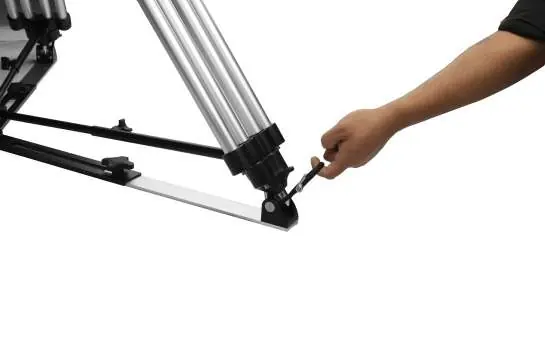
- Tripod Placement: Place the aluminum tripod stand onto the spreader and secure it with the provided knob.
- Locking: Lock the tripod stand in place using the rubber grips.
- Height Adjustment: To adjust the height, loosen all three adjustment knobs. Raise or lower the tripod to the desired height, then tighten the knobs securely.
Mounting Equipment
To attach your camera equipment:
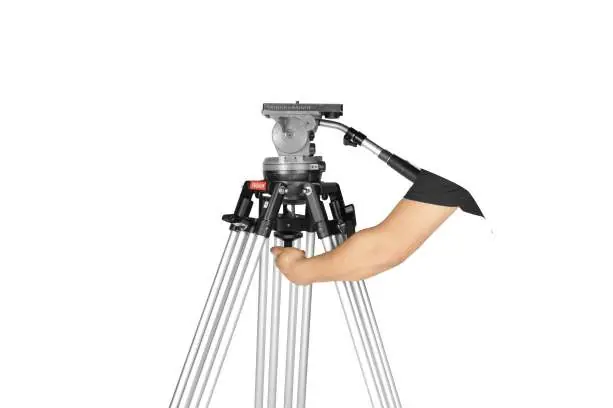

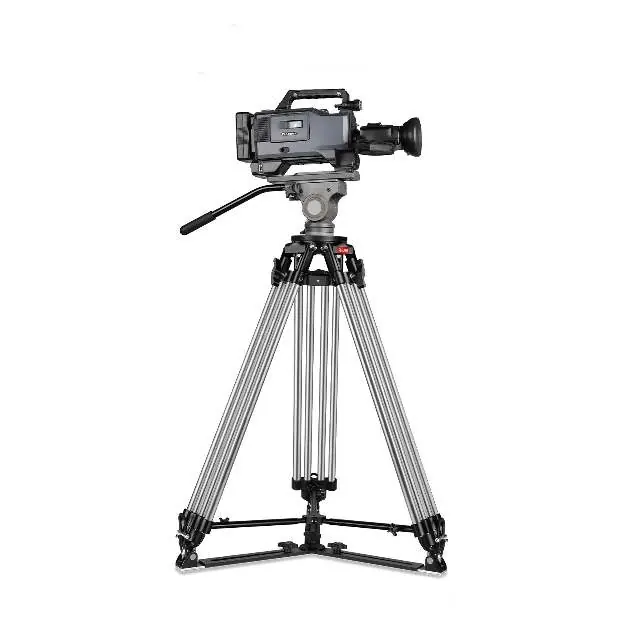
- Mount the fluid head (not included) onto the tripod stand and tighten the locking knob to secure it.
- Press the red locking lever on the fluid head to unlock it, then release the yellow locking lever to remove the fluid head top plate.
- Attach the top plate to your camera by aligning the threads properly and secure it using a screwdriver.
- Mount the camera onto the fluid head and lock it securely in place.
Warranty and Support
Proaim offers a one-year warranty from the date of purchase covering labor and parts. The warranty does not cover transportation costs, misuse, or accidental damage. For support, contact the manufacturer directly.
Manufacturer information
Proaim
Practical help
Common problems
Tripod is unstable
Ensure the spreader is fully opened and secured with the provided knobs, and that the tripod stand is locked into the spreader.
Cannot adjust height
Ensure all three adjustment knobs are fully loosened before attempting to raise or lower the tripod.
Before use
- Verify all items are present (Tripod Stand, Spreader)
- Ensure the spreader is placed on a flat surface
- Check that all adjustment knobs are tightened before mounting equipment
Images and diagrams
- The spreader setup involves opening the legs and securing them with knobs.
- Height adjustment requires loosening the three main leg knobs simultaneously.
Model compatibility
- Fluid head is not included with the tripod stand
- Requires a screwdriver for top plate attachment

Manual page author
David Miller
Documentation analyst
Organizes user manual content into clear summaries, with attention to model details, product context, and everyday usability.