Hvac / Heat Pumps
Steinbach Solid 4,3 Heat Pump User Manual
Quick guide for the Steinbach Solid 4,3 heat pump, covering installation, operation, app pairing, maintenance, and troubleshooting.
Table of contents
Quick guide from the manual
This document provides essential information for the installation, operation, and maintenance of the Steinbach Solid 4,3 heat pump. The device is designed exclusively for heating or cooling water in private swimming pools and must be used outdoors. Ensure the salt concentration of the water does not exceed 0.5% (5 g/l).
Device Overview
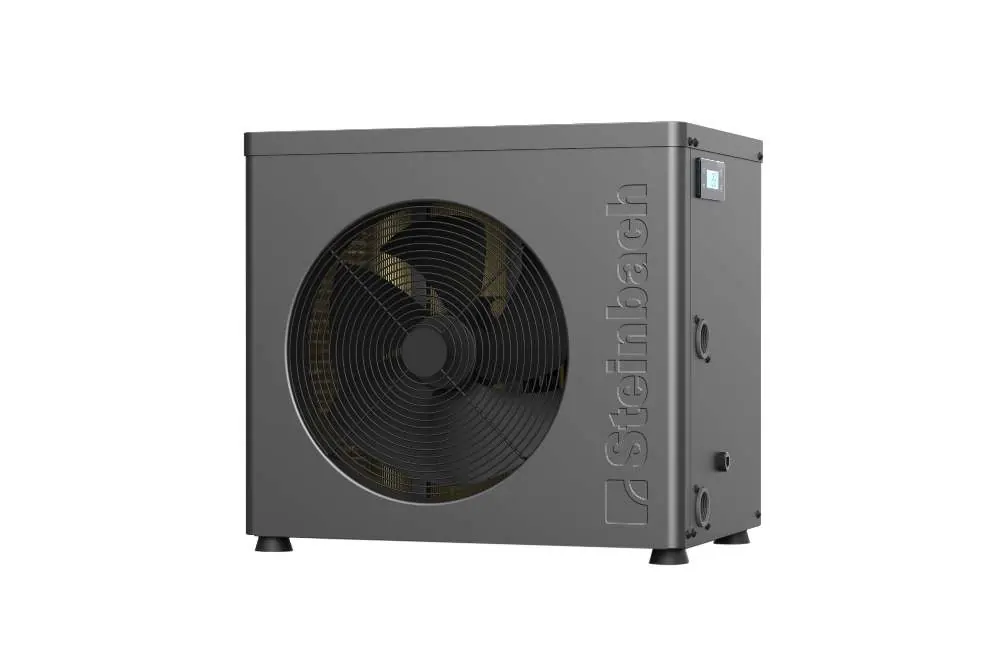
The heat pump features a finned heat exchanger, water inlet and outlet connections, and a control display. The display allows you to switch between standby and operating modes, set temperatures, and monitor system status.
Installation
1. Place the heat pump on a stable, level, and waterproof surface outdoors, maintaining at least 2m distance from the pool and required clearances from walls/objects.2. Attach the hose adapters to the inlet and outlet connections using the provided seals and hose clamps.3. Connect the water pipes from your filtration system to the heat pump.4. Connect the power cable to a properly installed, RCD-protected socket (max 30 mA).
Operation
1. Switch on your pool filter system to ensure sufficient water flow.2. Use the On/Off button to activate the unit.3. Use the Mode button to select the desired operating mode (Heating).4. Set the target temperature using the Up/Down buttons. The unit will start when the water temperature falls below the setpoint.5. The key lock activates automatically after 60 seconds of inactivity. Deactivate it by holding the Up and Down buttons for 3 seconds.
App Pairing
The heat pump can be controlled via the Steinbach Control app. Ensure your smartphone is connected to a 2.4 GHz WiFi network. Activate pairing mode by holding the Up and On/Off buttons for 3 seconds until the WiFi indicator blinks, then follow the instructions in the app.
Maintenance and Winterization
Regularly clean the ventilation grilles and heat exchanger fins to prevent overheating. When temperatures drop below +5°C, disconnect the water pipes, drain the unit completely, and store it in a dry, frost-free location.
Troubleshooting
If the unit does not start, ensure the 3-minute startup delay has passed and the water flow is sufficient. Error code E 03 indicates low water flow; check your pump and bypass valve settings. For other error codes (E 04-E 46), contact an authorized specialist or the Steinbach support team.
Manufacturer information
Steinbach International GmbH
Practical help
Common problems
Heat pump does not switch on
Check the power supply, reset the protective switch, or replace the fuse.
Heat pump does not start
Wait 3 minutes for the startup delay to pass, or check if the water temperature is already at the setpoint.
Error code E 03
Water flow is too low. Increase flow through the heat pump using the bypass valve or check the pool pump.
Leakage
If it is condensation, it is normal. If it is pool water, check all connections, pipes, and adapters for tightness.
Before use
- Ensure the unit is placed outdoors on a stable, level surface.
- Verify at least 2m distance from the pool.
- Ensure the water filtration system is running.
- Check that all hose connections are tight and leak-free.
- Ensure the power supply is RCD-protected (30 mA).
Specs in practice
- Heating output
- 4.3 kW, depending on ambient conditions.
- Water throughput
- Minimum 1,500 L/h required for operation.
- Protection class
- IPX4, suitable for outdoor use.
Images and diagrams
- A: Heat pump unit.
- B: Side view showing connections (5: heat exchanger, 6: outlet, 7: power cable, 8: inlet).
- C: Control panel (9: Up, 10: Down, 11: Mode, 12: On/Off, 13: Temp, 14: WiFi, 15: Heat, 16: Defrost).
Model compatibility
- App supports 2.4 GHz WiFi only; disable 5.0 GHz during pairing.
- Salt concentration must not exceed 0.5% (5 g/l).
- Requires filtered water.

Manual page author
Michael Turner
Technical manual editor
Reviews PDF manuals for structure, safety notes, and practical product details so readers can find the right information quickly.