Electronics / Projectors
AGPTEK USB Digital Microscope 20x-400x
User guide for the AGPTEK USB Digital Microscope 20x-400x. Includes instructions for software installation, image capture, video recording, and using the measurement and calibration functions.
Quick answers from the manual
Quick answer
- The AGPTEK USB Digital Microscope is a 20x-400x magnification device that connects via USB 2.0. It requires the MicroCapture software for operation on Windows and Mac systems. p. 1, 7
Key actions
- Install the software p. 7, 8
- Perform measurements p. 18, 19, 20
First start
- Connect the microscope to the USB port, then install the software from the provided CD. p. 7, 8
Show 3 more answers Show less
Problems and fixes
No device detected
Connect your Microscope directly to your PC USB port.
p. 8Technical specifications
| Parameter | Value | Meaning | Pages |
|---|---|---|---|
| Magnification | 20x to 400x | Zoom range | p. 6 |
| Focus Range | 10mm to 500mm | Manual focus distance | p. 6 |
Where to find it in the PDF
- Table of Contents p. 1
- Parts Names p. 5
- Technical Specifications p. 6
Table of contents
Manual images
Click an image to enlargeQuick guide from the manual
The AGPTEK USB Digital Microscope is a high-tech, easy-to-use device for magnifying objects such as coins, stamps, plants, and minerals. To get started, connect the microscope to your computer's USB port before installing the software. The device requires the MicroCapture software to function, which is provided on the included CD. The microscope features manual focus adjustment and adjustable LED lighting.
Safety precautions
- The microscope is not waterproof; keep it dry and avoid humid environments like bathrooms.
- Operate only within the temperature range of -5°C to 50°C.
- Avoid sudden temperature changes to prevent condensation inside the device.
- Do not point the lens at the sun or strong light sources for extended periods.
- Do not stare directly into the white LEDs as they are very bright and may damage your eyes.
- Always close the MicroCapture software before unplugging the microscope to prevent data loss or circuit damage.
Parts and components
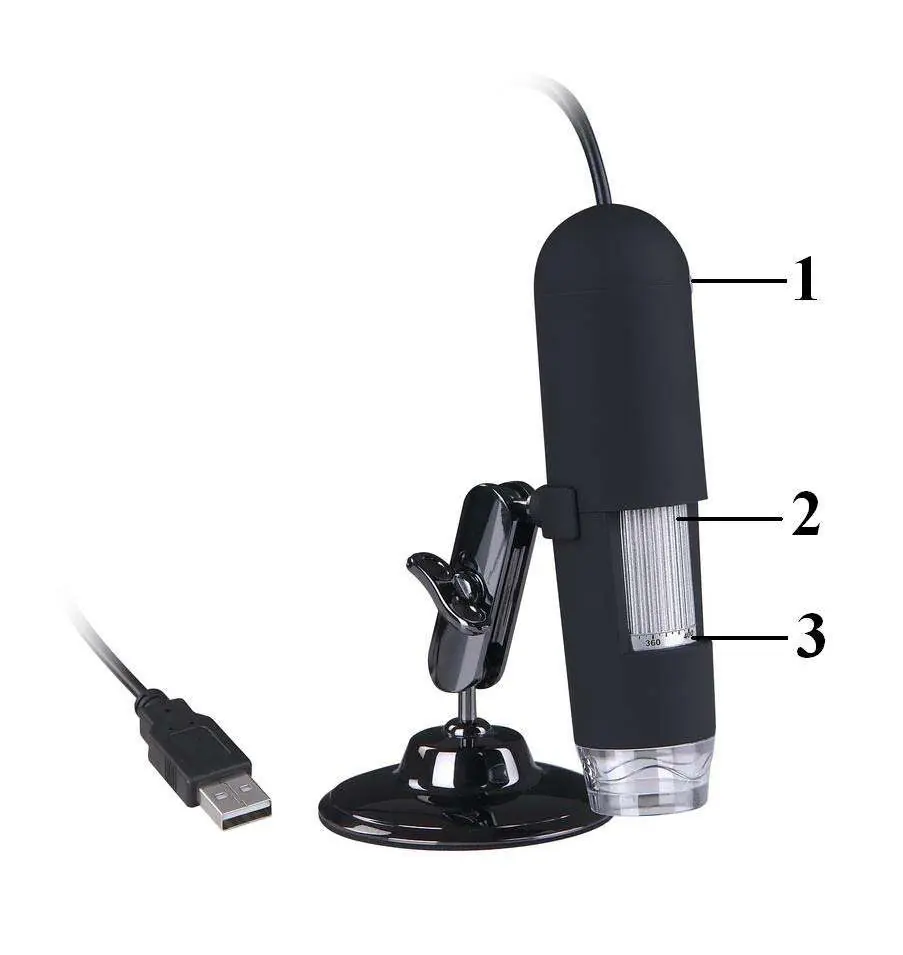
- Snapshot button: Used to capture images.
- Focus adjustment wheel: Used to adjust the focus and magnification.
- Calibration ruler: Used for measurement reference.
Software installation
Windows: Connect the microscope to the PC USB port first. Insert the driver CD, run the installer, and follow the on-screen instructions to install the driver and MicroCapture software. Reboot the system if prompted.
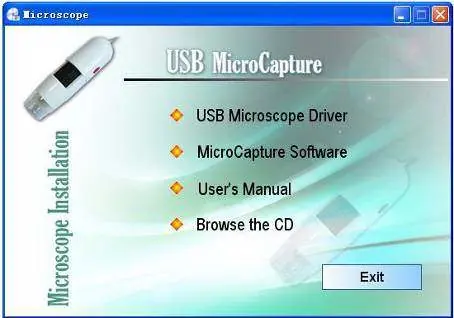
Mac: Open the Mac folder from the disc and copy the MicroCapture application to your desktop.
Using the microscope
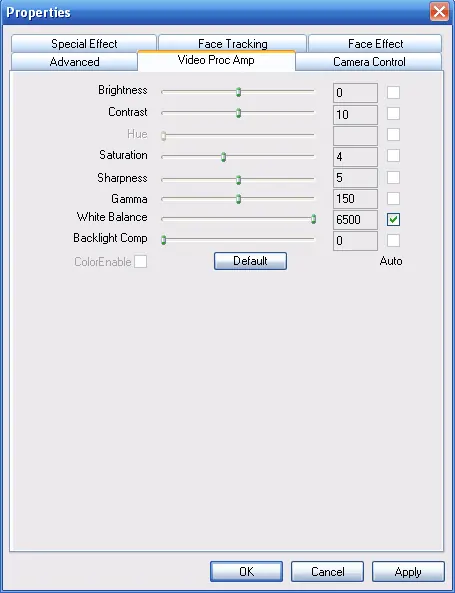
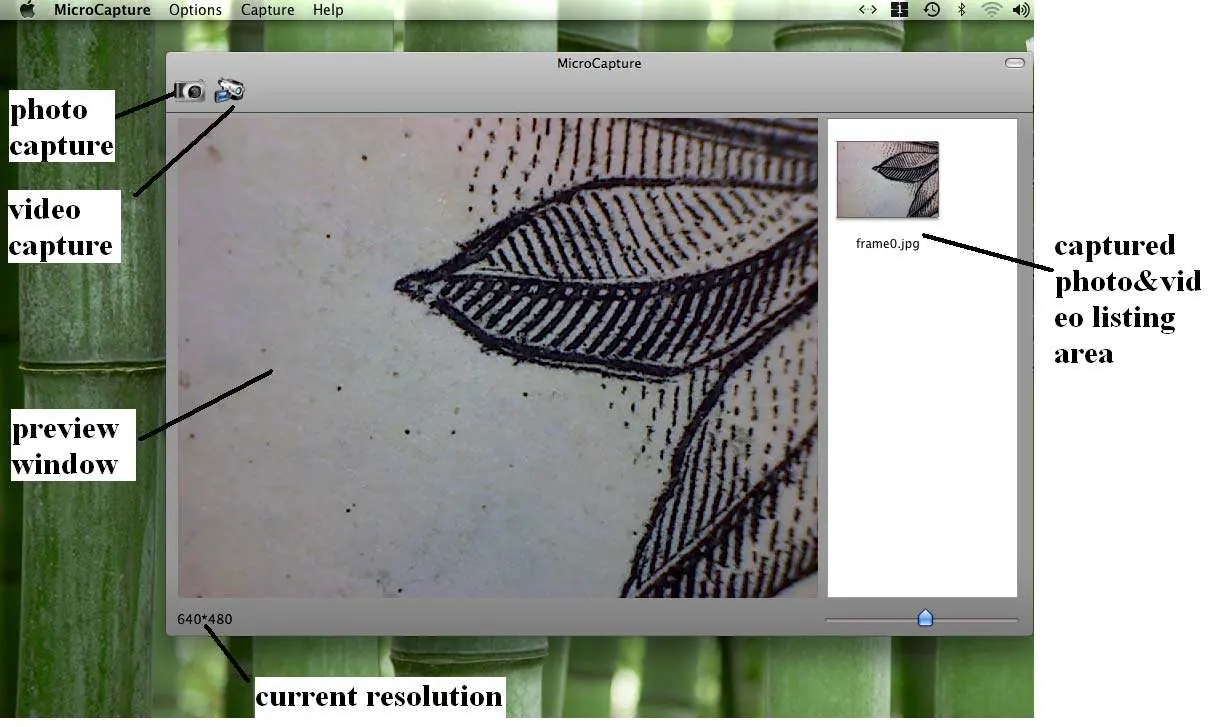
Once the software is installed, launch MicroCapture. The main window allows you to preview the magnified subject. You can capture photos and videos using the on-screen icons or menu options. Captured files are saved automatically and appear as thumbnails on the right side of the preview window.
Measurement and calibration
To use the measurement function:
- Point the microscope at a target object (e.g., a ruler) and focus.
- Take a snapshot.
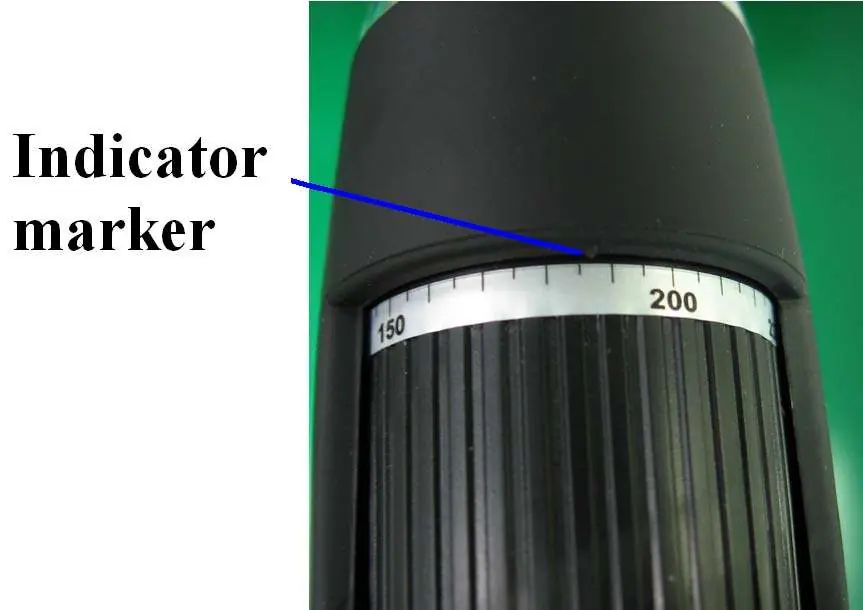
- Note the magnification value indicated on the microscope body at the focus wheel.
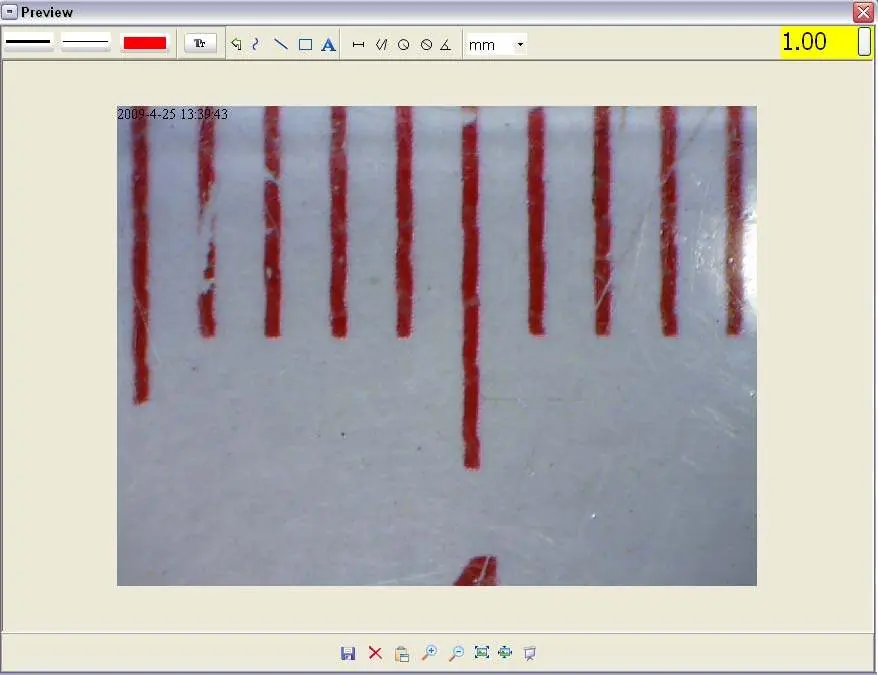
- Open the captured photo in the preview window.
- Input the noted magnification ratio into the box at the top right corner of the preview window.
- Use the measurement tools (Direct line, Multi-line, Circle-radius, Circle-diameter, Angle) to measure the object.
Note: The measurement function is only available on Windows operating systems.
Technical specifications
- Magnification: 20x to 400x
- Focus Range: 10mm to 500mm
- Interface: USB 2.0
- Power Source: 5V DC from USB port
- Video Format: AVI
- Photo Format: JPEG or BMP
Practical help
Common problems
No device detected
Ensure the microscope is connected directly to the PC USB port.
Measurement function not working
The measurement function is only available on Windows operating systems.
Video capture quality issues
The recommended resolution for video capturing is 640x480.
Before use
- Ensure the environment is dry and within -5°C to 50°C.
- Connect the microscope to the USB port before installing software.
- Do not touch the lens.
- Close the software before unplugging the device.
Show more Show less
Specs in practice
- Magnification Ratio
- 20x to 400x, adjustable via the focus wheel.
- Power Source
- 5V DC supplied directly from the USB port.
Images and diagrams
- The focus wheel has a calibration marker that must be aligned with the magnification value on the body for accurate measurements.
- The MicroCapture interface includes a preview window, capture buttons, and a thumbnail area for saved files.
Model compatibility
- Windows 2000/XP/Vista/Win7 and Mac 10.5 or above.
- Measurement function is Windows-only.

Manual page author
Emily Carter
User documentation editor