Industrial / Commercial Refrigeration
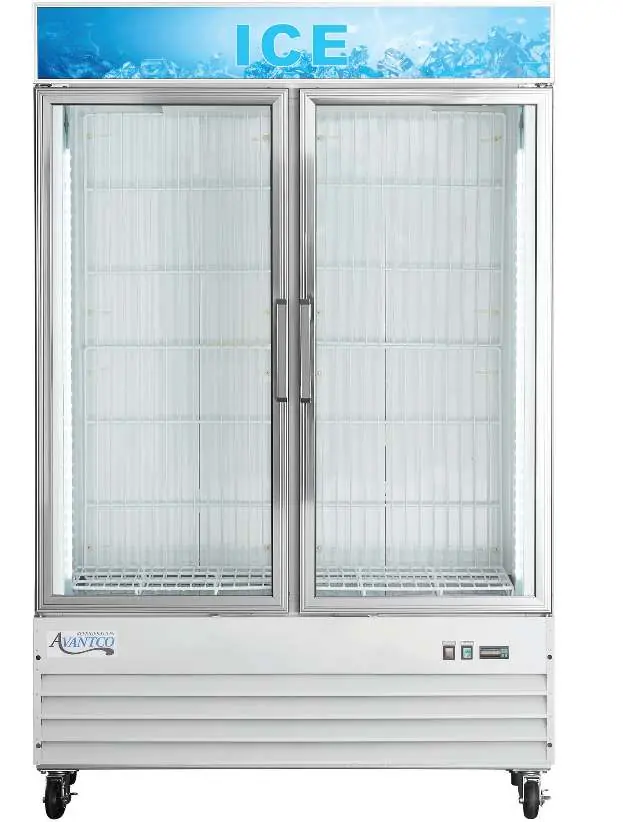
User Manual for Avantco 178GDICE24FB Ice Merchandiser
Comprehensive user guide for Avantco Indoor Glass Door Ice Merchandisers (178GDICE24FB, 178GDICE24FW, 178GDICE49FB, 178GDICE49FW). Includes installation, temperature control, maintenance, and troubleshooting instructions.
Quick answers from the manual
Quick answer
- The Avantco Ice Merchandiser is designed for indoor use. It requires a dedicated electrical outlet, 6 inches of clearance for ventilation, and regular cleaning of the condenser coil. Temperature is adjustable via the digital control panel, and the unit features automatic defrost cycles. p. 3, 4, 5
Key actions
- Adjusting temperature p. 4
- Cleaning condenser coil p. 5
- Running manual defrost p. 5
First start
- Stand upright for 24 hours if transported on side. p. 3
- Ensure proper clearance. p. 3
Problems and fixes
Compressor not running
Check fuse/breaker, power cord, thermostat, or wait for defrost cycle.
p. 6
Cabinet too warm
Adjust thermostat, clear airflow, check door seal.
p. 6Technical specifications
| Parameter | Value | Meaning | Pages |
|---|---|---|---|
| Operating Temperature Range | 18°F - 25°F | Factory-set cycle range for freezers. | p. 4 |
Where to find it in the PDF
- Installation p. 3
- Temperature Controls p. 4
- Maintenance p. 5
- Troubleshooting p. 6
Table of contents
Manual images
Click an image to enlargeImportant Information
Before installing or operating your Avantco Ice Merchandiser, please note the following critical requirements:
- Post-Transport: If the unit was transported on its side, let it stand upright for at least 24 hours before plugging it in.
- Clearance: Maintain a minimum of 6 inches of clearance on both sides and the back of the unit for proper ventilation.
- Electrical: Use a dedicated, grounded outlet. Do not use extension cords.
- Loading: Ensure the unit has reached the desired temperature before loading products. Do not block the air duct/fan at the top of the unit (maintain 4 inches of clearance).
- Safety: Do not store flammable or explosive liquids inside the unit.
Installation
Proper installation is essential for the longevity and efficiency of your equipment.
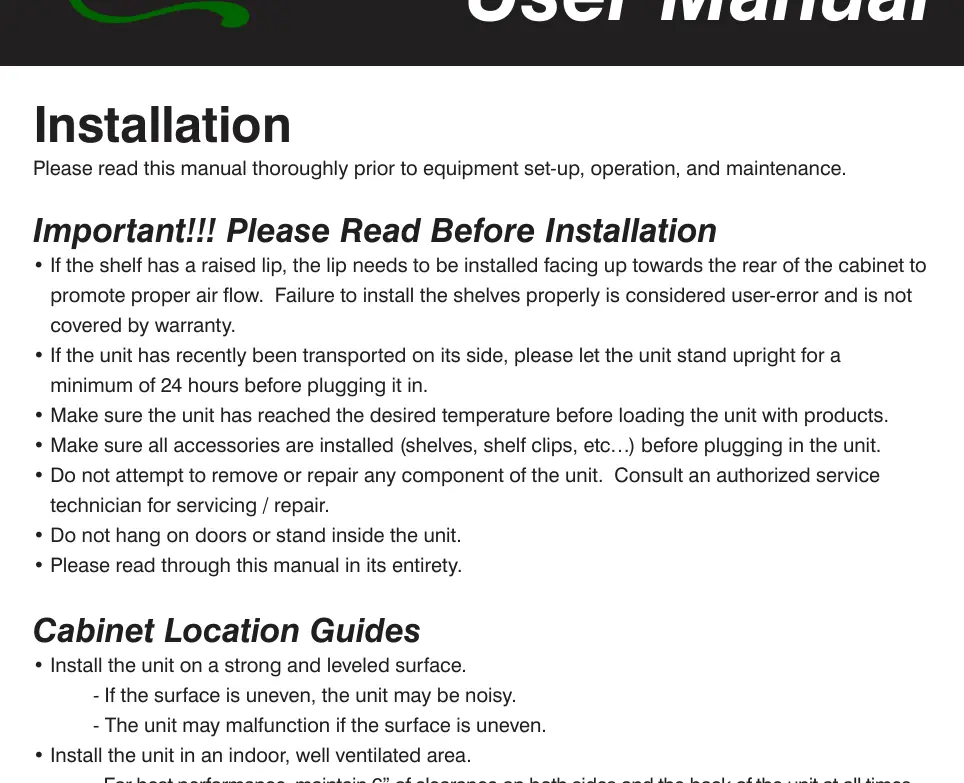
- Surface: Place the unit on a strong, level surface to prevent noise and malfunctions.
- Environment: Install in an indoor, well-ventilated area away from direct sunlight, heat sources, and moisture-generating equipment. High humidity or dust can cause the condenser coil to malfunction and void the warranty.
- Shelving: If shelves have a raised lip, install them with the lip facing up towards the rear of the cabinet to ensure proper airflow.
Temperature Controls
The freezer is factory-set to cycle between 18°F and 25°F. To adjust the minimum temperature:
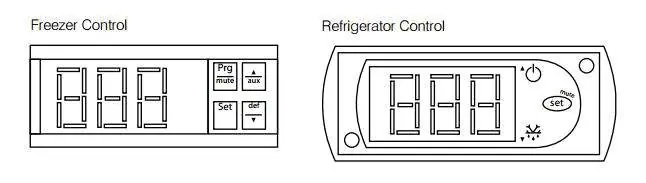
- Hold the SET button for 1 second until the display flashes.
- Use the arrow buttons to adjust the temperature.
- Press SET again to save the new setting.
Note: The cabinet temperature will fluctuate up to +7°F over your set minimum as the compressor cycles.
Defrost System
The unit performs automatic defrost cycles. For models with digital controls, you can initiate a manual defrost cycle by pressing the defrost button (marked with 'def' and a down arrow) for approximately 5 seconds. Repeat the process to stop the cycle.
Maintenance and Cleaning
- Condenser Coil: Clean at least once per month using a commercial condenser coil cleaner to remove dust and lint.
- Interior: Clean with warm water and mild soap. Avoid steel wool, caustic soaps, or abrasive cleaners.
- Door Gaskets: Clean weekly. Remove the gasket, soak in warm soapy water for 30 minutes, dry, and replace. Check for a proper seal after reinstallation.
- Fan Blades/Motor: Clean with a soft cloth if necessary. Cover the motor to prevent moisture damage if washing blades.
Manufacturer information
Avantco Equipment
Practical help
Common problems
Compressor is not running
Check if the fuse is blown or circuit breaker tripped. Ensure the power cord is plugged in. Verify the thermostat setting and wait if the unit is in a defrost cycle.
Cabinet temperature is too warm
Adjust the thermostat to a lower temperature. Ensure airflow is not blocked (maintain 4 inches of clearance from the fan). Check if the door is fully closed.
Interior light is not working
Toggle the light switch. Ensure the bulb is correctly inserted in the socket or replace the bulb if burned out.
Condensation on cabinet or floor
Inspect the door gasket for proper sealing; clean, repair, or replace as necessary.
Before use
- Let the unit stand upright for 24 hours if transported on its side.
- Ensure shelves are installed with the raised lip facing up.
- Verify the unit is on a level surface.
- Ensure 6 inches of clearance on sides and back.
- Plug into a dedicated, grounded outlet.
- Allow the unit to reach the desired temperature before loading.
Specs in practice
- Temperature Differential
- The cabinet temperature will fluctuate up to +7°F above the set minimum temperature during compressor cycling.
- Manual Defrost
- Available only on digital control models; press 'def' button for 5 seconds.
Images and diagrams
- The control panel features buttons for 'Set', 'Prg/Mute', 'Aux', and 'Def/Down Arrow' to manage temperature and defrost cycles.
Model compatibility
- Outdoor use is not permitted and may cause damage.
- Only models with digital controls support manual defrost cycles.

Manual page author
Emily Carter
User documentation editor
Prepares concise manual descriptions and highlights the most useful setup, operation, and maintenance information for readers.