Toys / Games
Chevrolet 12V Kids Electric Ride On Truck Instruction Manual
Quick guide for the Chevrolet 12V Kids Electric Ride On Truck, covering assembly steps, battery charging, remote control pairing, and troubleshooting.
Table of contents
Manual images
Jump to the sectionQuick guide from the manual
This document provides essential instructions for the assembly, operation, and maintenance of the Chevrolet 12V Kids Electric Ride On Truck. Key procedures include connecting the battery, assembling the wheels and steering, and pairing the remote control. Always ensure adult supervision during assembly and use.
Preparation Before Installation
Before first use, you must connect the battery terminals:

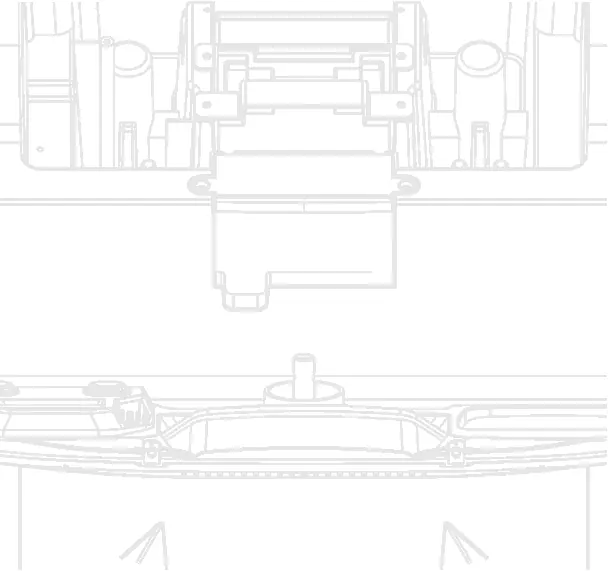

- Locate and open the charging hole cover.
- Connect the two battery terminals [1] and [2].
- Close the charging hole cover.
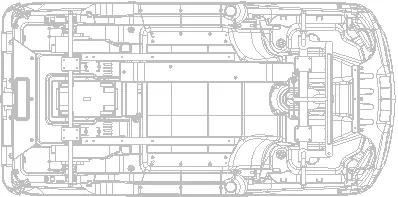
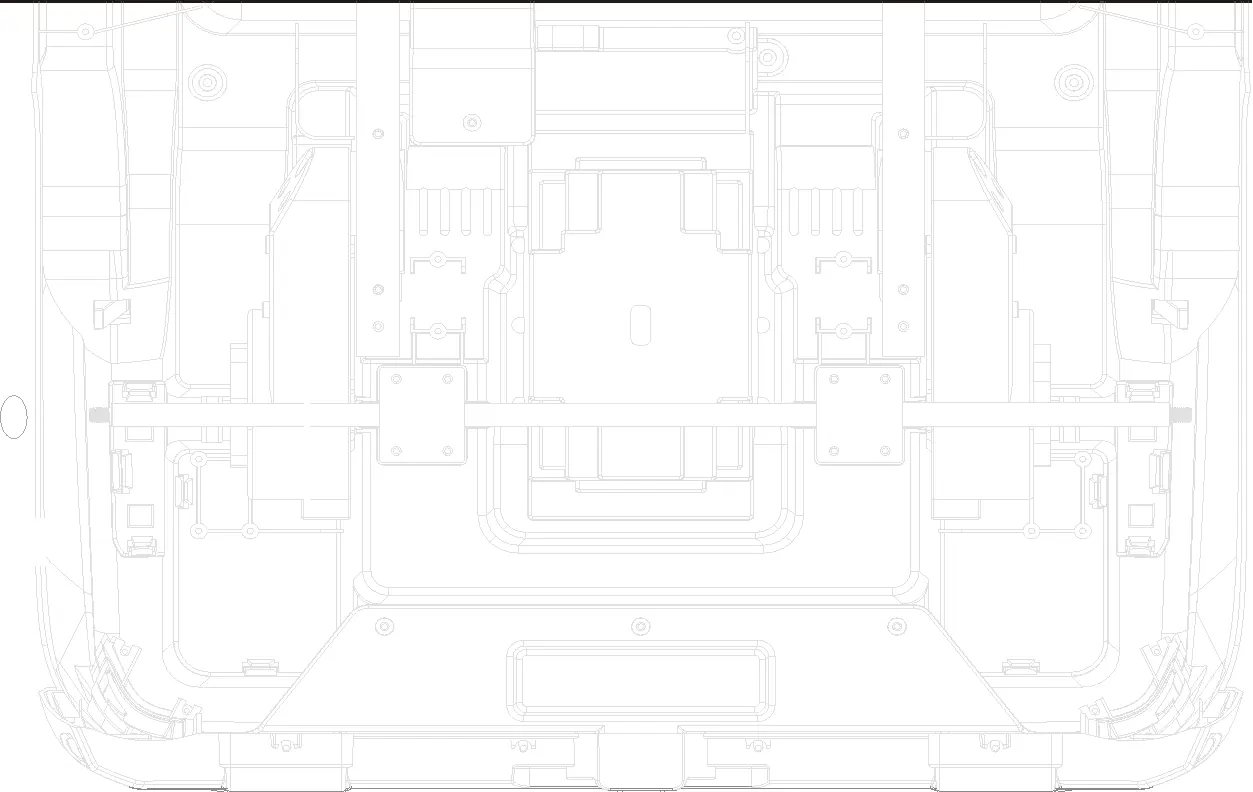
Installation Steps
The vehicle requires assembly by an adult. Key steps include:
- Rear Lights: Use a long magnetic screwdriver to secure the rear light screws.
- Drive Motor: Remove the nut and gasket from the rear axle, install the motor, and secure it.
- Wheels: Remove the nut and gasket from the axle, slide on the wheel, and secure with the wheel cover.
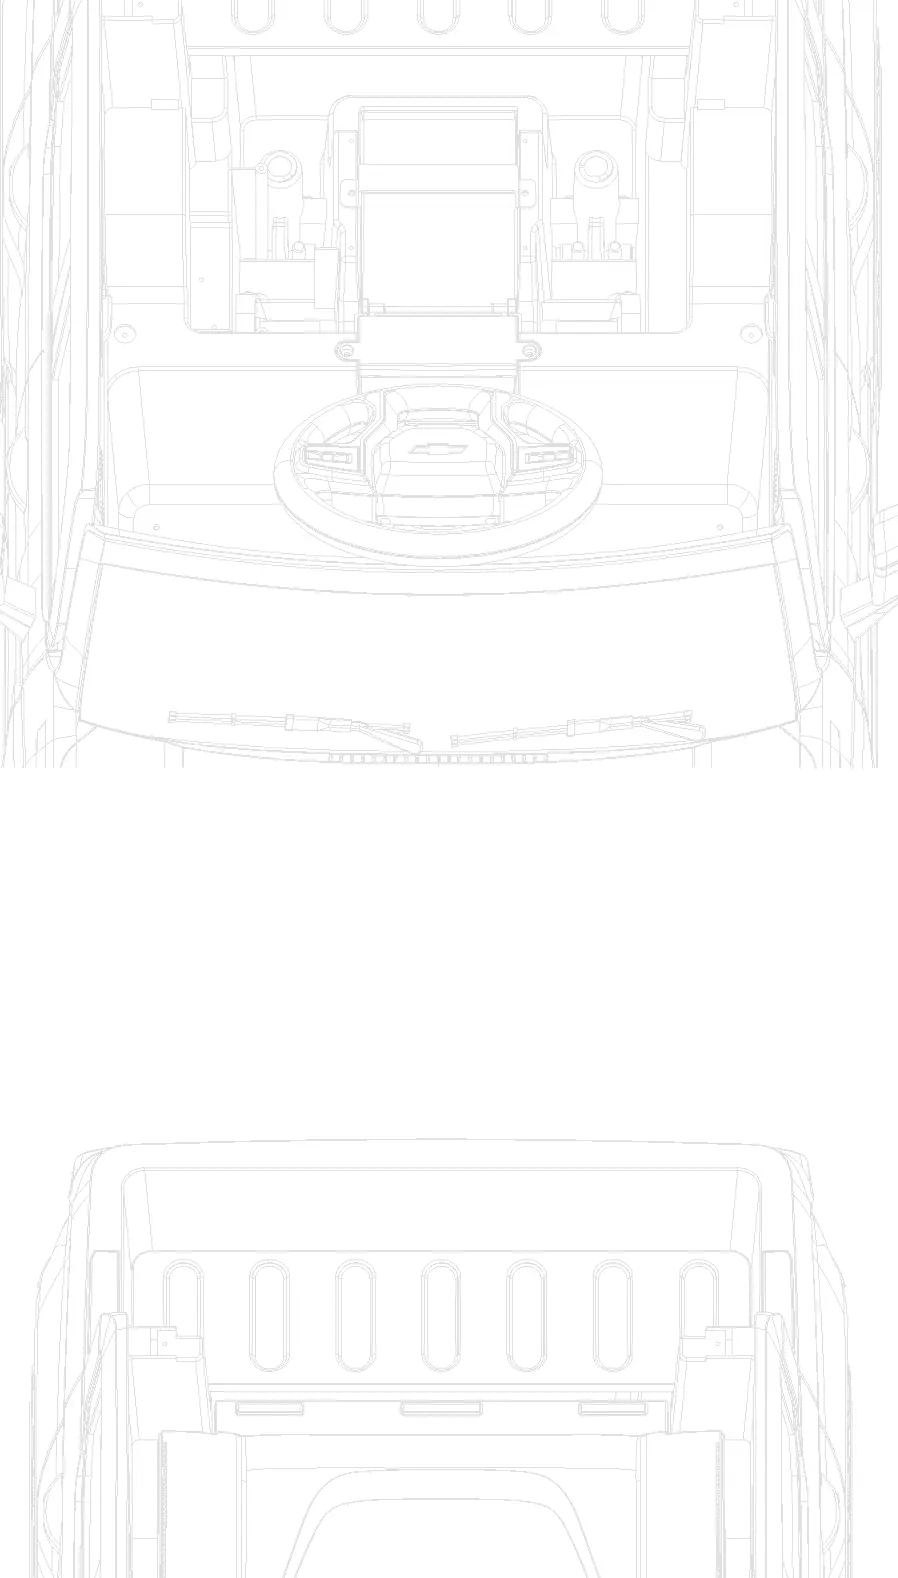
- Steering Wheel: Install 2 AA batteries into the steering wheel, then attach it to the steering yoke using the provided screw.
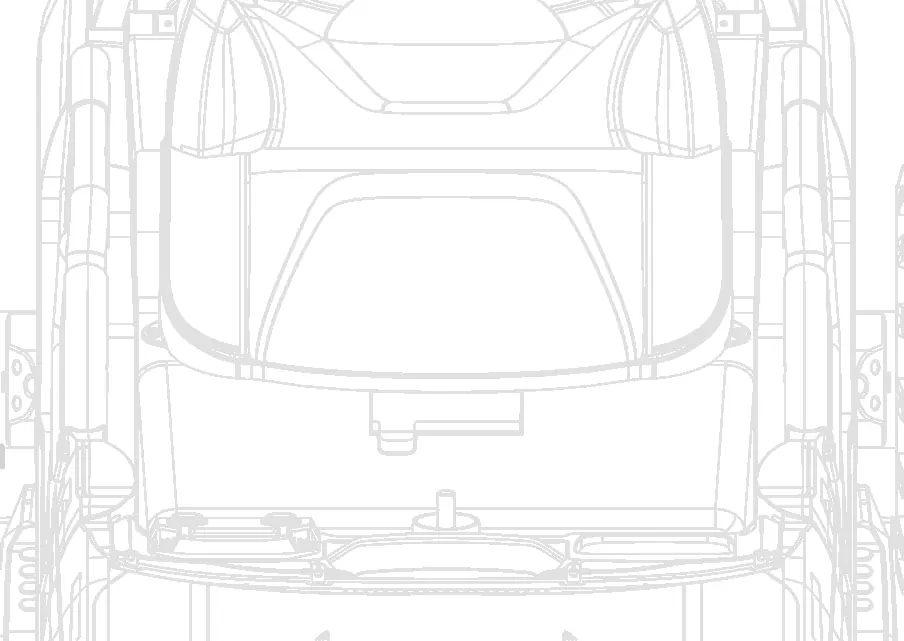
- Body Components: Install side windows, wind deflector, rearview mirrors, seat, and backrest using the provided self-tapping screws.
Remote Control Instructions
To pair the remote control with the vehicle:
- Turn off the vehicle power.
- Insert 2 AAA 1.5V batteries into the remote.
- Turn on the vehicle; the LED indicator will flash. When the indicator stops flashing and stays on, pairing is successful.
Key Functions: P button is for emergency braking (vehicle will not move when pressed). S button adjusts speed (one light for low, two for medium, three for high).
Operation and Control Panel
The vehicle features a control panel with FM radio, USB port, and AUX input. Use the START/STOP button to power the vehicle on or off. The foot pedal controls forward movement; releasing it stops the vehicle.
Battery Maintenance
- Charge the battery for 8-12 hours before first use.
- Do not charge for more than 20 hours.
- Do not allow the battery to fully discharge.
- Charge in a well-ventilated area away from flammable materials.
Safety Warnings
- Always wear shoes when using the vehicle.
- Do not use on sloped surfaces, near swimming pools, or on public streets.
- Only one rider is allowed at a time.
- Children under 3 years old cannot use the vehicle.
Manufacturer information
Chevrolet
Practical help
Common problems
Motor does not spin
Check if the fuse is overloaded, ensure the pedal switch connector is secure, verify motor wire connections, or test the battery directly.
Vehicle only moves forward or backward
Check the forward/backward switch and its connector condition using a multimeter.
Driving too slow
Check battery voltage and ensure the drive gear box is properly connected to the battery.
Before use
- Check all parts for damage before use.
- Ensure battery is fully charged (8-12 hours).
- Verify all screws are tightened.
- Ensure the child is wearing protective equipment.
- Confirm the driving area is level and safe.
Specs in practice
- Suitable age
- Designed for children aged 37-72 months.
Images and diagrams
- The manual includes detailed exploded views for wheel and motor installation.
- Control panel diagram identifies buttons for FM radio, volume, and speed settings.
- Remote control diagram illustrates pairing and speed adjustment buttons.
Model compatibility
- Use only the provided 12V charger.
- Remote control requires 2 AAA 1.5V batteries (not included).
- Steering wheel requires 2 AA batteries (not included).

Manual page author
Emily Carter
User documentation editor
Prepares concise manual descriptions and highlights the most useful setup, operation, and maintenance information for readers.