Garden / Gazebos & Canopies
Assembly Manual for Dancover Greenhouse Strong NOVA 2.1x3m
Complete assembly guide for the Dancover Greenhouse Strong NOVA 2.1x3m. Includes detailed parts lists, hardware requirements, polycarbonate specifications, and step-by-step installation instructions.
Quick answers from the manual
Quick answer
- This document is the assembly manual for the Dancover Greenhouse Strong NOVA 2.1x3m, providing a detailed list of parts, hardware, and step-by-step instructions for construction. p. 1, 7, 8, 9
Key actions
- Assemble the frame p. 7, 8, 10, 11
- Install polycarbonate sheets p. 9, 13
Technical specifications
| Parameter | Value | Meaning | Pages |
|---|---|---|---|
| Polycarbonate thickness | 4mm | Required thickness for the greenhouse cover. | p. 6 |
Show 1 more answers Show less
Where to find it in the PDF
- Parts List p. 3, 4, 5
- Assembly Steps p. 7, 8, 9, 10
Table of contents
Manual images
Click an image to enlargeQuick guide from the manual
This document provides instructions for assembling the Dancover Greenhouse Strong NOVA 2.1x3m. Before starting, ensure you have all the necessary parts and tools listed in the manual. The assembly process involves building the frame, installing the polycarbonate sheets, and securing the structure.
Parts List
The frame consists of various components labeled P1, P4, P6, P11, P31, P32, P54, P55, P77, P84, and P35. Hardware includes various screws (4216, 40206, 10506.0, 10706.0, 10806), nuts (2006), washers (3006), and hinges/latches (80400, 80401, 80402, 80403).
Polycarbonate Requirements
The greenhouse requires 4mm thick polycarbonate sheets. You will need:
- 2x sheets of 2.1x6m
- 1x sheet of 1.05x6m
Necessary Tools
To assemble the greenhouse, you will need the following tools:
- Ladder
- Shovel
- Level
- Gloves
- Tape measure
- Utility knife
- Drill with PH2 bit
Assembly Steps
The assembly is divided into 7 main steps:
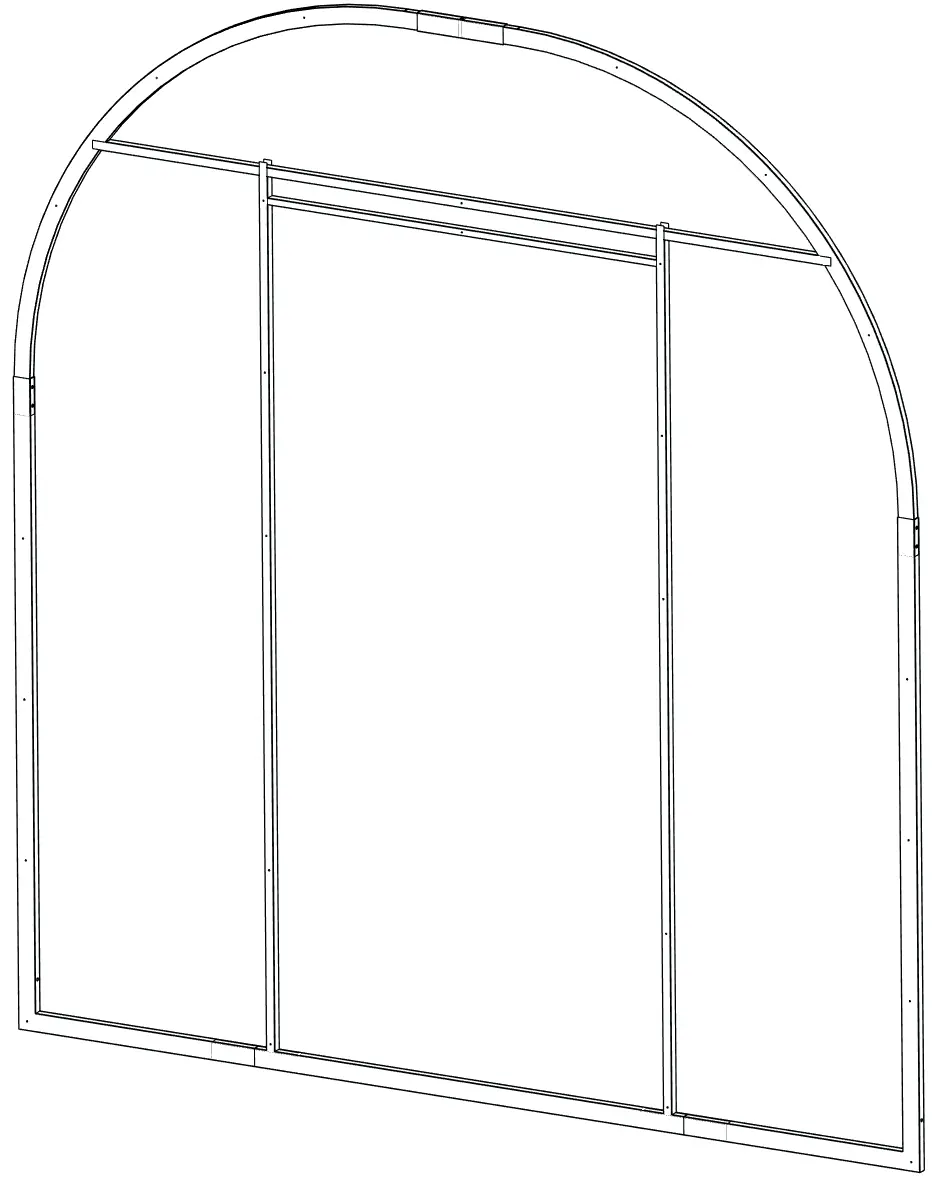
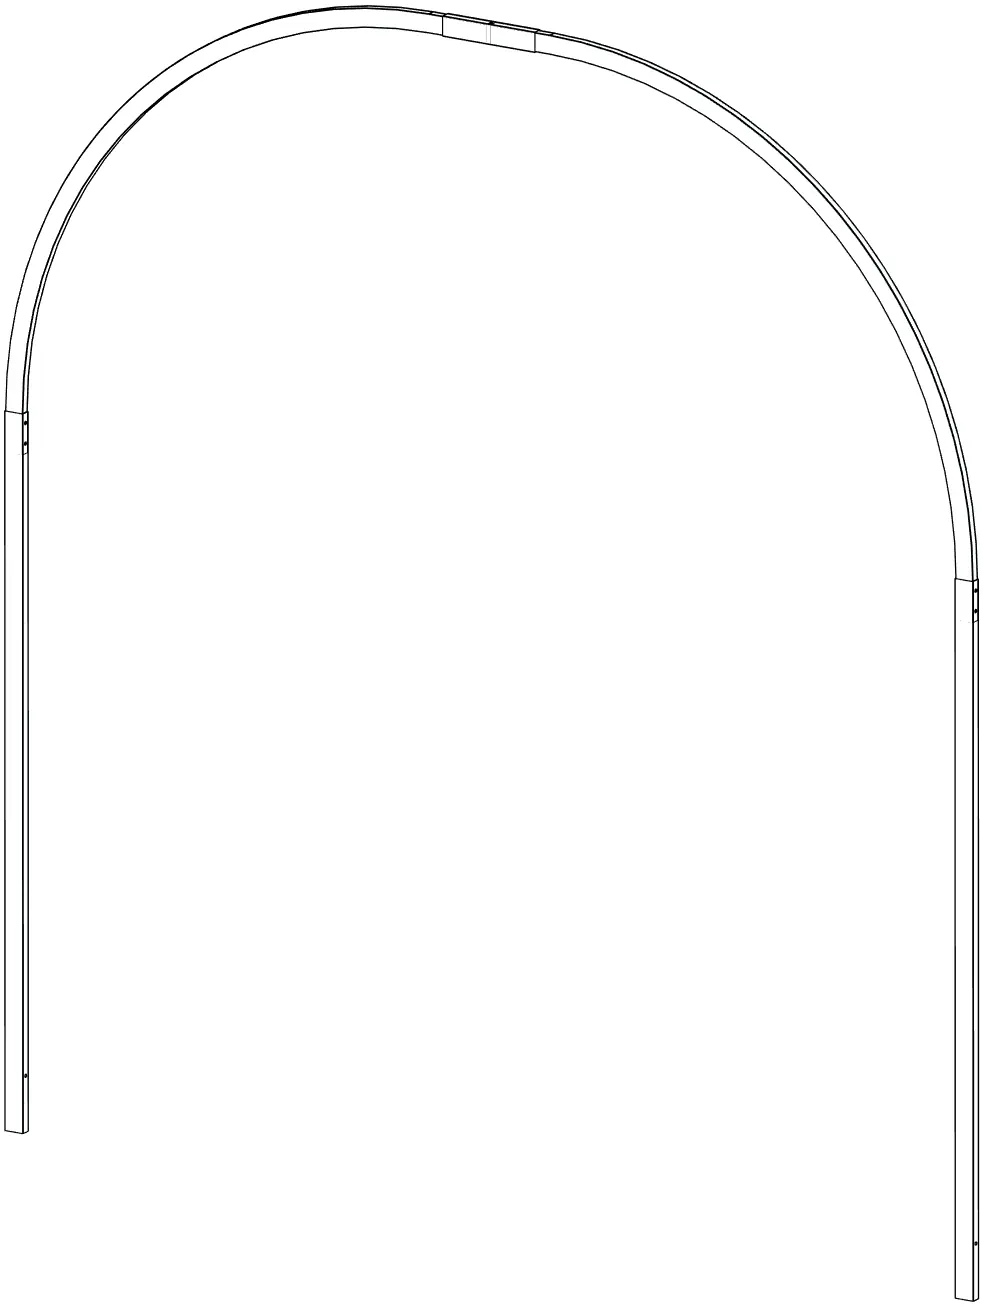
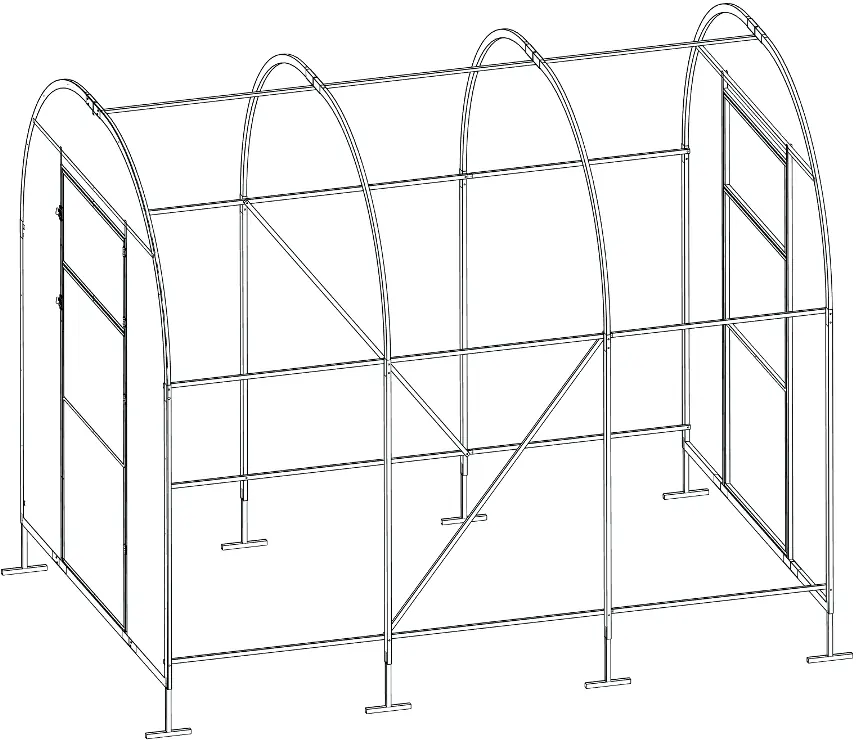
- Step 1: Assemble the initial frame arches using parts P32, P35, P6, and P31.
- Step 2: Connect the frame sections using parts P11 and hardware 10506.0, 3006, 2006, and 4216.
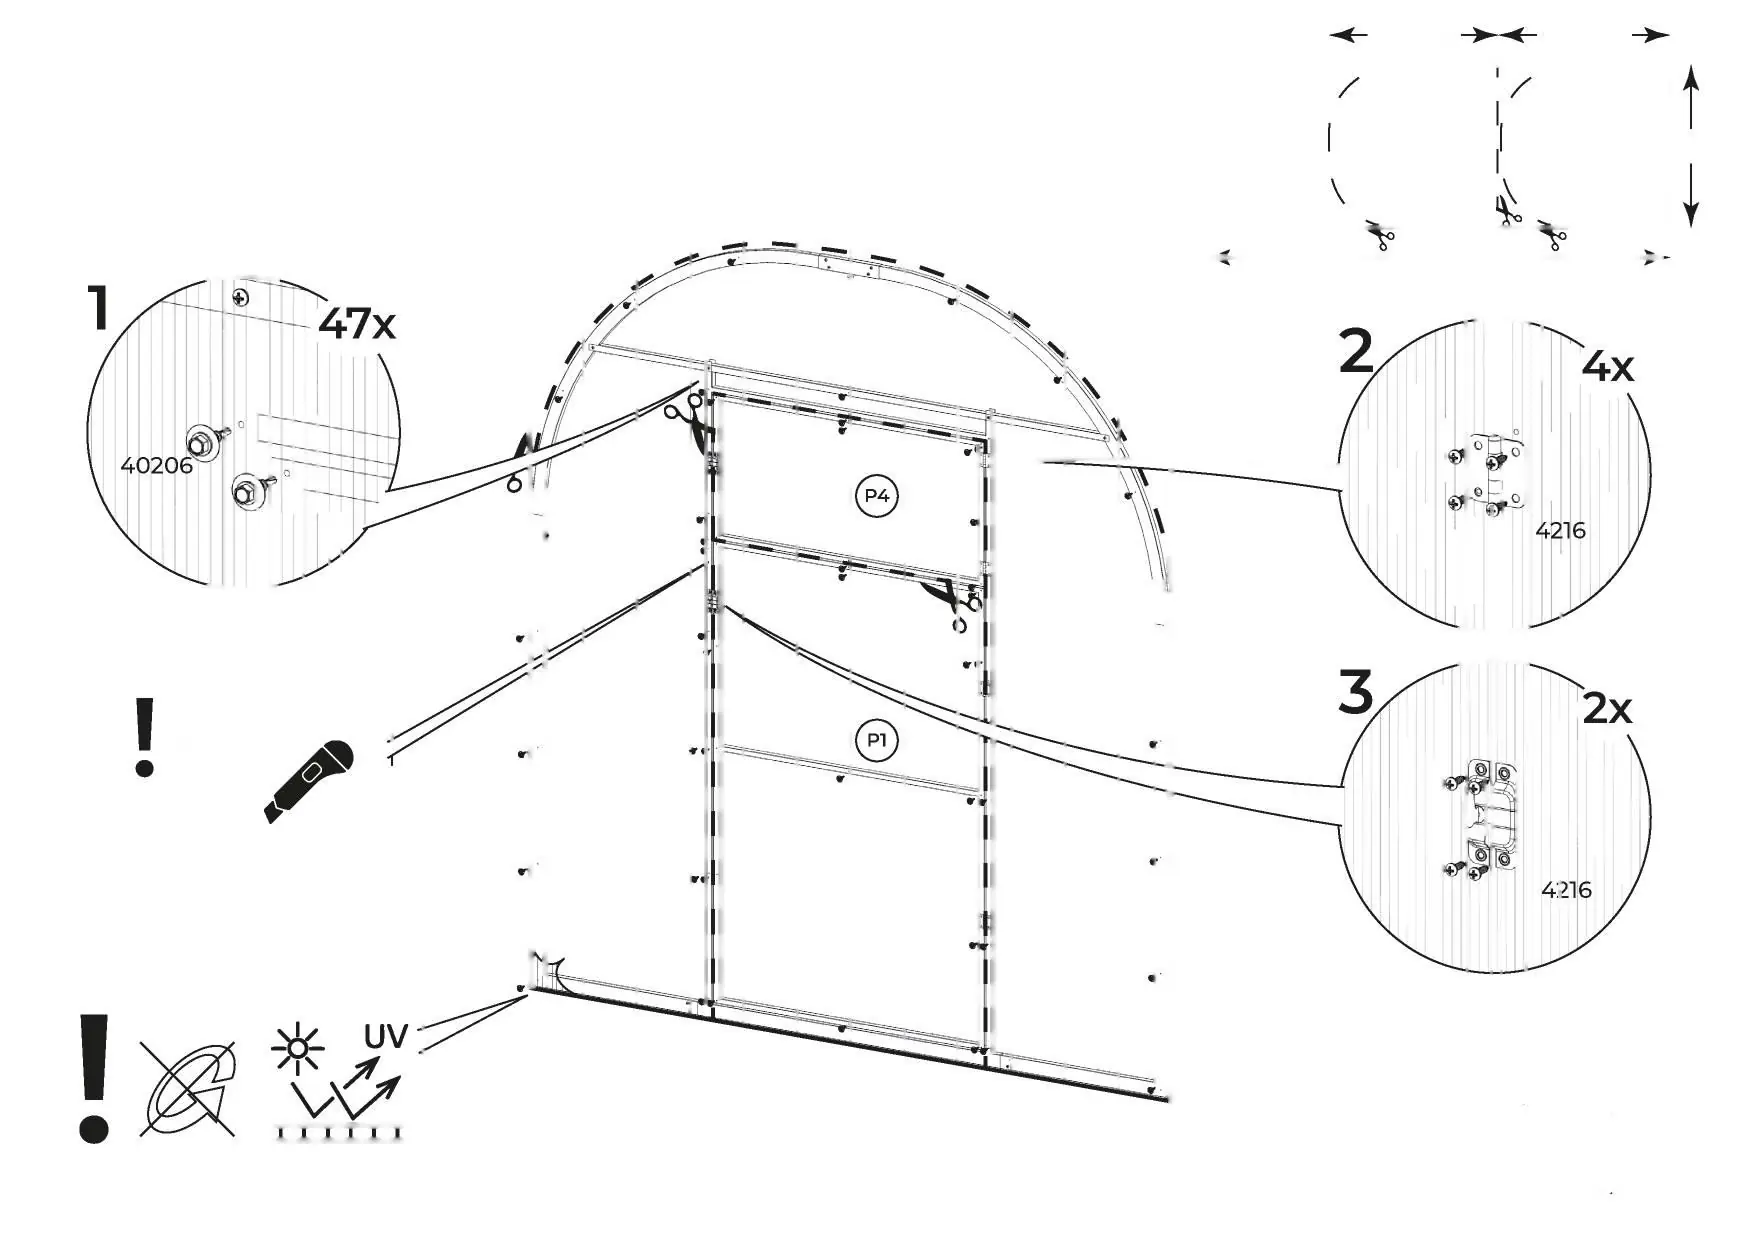
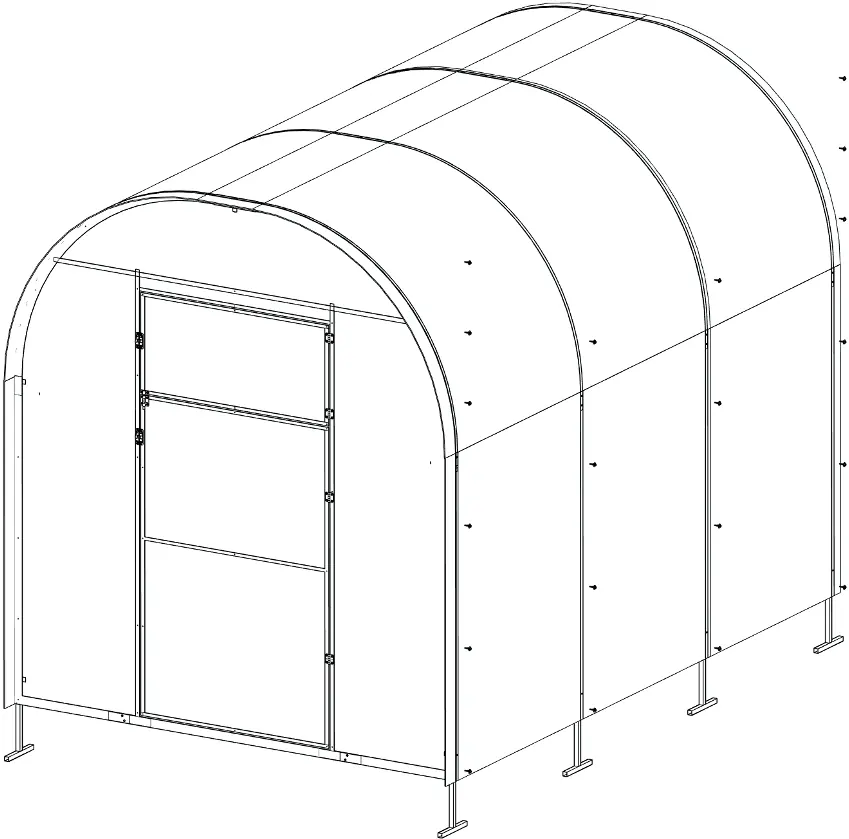
- Step 3: Prepare and attach the polycarbonate sheets to the frame.
- Step 4: Assemble the remaining arches using P34, P33, and P35.
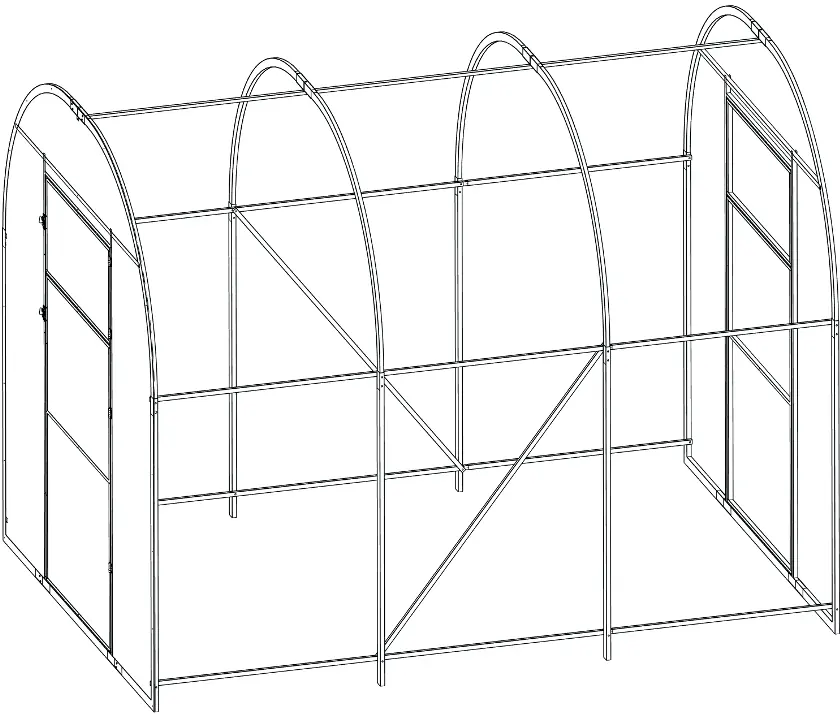
- Step 5: Connect the frame structure using P55, P54, and P77.
- Step 6: Level the structure and prepare the ground.
- Step 7: Finalize the assembly by securing all polycarbonate sheets and hardware.
Practical help
Before use
- Check all parts against the list on pages 3-5.
- Ensure you have all necessary tools (ladder, shovel, level, gloves, tape measure, utility knife, drill with PH2 bit).
- Verify you have the correct polycarbonate sheets (4mm thickness).
Specs in practice
- Polycarbonate
- Requires 4mm thickness. Total sheets: 2x (2.1x6m) and 1x (1.05x6m).
Show more Show less
Images and diagrams
- The manual uses numbered steps (1-7) to guide the assembly of the frame and the attachment of the polycarbonate cover.
Model compatibility
- Designed specifically for the 2.1x3m model.

Manual page author
Emily Carter
User documentation editor