Electronics / Televisions
Hisense 120L5H Laser TV Quick Setup Guide
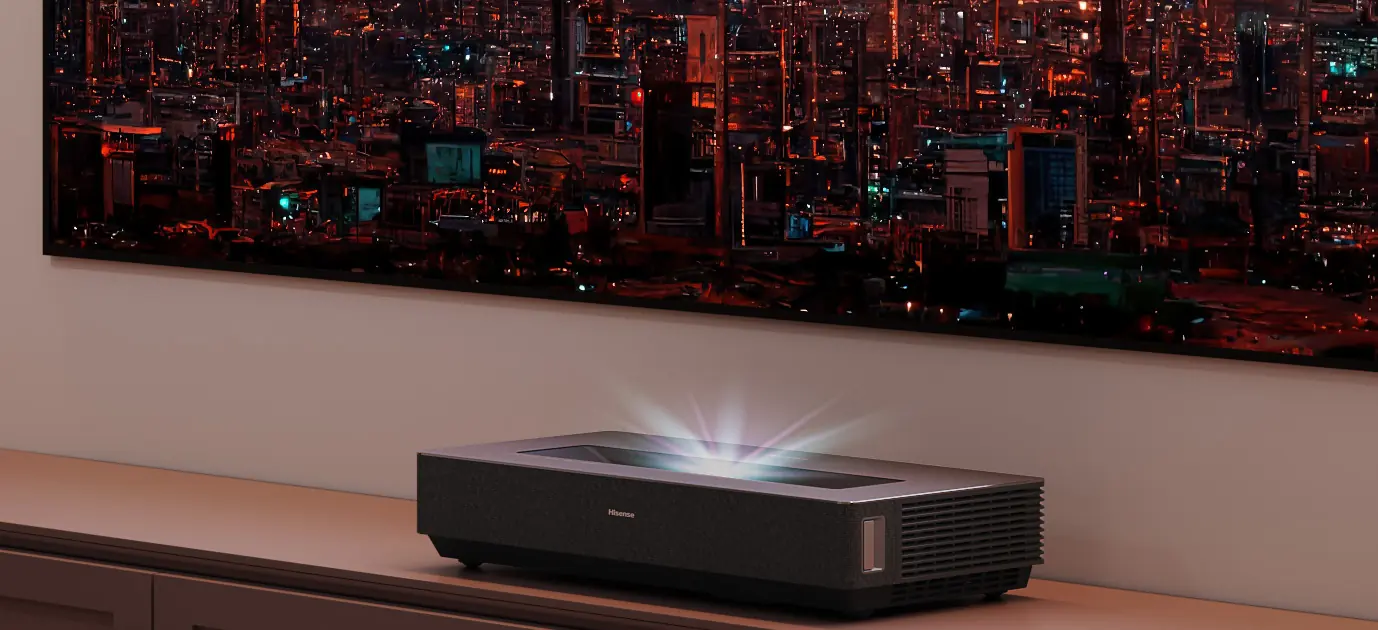
Quick setup guide for the Hisense 120L5H Laser TV, covering installation, screen alignment, remote control pairing, and troubleshooting.
Table of contents
Quick guide from the manual
This document provides essential instructions for setting up and maintaining your Hisense 120L5H Laser TV. It covers initial placement, screen alignment, remote control pairing, and basic troubleshooting. Please note that the screen is not included with the device.
Safety Information
- Laser Safety: Do not look directly into the lens while the device is on. The device uses a laser module; do not modify or disassemble it.
- Ventilation: Ensure at least 20 cm of space on the sides and 5 cm above the device to prevent overheating.
- Handling: Two people are recommended to move the device to avoid damage or injury.
- Maintenance: Clean the lens only with professional optical cleaning tools. Do not use water or chemicals on the device.
Installation and Setup
- Placement: Position the Laser TV parallel to the screen surface.
- Connections: Connect all necessary cables (HDMI, Ethernet, etc.) before positioning the unit.
- Power: Plug the power cord into a wall outlet and press the power button.
- Geometric Correction: Use the built-in automatic geometric correction function via a mobile device or manual adjustment to align the image with the screen borders.
Remote Control
To pair the remote, keep it within 10 feet of the Laser TV and press and hold the Back and Home buttons simultaneously for at least 3 seconds. The remote operates via infrared in an unpaired state and requires two AAA or AA batteries.
Troubleshooting
- No sound or picture: Check power connections and ensure the device is not in standby mode.
- Distorted image: Ensure the device is on a stable surface and away from other electrical appliances that may cause interference.
- Clicking sound: This is normal as the cabinet expands or contracts due to temperature changes.
Manufacturer information
Hisense
Practical help
Common problems
No sound or picture
Check if the power cord is plugged in and press the power button to exit standby mode.
Distorted or wavy picture
Turn off nearby electrical appliances and move the Laser TV to a different power outlet.
Remote control not working
Confirm the TV has power, check battery installation, or re-pair the remote by holding Back and Home buttons.
Clicking sound from cabinet
This is normal behavior caused by thermal expansion and contraction of the device casing.
Before use
- Ensure two people are available to move the device.
- Verify that the installation area has at least 20 cm of side clearance and 5 cm of top clearance.
- Check that the screen is mounted and level.
- Insert batteries into the remote control.
- Connect all required input cables before final positioning.
Specs in practice
- Laser Class 1
- The device is safe under normal operating conditions but should not be stared into directly.
- Operating Temperature
- Must be kept between 5°C to 35°C (41°F to 95°F) for optimal performance.
- Power Consumption
- The device consumes 350W during operation.
Images and diagrams
- The diagram shows the location of the lens, eye protection sensor, and air vents.
- The geometric correction grid helps align the projected image to the screen corners.
- The rear panel diagram identifies HDMI, USB, and audio output ports.
Model compatibility
- The USB port supports 5V devices; do not exceed 1A current for USB 3.0 or 500mA for USB 2.0.
- The device requires a router for internet connectivity via Ethernet or built-in wireless.

Manual page author
Emily Carter
User documentation editor
Prepares concise manual descriptions and highlights the most useful setup, operation, and maintenance information for readers.