Toys / Ride-on Toys
User Manual for Homcom 838-169 Storage Bench
Quick guide for the Homcom 838-169 storage bench. Includes assembly instructions, maintenance tips, and safety precautions for proper use.
Table of contents
Manual images
Click an image to enlargeQuick guide from the manual
This storage bench is designed for domestic use only. To ensure safety and longevity, please follow these guidelines:
- Placement: Always place the bench on a flat, stable floor.
- Safety: Keep away from open flames or heat sources.
- Usage: Do not overload the bench. The maximum weight capacity is 130 kg.
- Assembly Precautions: Prepare a clean, dry area for assembly. Check that all parts are present and undamaged before beginning. Be aware of potential crushing or cutting hazards during assembly.
Assembly Instructions
The assembly process is straightforward and involves attaching the legs to the main bench body.
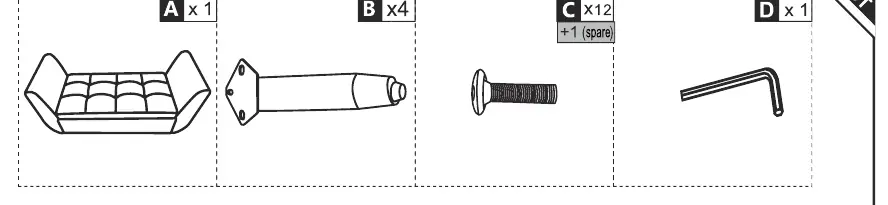
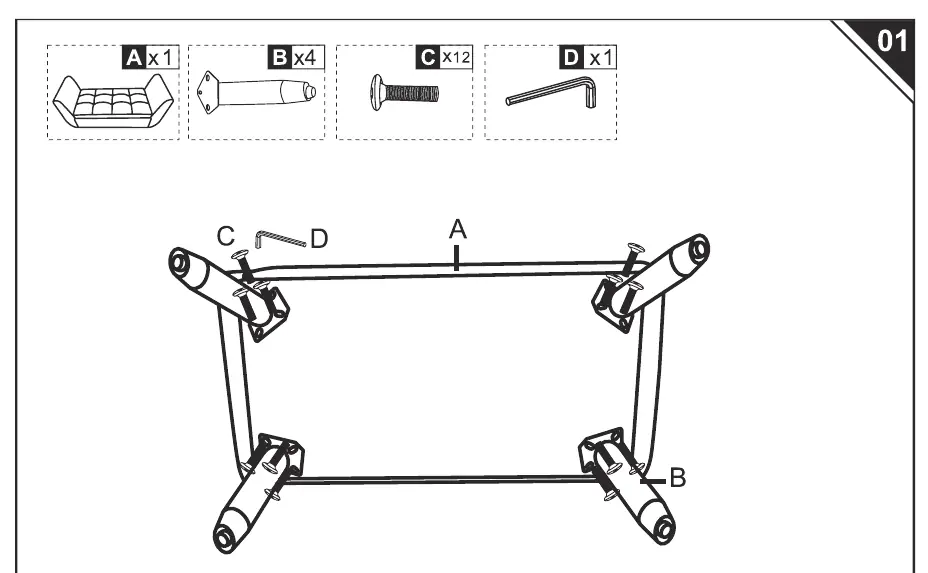
- Prepare Parts: Ensure you have the bench (A), 4 legs (B), 12 screws (C), and the Allen key (D).
- Attach Legs: Align the legs (B) with the mounting points on the base of the bench (A).
- Secure: Use the provided Allen key (D) to fasten the legs to the bench using the 12 screws (C). Ensure all screws are tightened securely.
Maintenance and Care
- Cleaning: Clean the surface using a soft fabric.
- Regular Checks: Periodically inspect the structure of the bench to ensure it remains stable and safe.
- Storage: If storing the bench, keep it in a clean, dry environment to prevent mold growth on the fabric.
Customer Support
If you have any questions or require assistance, please contact the customer care center. Contact details are provided in the manual for various regions, including the UK, DE, FR, ES, PT, IT, US, and CA. You can reach out via the phone numbers or email addresses listed in the full document.
Manufacturer information
HOMCOM
Practical help
Common problems
Missing parts
Verify all pieces (A, B, C, D) are present before starting assembly.
Instability
Ensure the bench is placed on a flat, level floor and that all leg screws are fully tightened.
Before use
- Prepare a clean and dry assembly area
- Verify the product is not damaged
- Check that no parts are missing
- Ensure the floor is flat and stable
Images and diagrams
- The assembly requires attaching four legs to the base of the bench using 12 screws and the provided Allen key.
Model compatibility
- For domestic use only.

Manual page author
David Miller
Documentation analyst
Organizes user manual content into clear summaries, with attention to model details, product context, and everyday usability.