Electronics / Monitors
Service Manual for Philips 190CW8 LCD Monitor
Comprehensive service manual for the Philips 190CW8 LCD monitor, including technical specifications, installation procedures, OSD settings, troubleshooting, and detailed repair instructions.
Table of contents
Manual images
Jump to the sectionQuick guide from the manual
This service manual provides technical information and repair procedures for the Philips 190CW8 LCD monitor. It is intended for professional service technicians. Key information includes safety precautions, technical specifications, OSD menu structure, and detailed mechanical disassembly instructions.
Safety Notice
Warning: This monitor contains high-voltage components. Servicing should only be performed by qualified personnel. Always use a separate isolation transformer when servicing. Critical safety components are identified in the parts list and schematics.
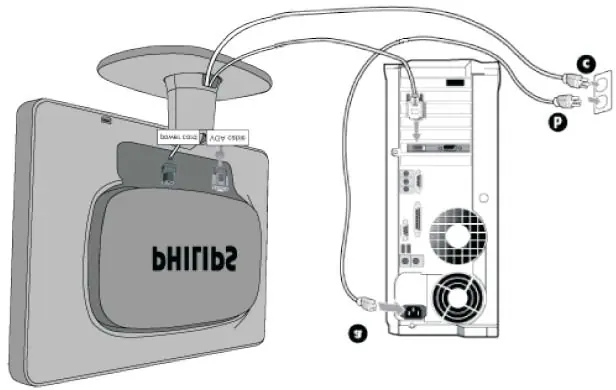
Installation
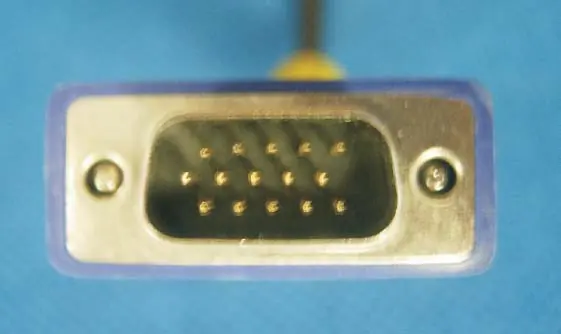
The monitor supports both analog (VGA) and digital (DVI-D) inputs. For initial setup, connect the power cord and the appropriate signal cable to your PC. The base can be attached by sliding the monitor body onto it until it clicks.
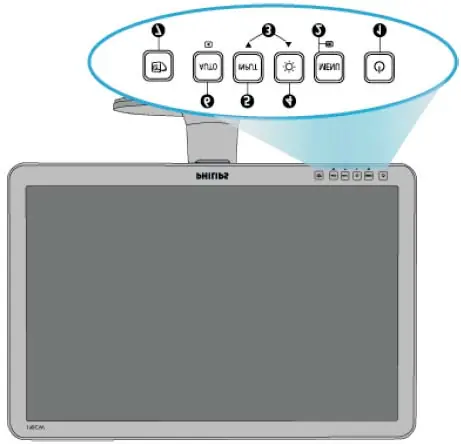
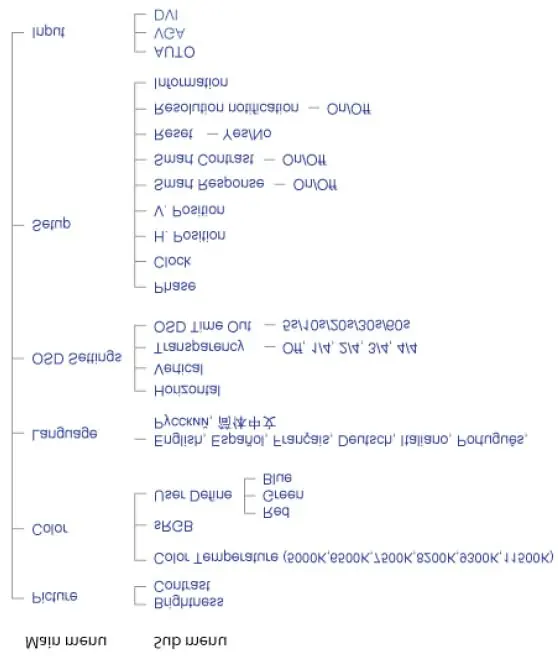

On Screen Display (OSD)
The OSD allows users to adjust screen performance. Use the buttons on the front bezel to navigate the menu. The OSD tree includes settings for Picture (Brightness, Contrast), Color (Color Temperature, sRGB, User Define), Language, OSD Settings, and Setup (Phase, Clock, H/V Position).
Troubleshooting
Common issues such as 'No Picture' or 'Check Cable Connection' are addressed. If the power LED is not lit, check the power cord connection. If the image vibrates or the display position is incorrect, use the 'Auto' button to automatically adjust settings.
Mechanical Instructions
To disassemble the monitor, follow these steps:
- Remove the base by removing the cable cover, pressing the release button, and pulling the base away.
- Remove the column and hinge cover.
- Remove the front bezel by releasing the snaps on the top, right, and left sides using a plastic putty knife.
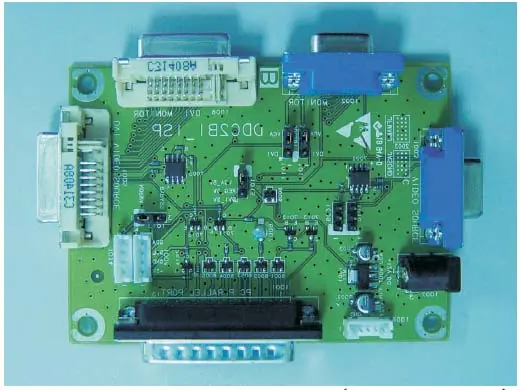
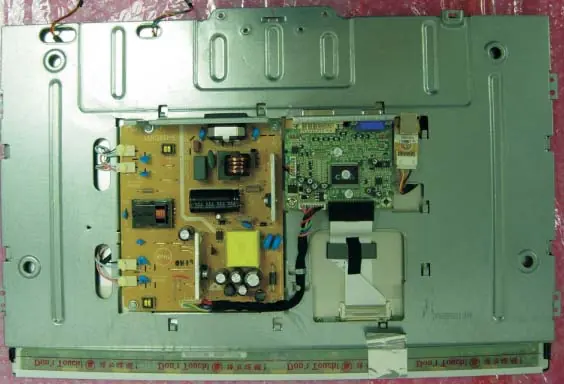
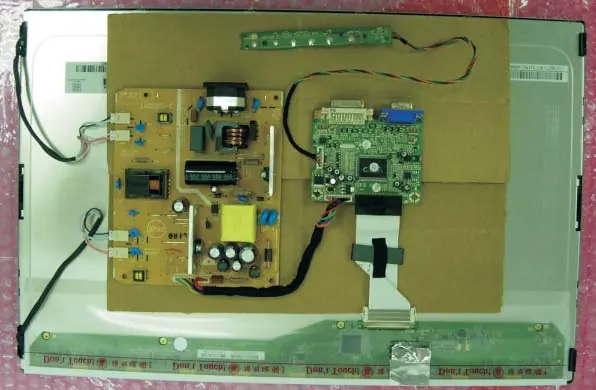
- Remove the rear cover and internal shields to access the scaler, power, and USB boards.
Technical Data
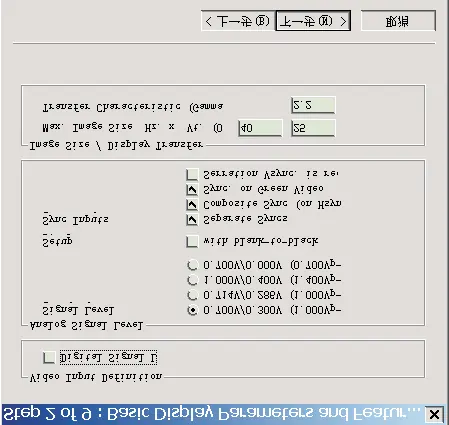
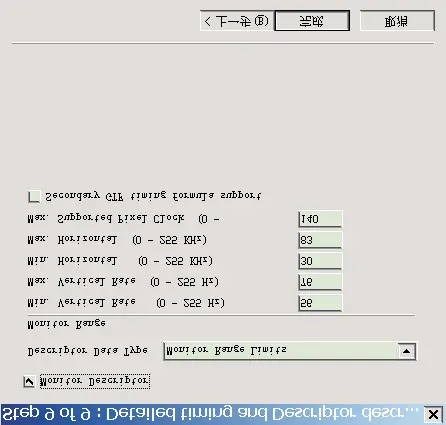
The monitor features a 19-inch TFT LCD panel with a resolution of 1440 x 900. It supports horizontal frequencies from 30 to 83 kHz and vertical frequencies from 56 to 76 Hz. Power consumption is typically less than 36W.
Manufacturer information
Philips
Practical help
Common problems
No picture, power LED not lit
Ensure the power cord is firmly connected to the monitor and the power outlet. Check that the power button is in the ON position.
No picture, power LED is amber or yellow
Ensure the computer is turned on and the signal cable is properly connected. Check for bent pins on the monitor cable.
Display position is incorrect or image vibrates
Press the 'Auto' button on the front bezel to automatically adjust the image settings.
Before use
- Ensure the monitor is placed on a flat, stable surface.
- Verify that the power cord is connected to a grounded outlet.
- Check that the signal cable (VGA or DVI) is securely connected to both the monitor and the PC.
- Ensure the computer is turned off before connecting the signal cable.
- Verify that the monitor is set to the recommended resolution of 1440x900 @ 60Hz.
Specs in practice
- Power Consumption
- Less than 36W (typical) during active operation.
Images and diagrams
- The block diagram illustrates the signal flow from the D-SUB/DVI connectors through the scaler chip to the LCD panel.
- Wiring diagrams show the internal connections between the main board, power board, and panel.
- Exploded views provide a visual guide for the assembly and disassembly of the monitor components.
Model compatibility
- Compatible with standard PCs, Macs, and workstations.
- Plug-and-Play compatible with Windows 95, 98, 2000, XP, and Vista.
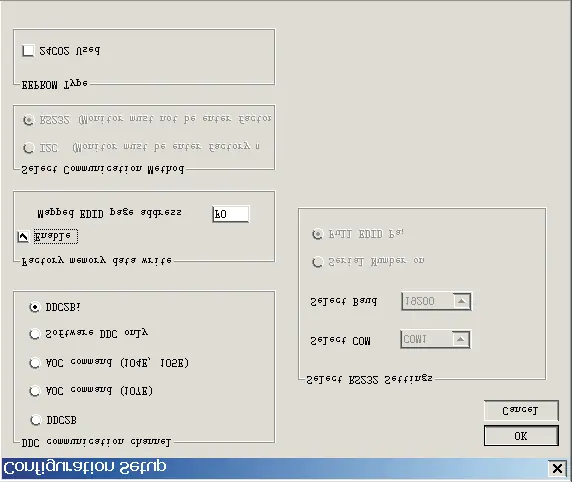
- Supports DDC/CI interface for advanced monitor management.

Manual page author
Emily Carter
User documentation editor
Prepares concise manual descriptions and highlights the most useful setup, operation, and maintenance information for readers.