Music / Guitar Accessories
User Manual for Shure GLXD6 Guitar Pedal Receiver
Quick guide for the Shure GLXD6 Guitar Pedal Receiver. Learn how to set up, link transmitters, use the integrated tuner, adjust gain, and troubleshoot common wireless issues.
Table of contents
Manual images
Click an image to enlargeQuick guide from the manual
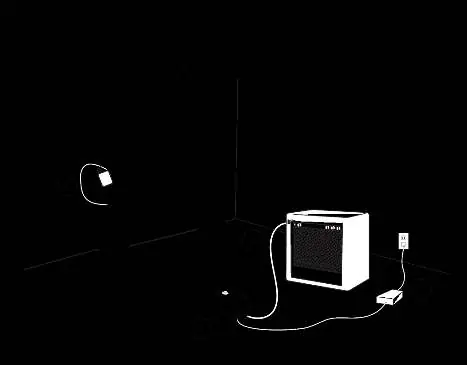
The Shure GLXD6 system is designed for automatic linking. Upon first power-up, the transmitter and receiver will automatically link to form an audio channel. For subsequent uses, the system will remember the link. If using multiple effects pedals, place the receiver first in the signal chain.
Setup Steps
- Connect the power supply to the receiver and plug it into an AC outlet.
- Connect the transmitter to your instrument and turn it on.
- Connect the receiver audio output to your amplifier or mixer.
- Turn on the receiver; the blue RF LED will flash while linking and remain solid once connected.
- Check audio levels and adjust gain if necessary.
System Overview
The GLX-D system operates in the 2.4 GHz spectrum, providing worldwide license-free operation. It features automatic frequency management, which detects interference and switches to clear channels without audio dropouts. The receiver is housed in a compact, rugged metal chassis suitable for pedalboards.
Guitar Pedal Receiver Overview
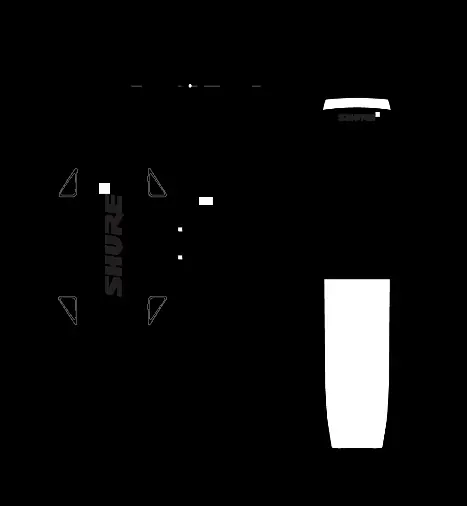
The receiver features a power switch, DC power connector (9-15V DC, 250mA min), audio output jack, USB port for firmware updates, two antennas, and a footswitch to toggle between receiver and tuner modes.

Bodypack Transmitter
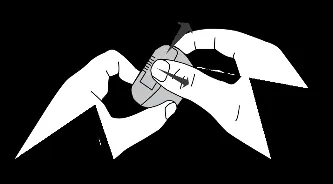
The transmitter includes an antenna, status LED, power switch, TA4M input jack for instrument cables, micro USB port for charging/firmware, and a link button. The status LED indicates battery life and link status (Green = normal, Red = low battery, Amber = battery error).
Batteries and Charging
The system uses Shure SB902A lithium-ion rechargeable batteries. Charging can be done via the transmitter's micro USB port using an AC power source or a standard USB port. Batteries charge faster with an AC power source. Always fully charge a new battery before first use.
Tuner Operation
The integrated tuner offers two modes: Needle (single LED indicates deviation) and Strobe (traveling LEDs indicate deviation). You can customize tuner settings, including display brightness, detune options (up to 5 steps sharp or 6 steps flat), and reference pitch (432 Hz to 447 Hz).

Troubleshooting
- No sound: Verify connections, ensure transmitter is on, check battery, or re-link the system.
- Audio dropouts: Ensure clear line of sight, increase distance from Wi-Fi access points, or change the group/channel.
- Distortion: Reduce transmitter gain if the OL indicator appears on the receiver LCD.
- Link unsuccessful: Update both components to firmware version 2.0 or greater using the Shure Update Utility.
Practical help
Common problems
No sound or faint sound
Verify all connections, ensure the transmitter is on and linked, check battery level, or adjust gain.
Audio artifacts or dropouts
Change group/channel, remove sources of interference (Wi-Fi, cell phones), or ensure clear line of sight.
Distortion
Reduce transmitter gain if the OL indicator appears on the receiver display.
Transmitter/Receiver link unsuccessful
Update both components to firmware version 2.0 or greater using the Shure Update Utility.
Controls locked
Simultaneously press and hold the group and channel buttons on the receiver to unlock.
Before use
- Fully charge the SB902A battery before first use.
- Turn off all receivers and transmitters before starting the setup process.
- Place the receiver first in your effects pedal signal chain.
- Ensure a clear line of sight between the transmitter and receiver.
- Keep transmitters at least 2 meters (6 feet) apart.
Specs in practice
- Tuning Accuracy
- ±1 cent.
- Working Range
- Up to 30m (100ft) indoor typical, up to 60m (200ft) maximum.
- Frequency Band
- 2.4 GHz ISM band (globally available).
- Power Requirements
- 9 to 15 V DC, 250 mA minimum.
Images and diagrams
- Receiver front panel: Power, DC input, Audio output, USB, Antenna, Footswitch.
- Transmitter: Antenna, Status LED, Power, TA4M input, USB, Link button.
Model compatibility
- Compatible with 9V DC positive or negative tip power supplies.
- Use only Shure SB902A rechargeable batteries.
- Use only Shure-approved charging modules.

Manual page author
Emily Carter
User documentation editor
Prepares concise manual descriptions and highlights the most useful setup, operation, and maintenance information for readers.