Music / Guitar Accessories
User Manual for Walrus Audio Canvas Power 5, 8, 15, 22
Quick guide for the Walrus Audio Canvas Power series. Learn how to connect your pedals, select voltages, link multiple units, use the power meter, and mount the power supply to your pedalboard.
Table of contents
Manual images
Click an image to enlargeQuick guide from the manual
The Walrus Audio Canvas Power series provides isolated, filtered power for guitar pedals. This guide covers the setup, voltage configuration, system expansion, and mounting procedures for the Power 5, 8, 15, and 22 models.
Getting Started
To set up your power supply:
- Wire up your pedalboard by connecting your pedals to the appropriate power outputs.
- Connect the DC Brick cable to the 24V DC Input on the power supply.
- Connect the IEC cable to the DC Brick to power the system.
Note: It is recommended to connect all pedals before powering on the supply.
Voltage Selection
Each output is rated at 9VDC, 500mA. For pedals requiring 12V or 18V:
- Double-check the pedal's power requirements.
- Set the toggle switch on the power supply to the appropriate voltage.
- Connect the DC cable to your pedal.
Limits: 375mA max at 12V / 250mA max at 18V.
Linking Power
You can expand your system by connecting additional Canvas Power units using the 24V Link Output. When linking, connect the largest unit to the DC Brick and reference the power meter on that unit. The Power 5 and 8 include a 48W brick; if your total power requirement exceeds 48W, use the 96W brick (included with Power 15 and 22).

Power Meter and USB-C
Available on Power 8, 15, and 22 models, the onboard power meter displays power consumption from the DC Brick. The USB-C port can be used to charge devices like phones or tablets, or to power small accessories like snake lights.
Mounting to Your Board
Each unit includes mounting brackets:
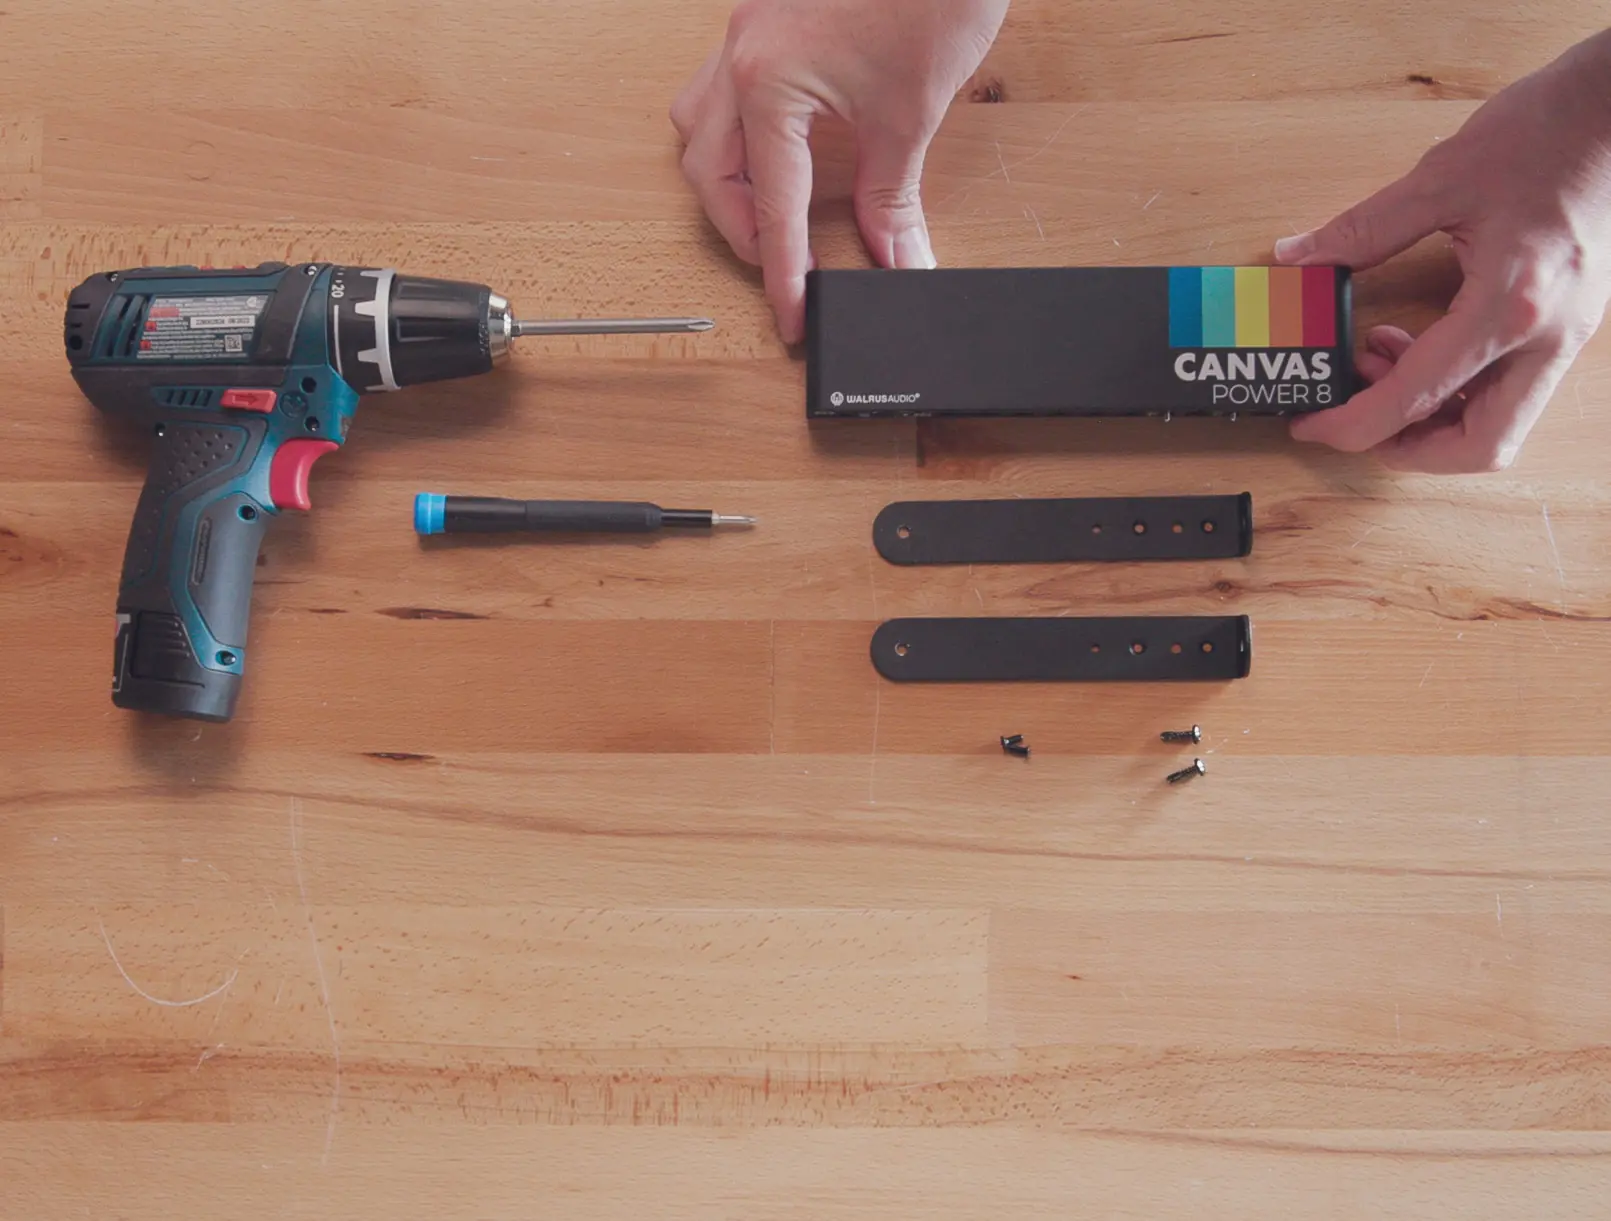
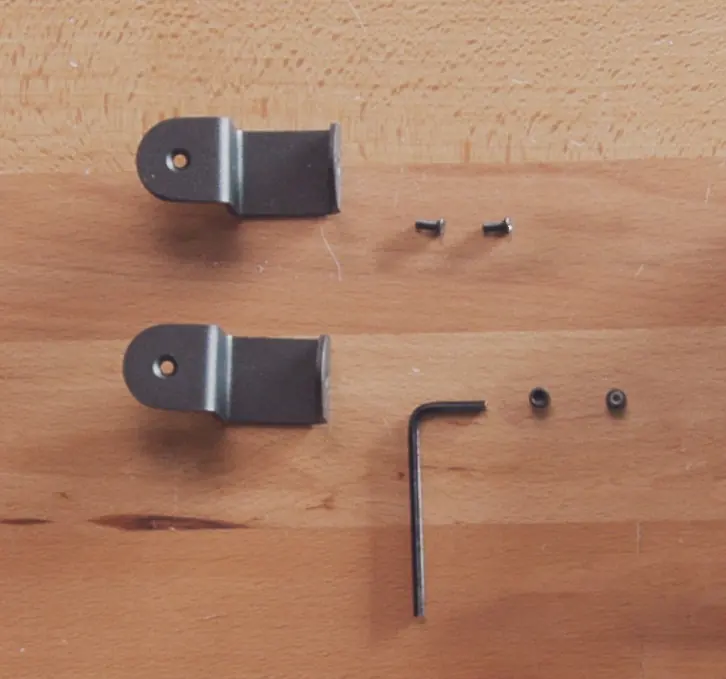

- C Brackets: Included with Power 5 for flat-lay style boards.
- L Brackets: Included with Power 8, 15, and 22 for raised boards.
Technical Info
Most pedals draw less current than printed on the enclosure, but use the printed number as a safe reference for calculating total power requirements. Total wattage is calculated as: Voltage(V) x Current(A) = Power(W).
Practical help
Common problems
Pedal not powering on
Verify the voltage toggle switch setting and ensure the pedal's polarity matches the output.
Insufficient power for linked units
If total power exceeds 48W, ensure you are using the 96W power brick.
Noise in signal chain
Ensure all pedals are connected to isolated outputs and check that the DC cable is making a solid connection (LED indicator should be lit).
Before use
- Check pedal voltage requirements (9V, 12V, or 18V).
- Check pedal polarity.
- Check pedal current draw.
- Ensure all pedals are connected before powering on the supply.
- Verify if your board requires C-brackets (flat-lay) or L-brackets (raised).
Specs in practice
- 12V/18V Toggle
- Adjustable voltage for specific pedals; note the reduced current limits (375mA @ 12V, 250mA @ 18V).
- 24V Link Output
- Allows daisy-chaining up to two additional Canvas Power units.
Images and diagrams
- Getting Started: Shows the connection sequence from pedals to the power supply, then to the DC brick and wall outlet.
- Mounting: Illustrates the use of C-brackets for flat-lay boards and L-brackets for raised boards.
Model compatibility
- Power Meter and USB-C port are only available on Power 8, 15, and 22 models.
- Power 5 and 8 include a 48W power brick.
- Power 15 and 22 include a 96W power brick.

Manual page author
Emily Carter
User documentation editor
Prepares concise manual descriptions and highlights the most useful setup, operation, and maintenance information for readers.