Furniture / Chairs & Seating
Assembly Instructions for The Home Depot 1266BU Accent Chair
Quick assembly guide for The Home Depot 1266BU Accent Chair. Includes component list, step-by-step assembly instructions, and care tips to maintain your furniture.
Table of contents
Manual images
Click an image to enlargeQuick Assembly Guide
This guide provides instructions for assembling your accent chair. Please note: Do not use power tools for assembly, as they increase the risk of over-tightening, which can lead to splitting or cracking the wood.

Components
Before starting, ensure you have all the following parts:

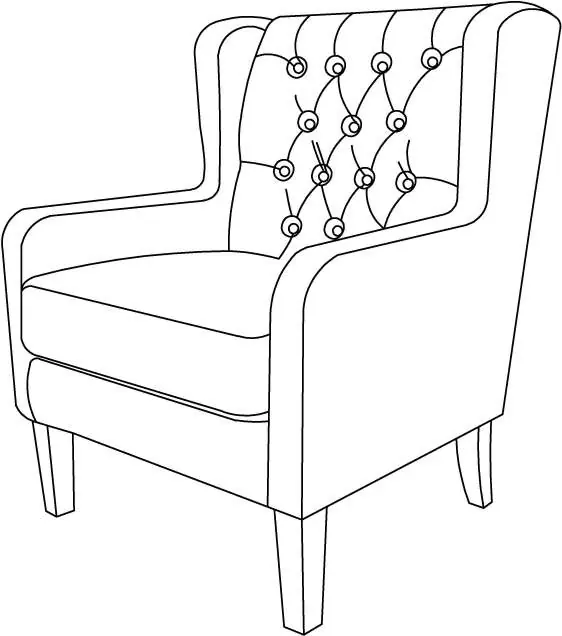
- Seat
- Seat Cushion
- 2 Wooden Front Legs
- 2 Wooden Rear Legs
- 4 Gaskets (50mm)
- 2 Screws (M4*50mm)
Assembly Steps
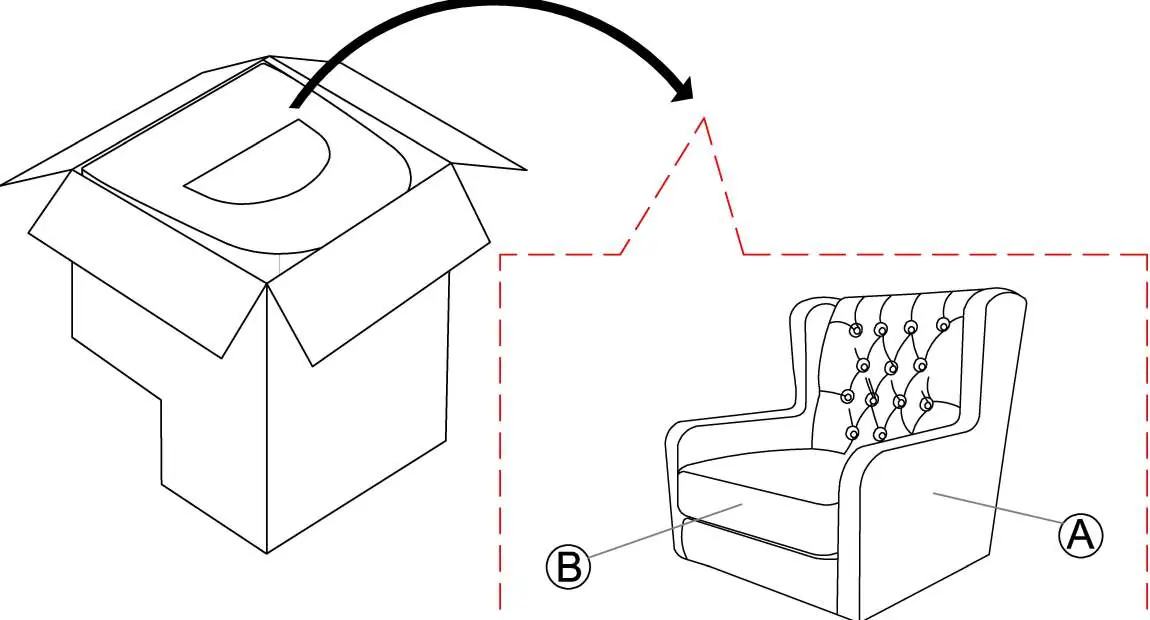
Step 1: Unpack the seat and locate the legs and hardware stored in the bottom of the seat.
Step 2: Prepare the legs and hardware for installation.
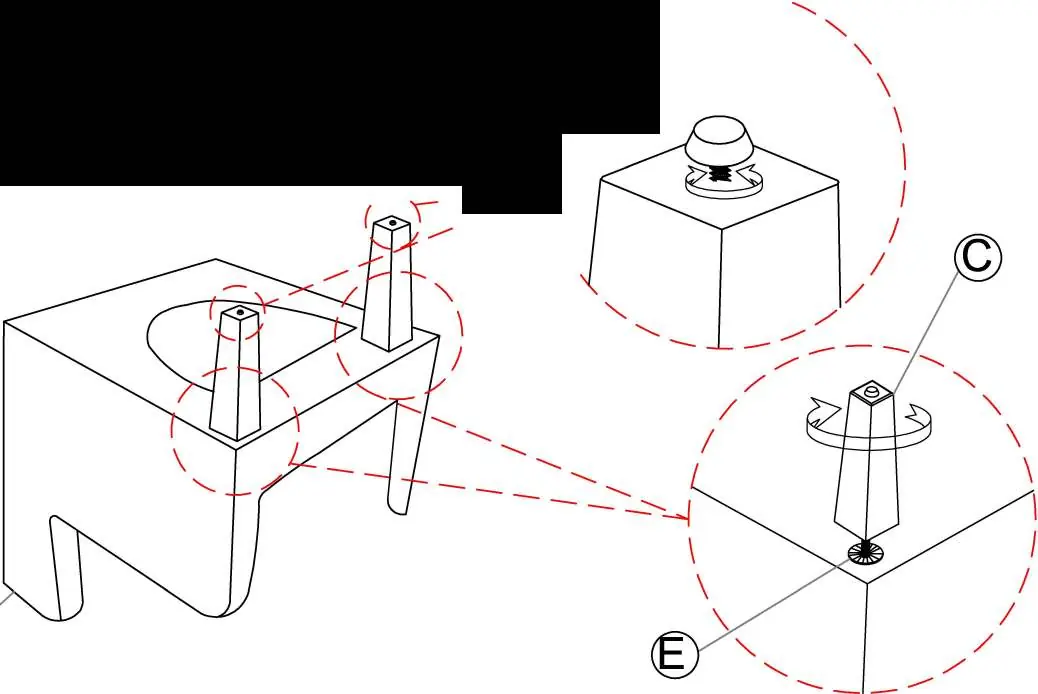
Step 3: Attach the front legs to the seat using the gaskets.
Step 4: Attach the rear legs using the provided screws and gaskets.
Care and Maintenance
To maintain the appearance of your furniture:
- Avoid direct exposure to sunlight, heating, or air conditioning outlets to prevent fading or damage.
- Vacuum or wipe with a soft cloth to remove dust.
- Periodically check all connections and re-tighten if necessary, as hardware may loosen over time.
- Install protective pads under all legs if using the chair on wooden floors or hard surfaces to prevent scratches and discoloration.
Manufacturer information
The Home Depot
Practical help
Common problems
Hardware loosening
Periodically check and re-tighten all connections.
Splitting or cracking wood
Do not use power tools for assembly; tighten by hand.
Before use
- Unpack all parts from the bottom of the seat
- Verify all components (Seat, Cushion, Legs, Gaskets, Screws) are present
- Prepare a soft surface for assembly
- Ensure you have a manual screwdriver (do not use power tools)
Images and diagrams
- Step 1: Locate parts in the seat bottom
- Step 3: Attach front legs with gaskets
- Step 4: Attach rear legs with screws and gaskets
Model compatibility
- Recommended to install protective pads under legs for use on wooden floors or hard surfaces

Manual page author
Michael Turner
Technical manual editor
Reviews PDF manuals for structure, safety notes, and practical product details so readers can find the right information quickly.