General / Service Manuals
Installation Guide for Velossa Tech 2023+ GR Corolla Big Mouth LIT KIT
Comprehensive installation guide for the Velossa Tech 2023+ GR Corolla Big Mouth LIT KIT. Includes step-by-step instructions for base and high-flow induction kits, wiring, and controller setup.
Quick answers from the manual
Quick answer
- This guide provides installation instructions for the Velossa Tech 2023+ GR Corolla Big Mouth LIT KIT, including wiring and controller setup. p. 1
Key actions
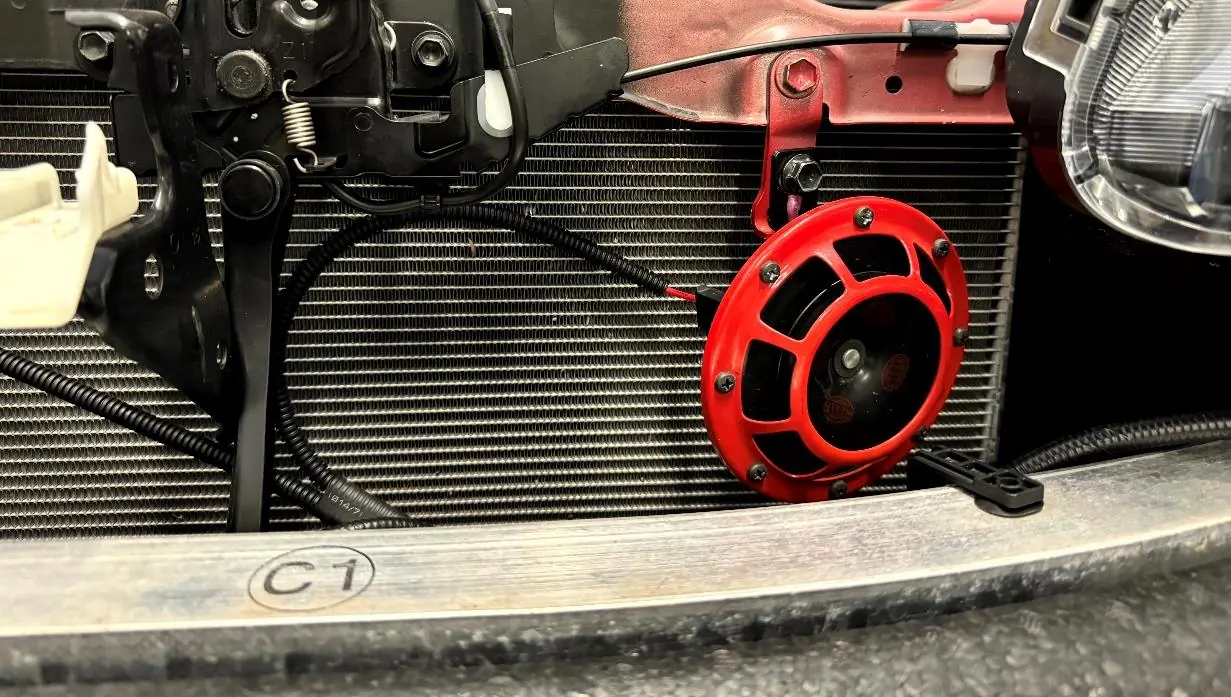
- Reposition Hella Horns (if applicable) 1.5 inches lower. p. 6
- Install the Big Mouth body by flexing the top-center bumper section. p. 7, 8
- Connect the wiring harness and mount the Diode Dynamics controller. p. 17, 18, 19, 20
First start
- Download the Diode Dynamics app, cycle power to the controller, and connect via Bluetooth. p. 23
Show 2 more answers Show less
Problems and fixes
Parts not lining up
Adjust the angle of the plenum.
p. 14Where to find it in the PDF
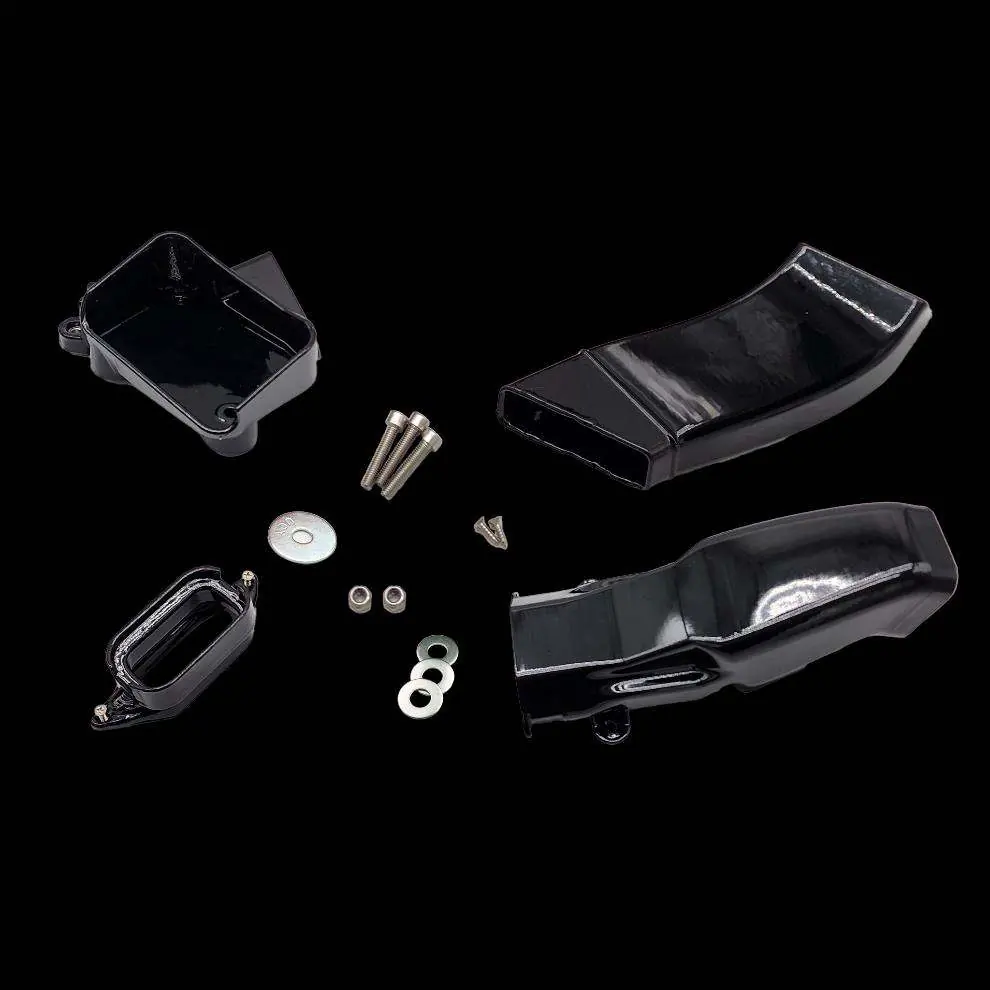
- Kit Contents p. 2, 3, 4, 5
- Installation p. 6, 7, 8, 10
Table of contents
Manual images
Click an image to enlargeQuick guide from the manual
This document provides instructions for installing the Velossa Tech 2023+ GR Corolla Big Mouth LIT KIT. The installation requires basic hand tools and approximately 2 hours. Please identify which kit version you have (Base, High Flow Induction, or Upgrade) to follow the correct installation steps. Warning: When threading screws into plastic, do not overtighten to avoid damaging the parts.
Kit Contents
Ensure you have received all parts listed for your specific kit version. The kits include various screws, washers, nuts, the Big Mouth intake, and the Diode Dynamics RGBW controller with wiring harness.
Preparation and Hella Horn Repositioning
If your vehicle is equipped with Hella Horns, they do not need to be removed, but their position must be adjusted. Use the stock horn bracket and bolt to reposition the horn 1.5 inches lower. This step must be completed prior to installing the Big Mouth intake.
Installing the Big Mouth
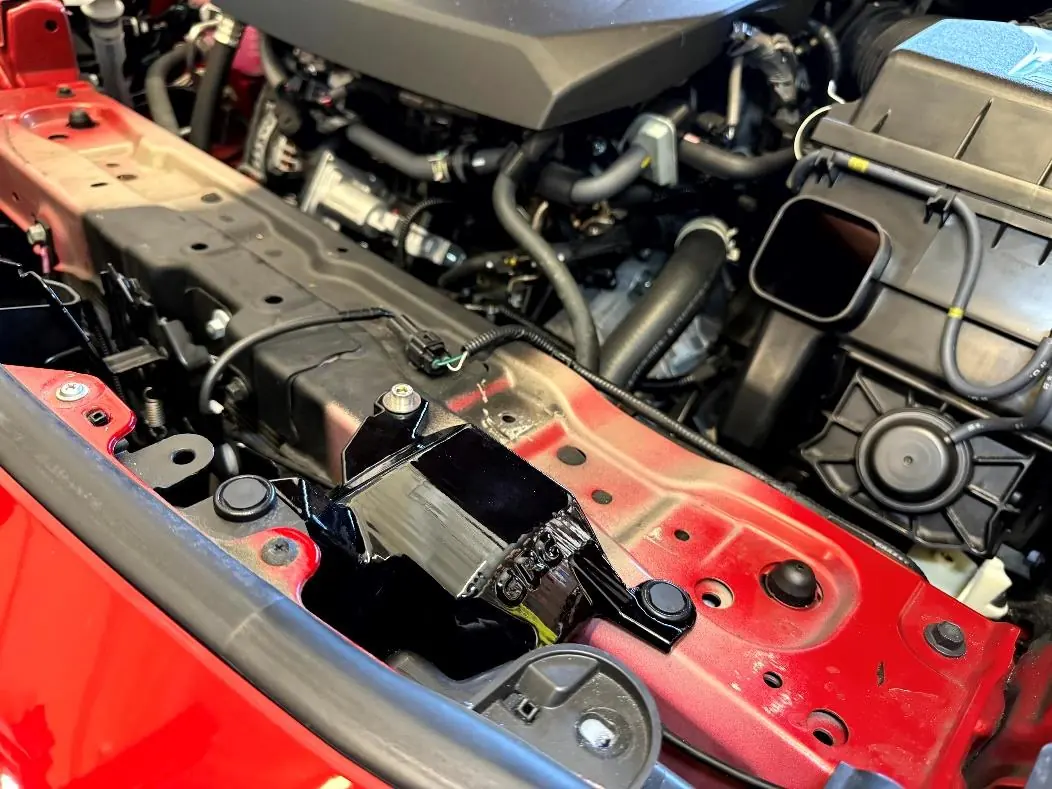
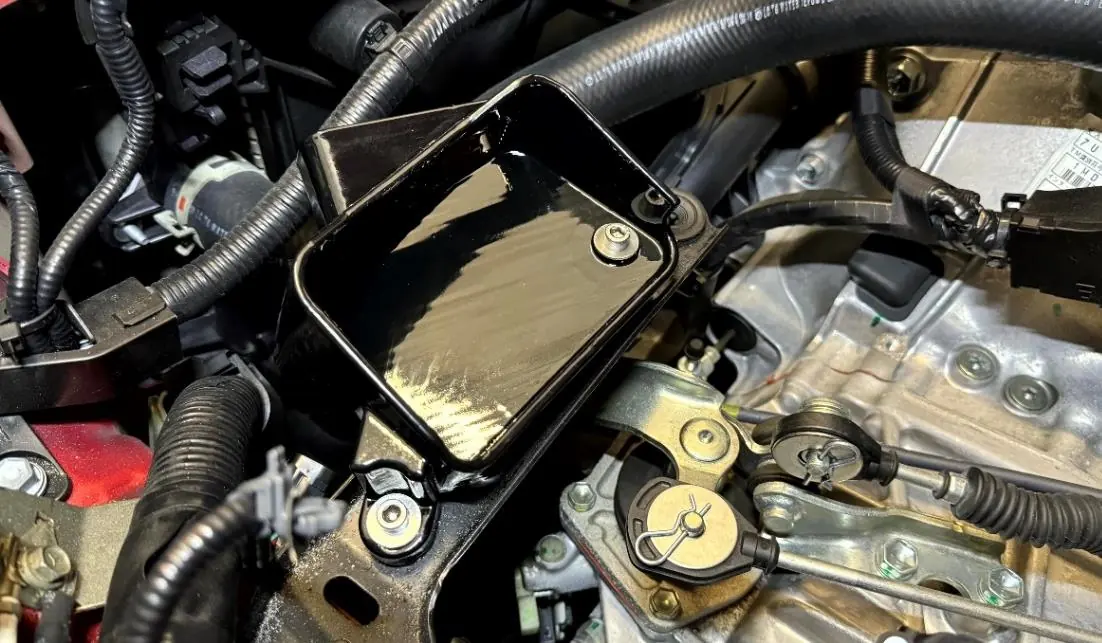
Full bumper removal is not required, but the top-center section of the bumper must be loosened to allow it to flex forward. Remove the plastic cover by undoing the retaining clips and remove the stock snorkel. Maneuver the Big Mouth into position at an angle. Secure the body using the supplied M6 x 40mm cap screw, washers, and M6 lock nut, reusing OEM clips where applicable.
Wiring and Controller Setup
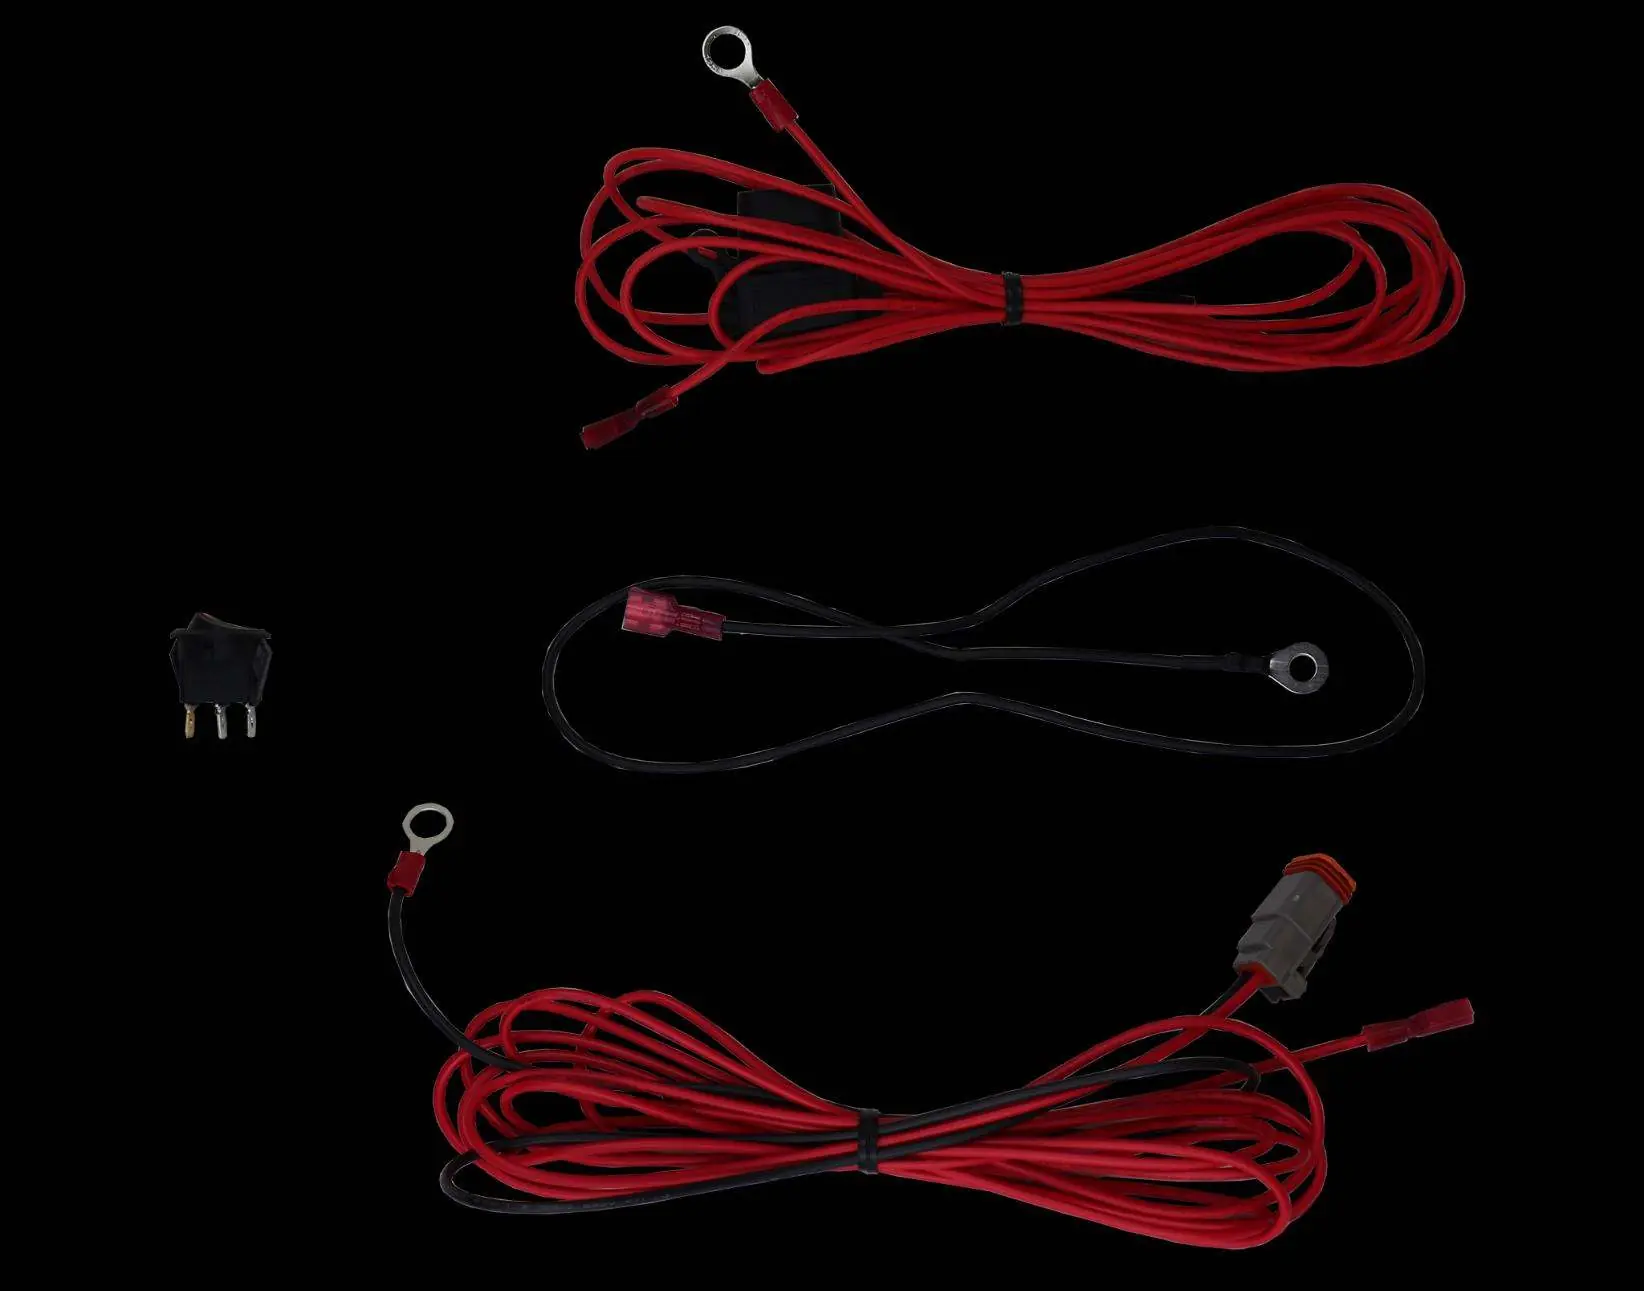
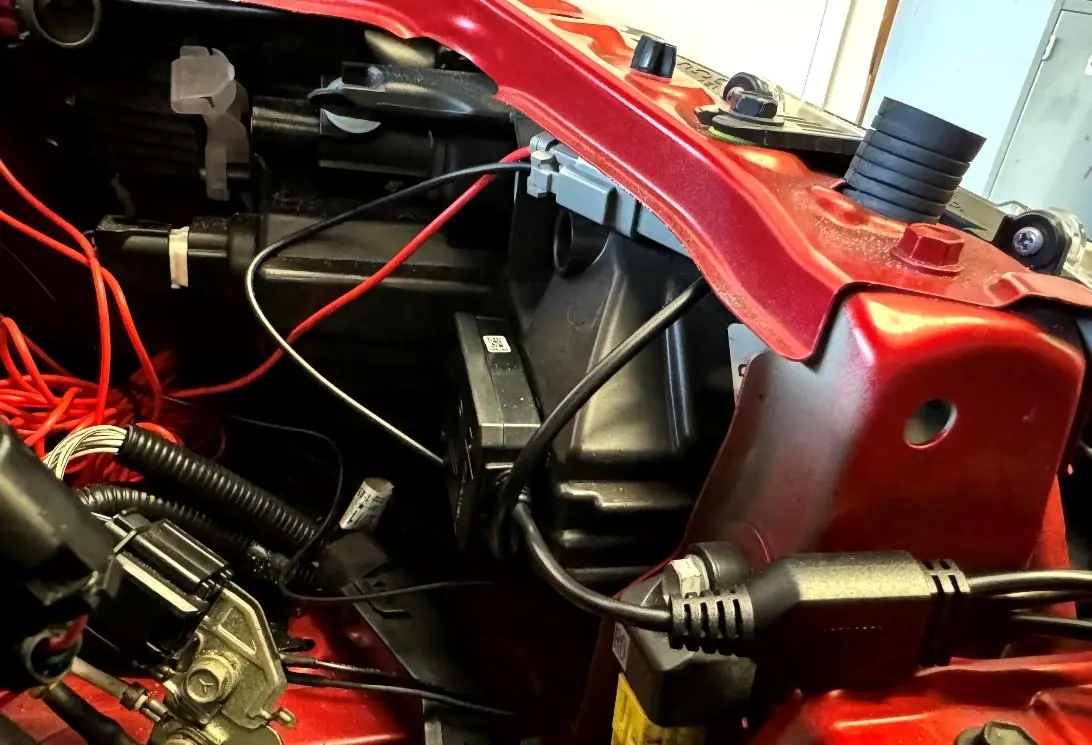
The wiring harness includes a toggle switch, in-line fuse, and power/ground terminals. Connect the switch according to the wiring harness schematic. Mount the Diode Dynamics controller using the supplied double-sided tape, ensuring it is not hidden behind excessive metal components to maintain signal strength. Use cable clips to manage wires and prevent strain.
Final Assembly Review
After installation, ensure all screws are tight, the Big Mouth is secure, and there is no interference with other components. Verify that the hood closes properly and re-assemble the bumper.
Practical help
Common problems
Parts not lining up
Adjust the angle at which the plenum sits.
Controller signal degradation
Avoid mounting the controller behind excessive metal components.
Hella Horn interference
Reposition the horn 1.5 inches lower using the stock bracket.
Before use
- Verify all kit contents against the list for your specific kit version.
- Ensure you have basic hand tools.
- Set aside 2 hours for installation.
- Check if you have the High Flow Induction kit to follow the correct instructions.
Show more Show less
Specs in practice
- M6 x 40mm cap screw
- Used for securing the main Big Mouth body.
- Diode Dynamics RGBW Controller
- Bluetooth controller for the LIT KIT lighting.
- In-line fuse
- Protects the wiring harness from electrical surges.
Images and diagrams
- Wiring Harness Schematic: Shows connections for the switch, fuse, power terminal, and ground.
- Kit Contents: Visual breakdown of screws, washers, and ducts for different kit versions.
Model compatibility
- Compatible with 2023+ GR Corolla.
- Requires specific installation steps for Hella Horn owners.
- Requires Diode Dynamics app for lighting control.

Manual page author
Emily Carter
User documentation editor