Automotive / Engine Components
Installation Guide for Velossa Tech BIG MOUTH LIT KIT Ram Air Intake
Complete installation and wiring guide for the Velossa Tech BIG MOUTH LIT KIT. Includes step-by-step instructions for BMW 235i, M240i, and 340i models, wiring diagrams, and app setup.
Quick answers from the manual
Quick answer
- The Velossa Tech BIG MOUTH LIT KIT is a ram air intake system for 2014-2021 BMW 235i, M240i, and 340i. Installation involves removing the stock bumper, mounting the ducts using specific hardware based on your model, wiring the RGBW controller, and configuring it via the Diode Dynamics app. p. 1, 2, 6, 17
Key actions
- Identify correct screw size: M4x16mm for 340i, M4x30mm for M240i/235i. p. 6
- Mount the controller on the passenger side duct with cables facing the driver side. p. 10
First start
- Download the Diode Dynamics app, cycle power to the controller, and connect via Bluetooth within 30 seconds. p. 17
Show 3 more answers Show less
Problems and fixes
Bluetooth signal issues
Ensure the controller is not mounted behind excessive metal components.
p. 17Technical specifications
| Parameter | Value | Meaning | Pages |
|---|---|---|---|
| Installation Time | 2 hours | Estimated time required for installation. | p. 2 |
Where to find it in the PDF
- Kit Contents p. 2, 3
- Installation p. 5, 6, 7
- App Setup p. 17
Table of contents
Manual images
Click an image to enlargeQuick Guide from the Manual
This guide provides instructions for installing the Velossa Tech BIG MOUTH LIT KIT on 2014-2021 BMW 235i, M240i, and 340i vehicles. The installation requires basic hand tools and approximately 2 hours of time. Ensure you identify your specific vehicle model to use the correct hardware.
Kit Contents
The full kit includes:
- 4x M4 x 16mm Cap Screws (for 340i)
- 4x M4 x 30mm Cap Screws (for M240i/235i)
- 2x Clamshells
- Diode Dynamics RGBW Controller
- Wiring harness components (Positive cable with fuse, Power cable with pigtail, Switch, Switch ground cable)
- Zip ties and cable clips
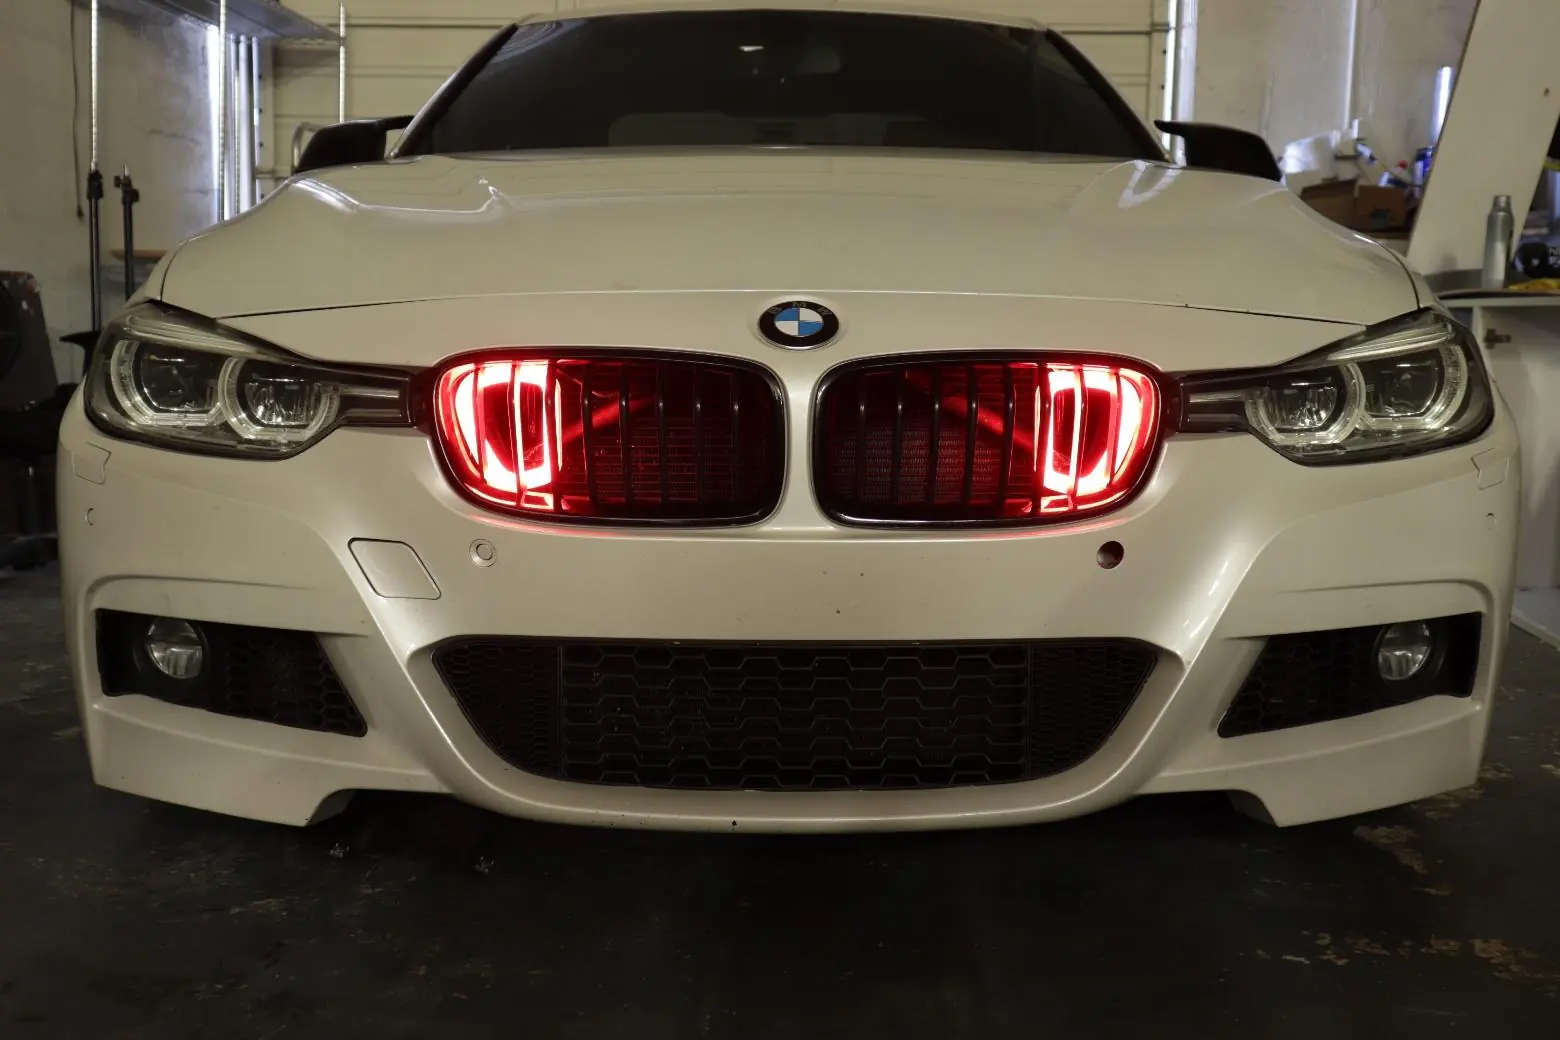
- Assembled LIT KIT BIG MOUTH
Big Mouth Installation
1. Preparation: Remove stock bumper components. It is recommended to search for specific bumper removal guides for your vehicle trim.
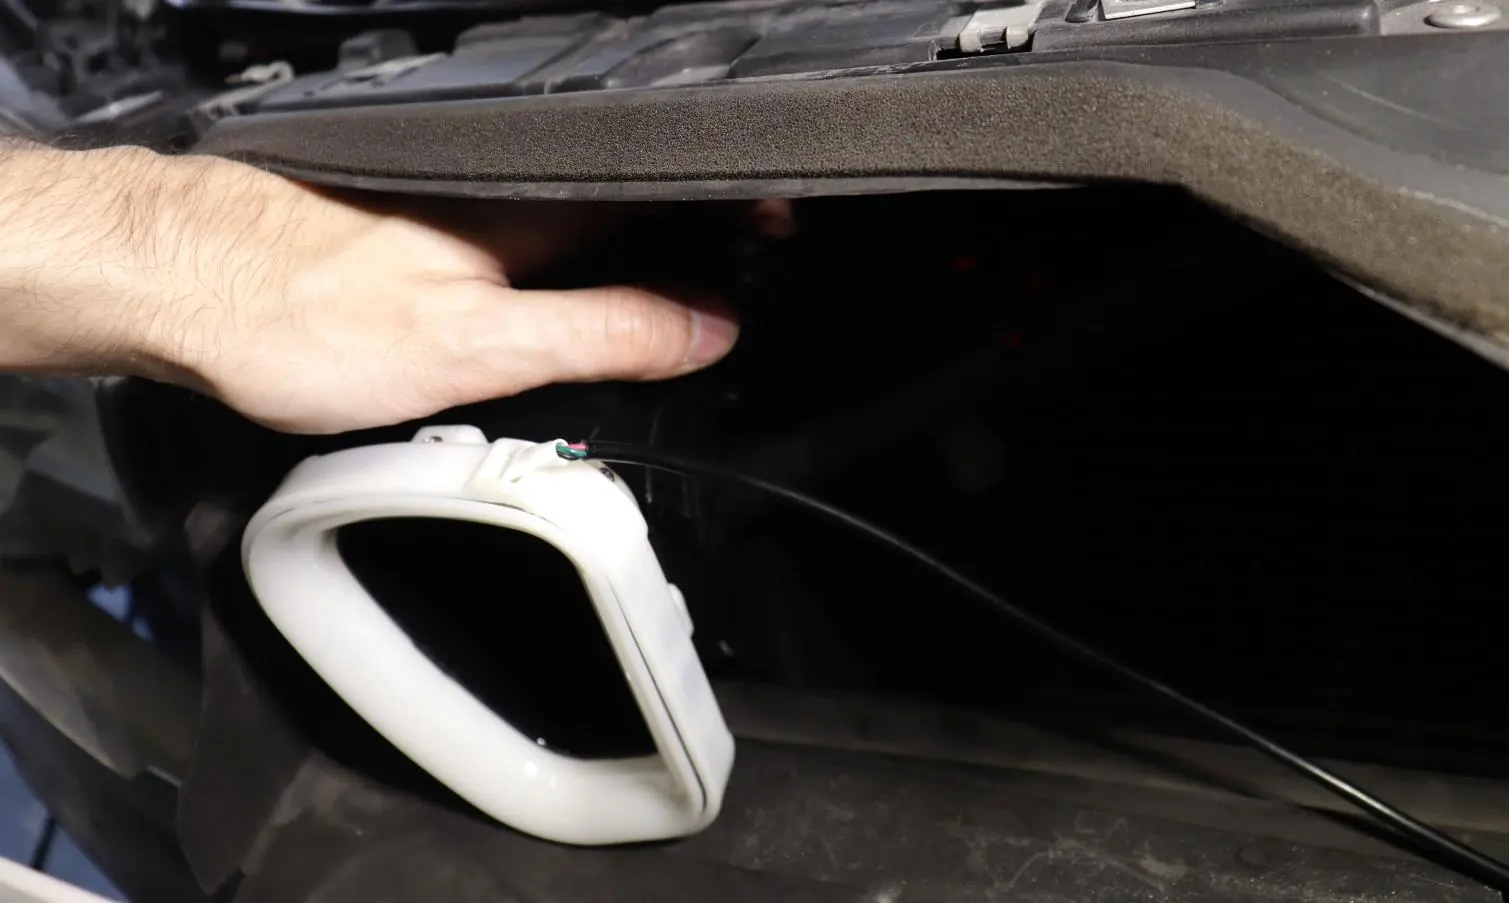
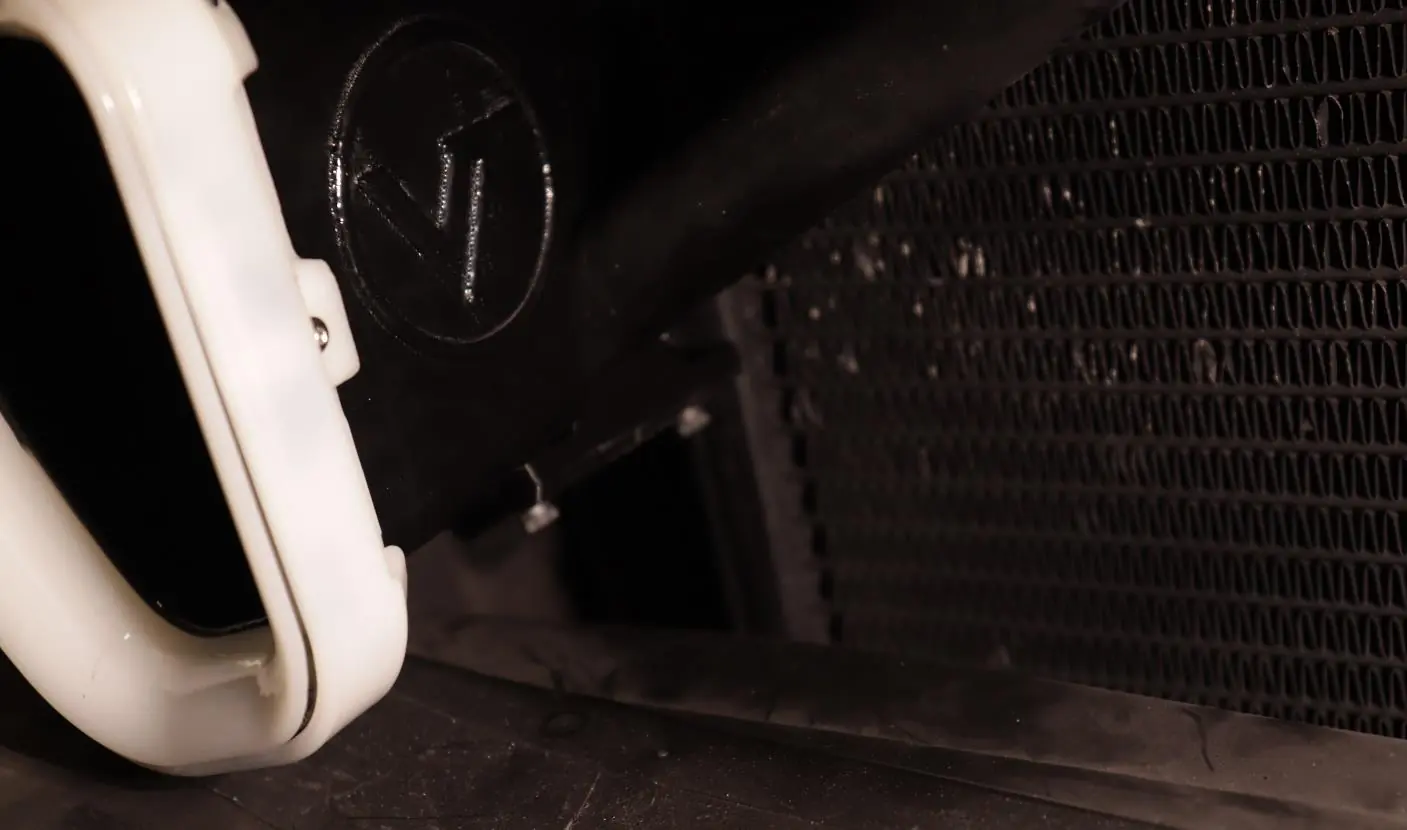
2. Duct Positioning: Identify the driver (D) and passenger (P) side ducts. Place the passenger side duct onto the diagonal brace, ensuring the square end clears the OEM intake grille. Repeat for the driver side.
3. Fastening: Use the supplied clamshells and hardware. Position clamshells with the curved face on the brace. Use M4 x 16mm screws for 340i models or M4 x 30mm screws for M240i/235i models. Tighten in an alternating sequence to prevent binding. Ensure the flare is vertical and not tilted.
Wiring and Controller
1. Controller Placement: Clean the top of the passenger side duct and use double-sided adhesive to mount the controller. Ensure cables face the driver side.
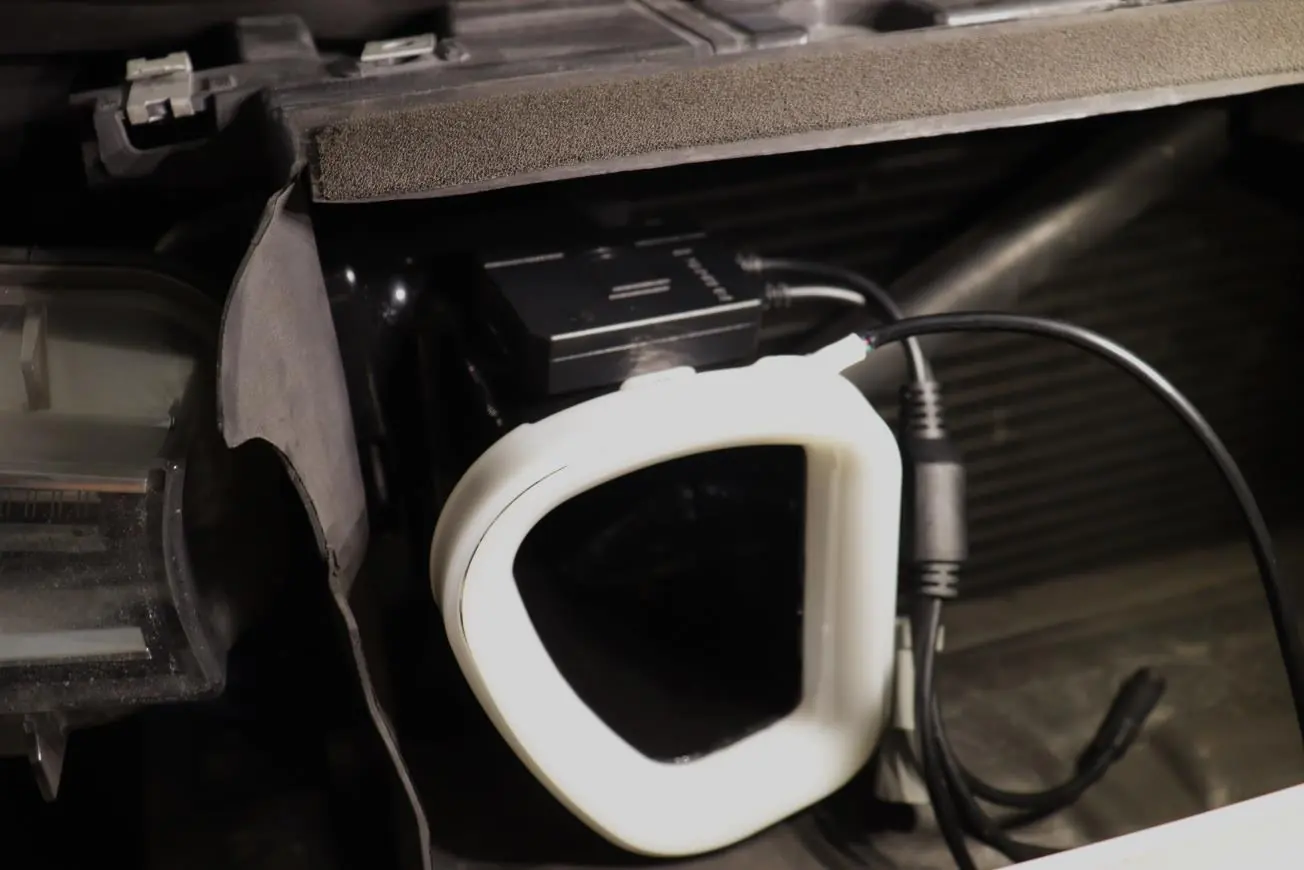
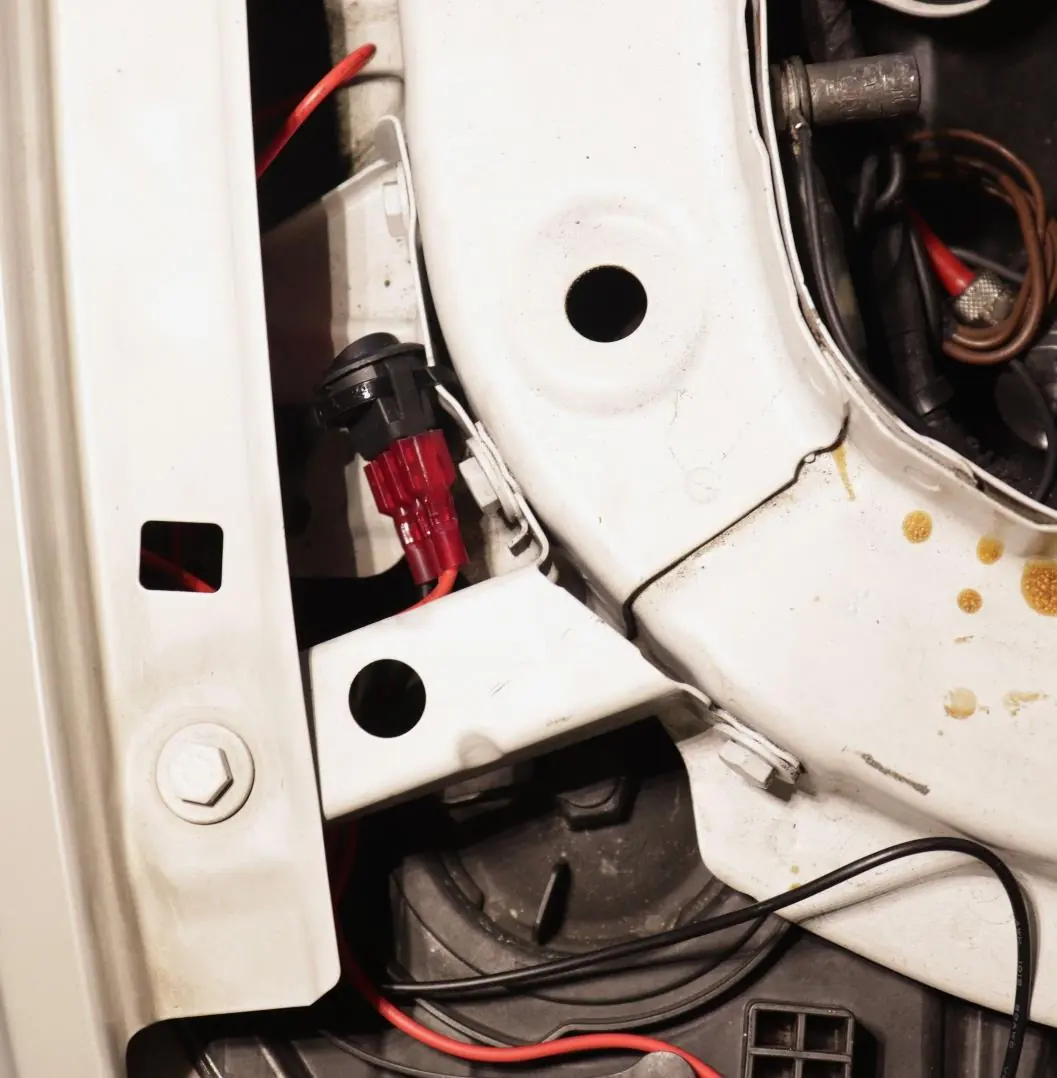
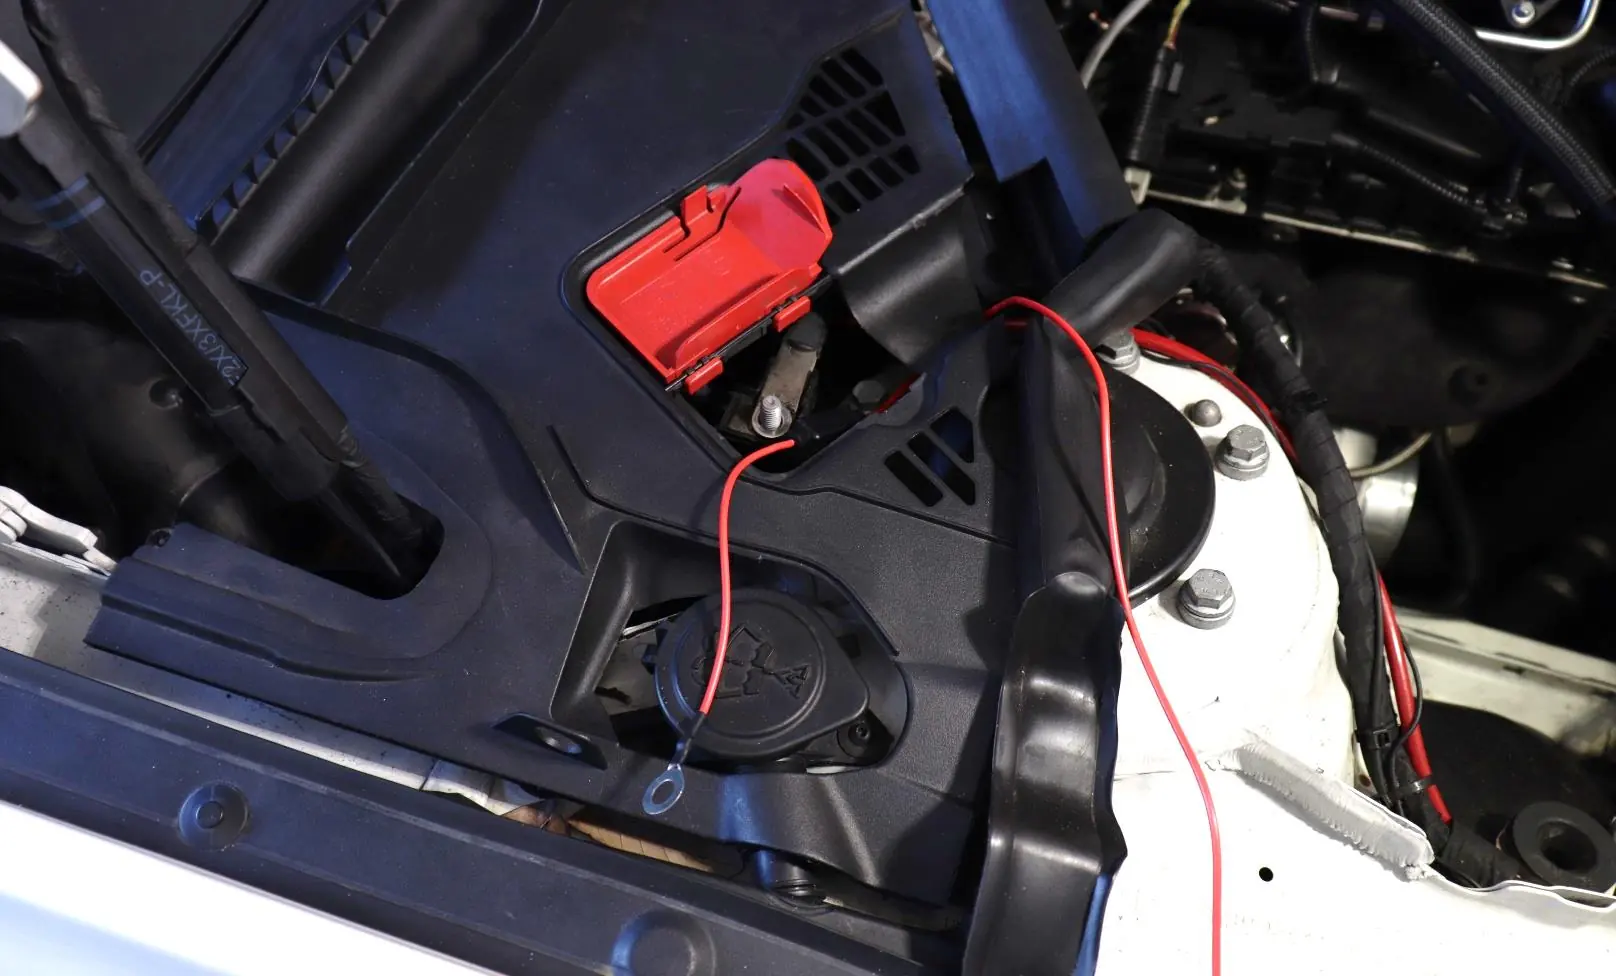
2. Connections: Connect LED cables to any of the 4 controller M8 ports, aligning the arrows on the connectors. Route the power wire and switch ground wire through the shroud opening.
3. Power and Ground: Connect ground terminals to the indicated chassis location. Route the positive wire with the in-line fuse to the positive battery terminal. Connect the switch according to the wiring schematic provided in the manual.
Phone App Setup
Download the Diode Dynamics app and connect via Bluetooth. Cycle the power to the controller (unplug/replug or toggle switch) to allow the app to detect the device. You have 30 seconds to select the controller once it appears in the app.
Final Assembly
Review the installation to ensure no parts are binding or under preload. Re-assemble the bumper to complete the installation.
Practical help
Common problems
Controller signal degradation
Avoid mounting the controller behind excessive metal components, as this may degrade Bluetooth signal and range.
Clamshell binding during installation
Tighten the screws in an alternating sequence to ensure even pressure and prevent the clamshell from binding.
Before use
- Verify all kit contents against the provided list.
- Gather basic hand tools.
- Allocate approximately 2 hours for installation.
- Identify your vehicle model (340i vs M240i/235i) to select the correct screw length.
- Ensure the flare is oriented vertically before fully tightening.
Show more Show less
Specs in practice
- M4 x 16mm Cap Screws
- Required hardware for 340i models.
- M4 x 30mm Cap Screws
- Required hardware for M240i/235i models.
Images and diagrams
- Wiring harness schematic showing switch, fuse, and power terminal connections.
- Controller placement diagram showing orientation with cables facing the driver side.
- Duct installation diagram showing clamshell positioning on the crossbeam.
Model compatibility
- Compatible with 2014-2021 BMW 235i, M240i, and 340i.

Manual page author
Emily Carter
User documentation editor