Automotive / Parts & Accessories
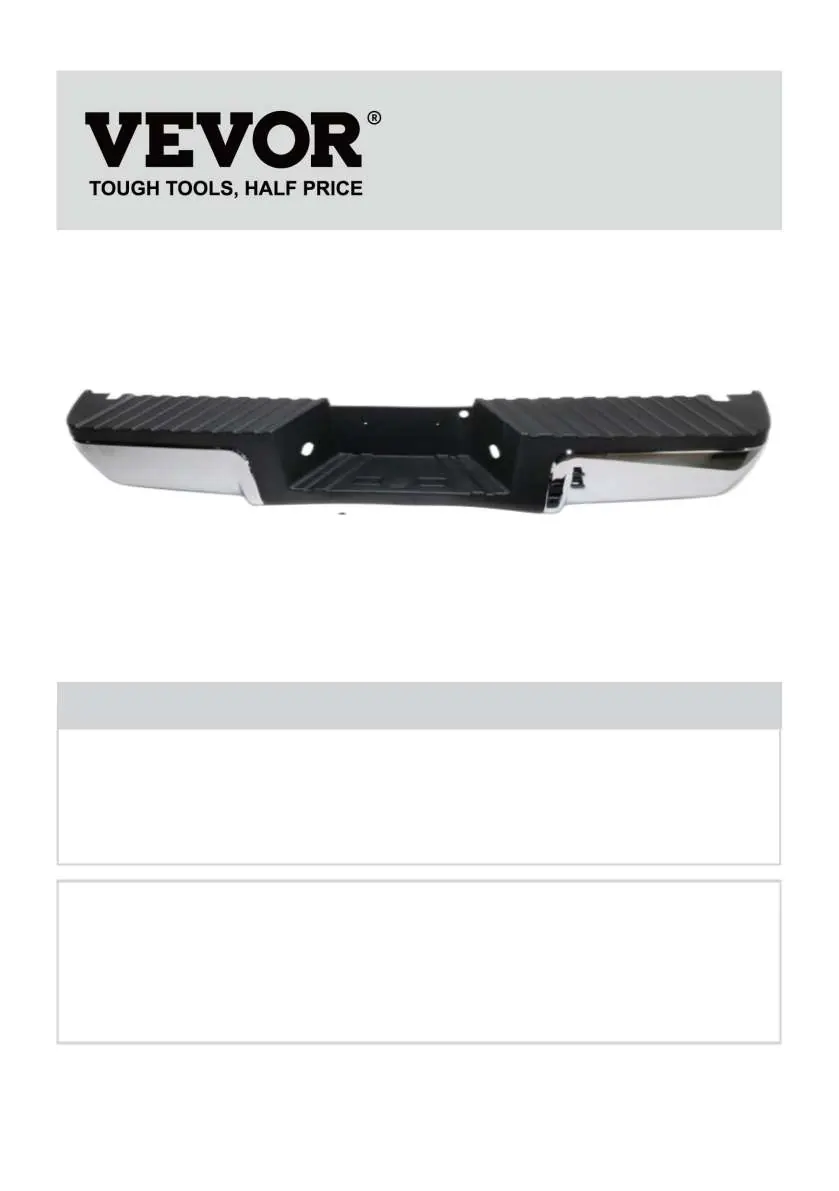
User Manual for VEVOR 08F250-CH Rear Bumper
Quick guide for installing the VEVOR 08F250-CH rear bumper on 2008-2016 Ford F250/F350 trucks. Includes assembly steps, parts list, and safety precautions.
Table of contents
Manual images
Click an image to enlargeQuick Guide
This manual provides instructions for the VEVOR 08F250-CH rear bumper, designed for 2008-2016 Ford F250 and F350 vehicles. It covers safety precautions, installation steps, and technical specifications.
Important Safeguards
- Read and understand the entire manual before operating or servicing.
- Avoid children using the product; it is not a toy.
- Professional installation at an auto repair shop is highly recommended.
- Wear ANSI-approved safety goggles and heavy-duty work gloves during assembly.
- Keep the assembly area clean, well-lit, and free of bystanders.
- Do not assemble when tired or under the influence of alcohol, drugs, or medication.
Specifications
- Model: 08F250-CH
- Material: Steel
- Rating for light: DC12V 5W
- Color: White & Black
- Suitable vehicle: 2008-2016 Ford F250/Ford F350
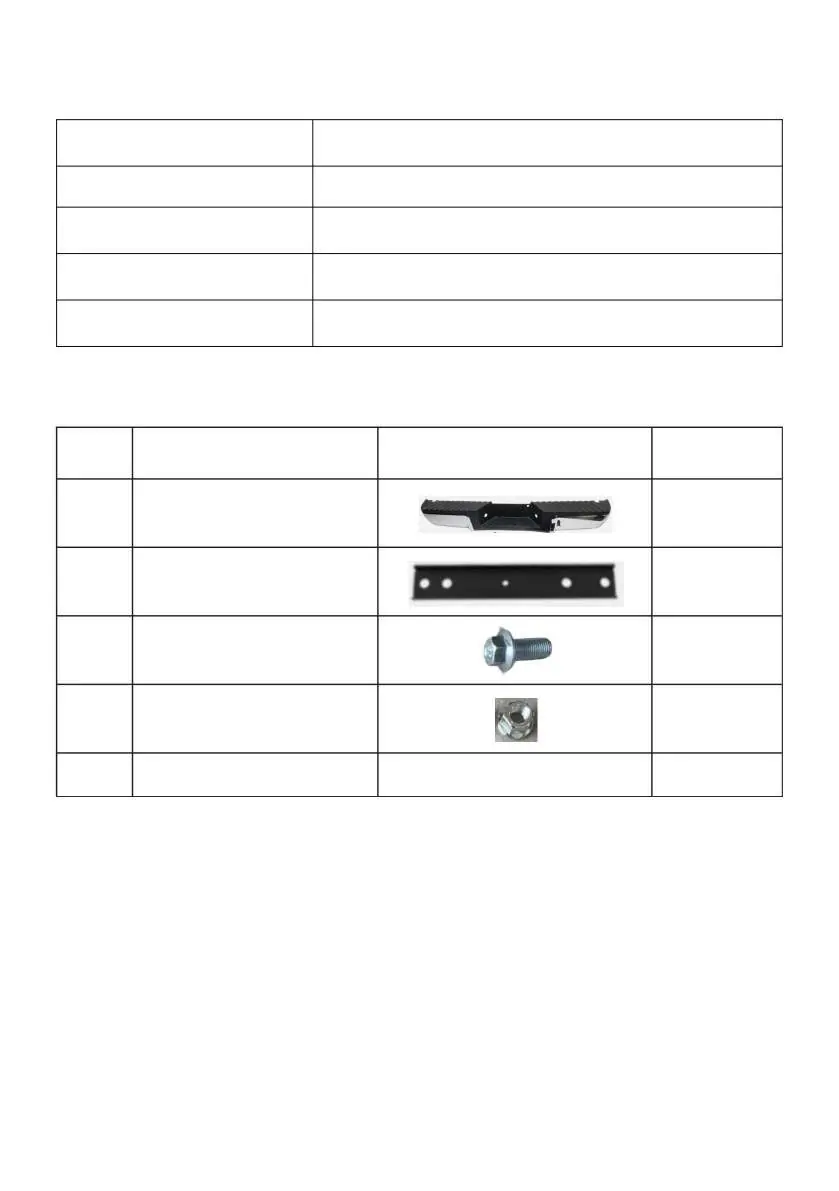
Package List
- 1x Rear Bumper
- 2x Mounting bracket
- 8x Bolt (M12*25)
- 8x Nut (M12)
Installation
Step 1: Remove the Rear BumperRemove the screws on both sides of the bumper and the bracket. Disconnect the wiring of the original license plate light and remove the old bumper.

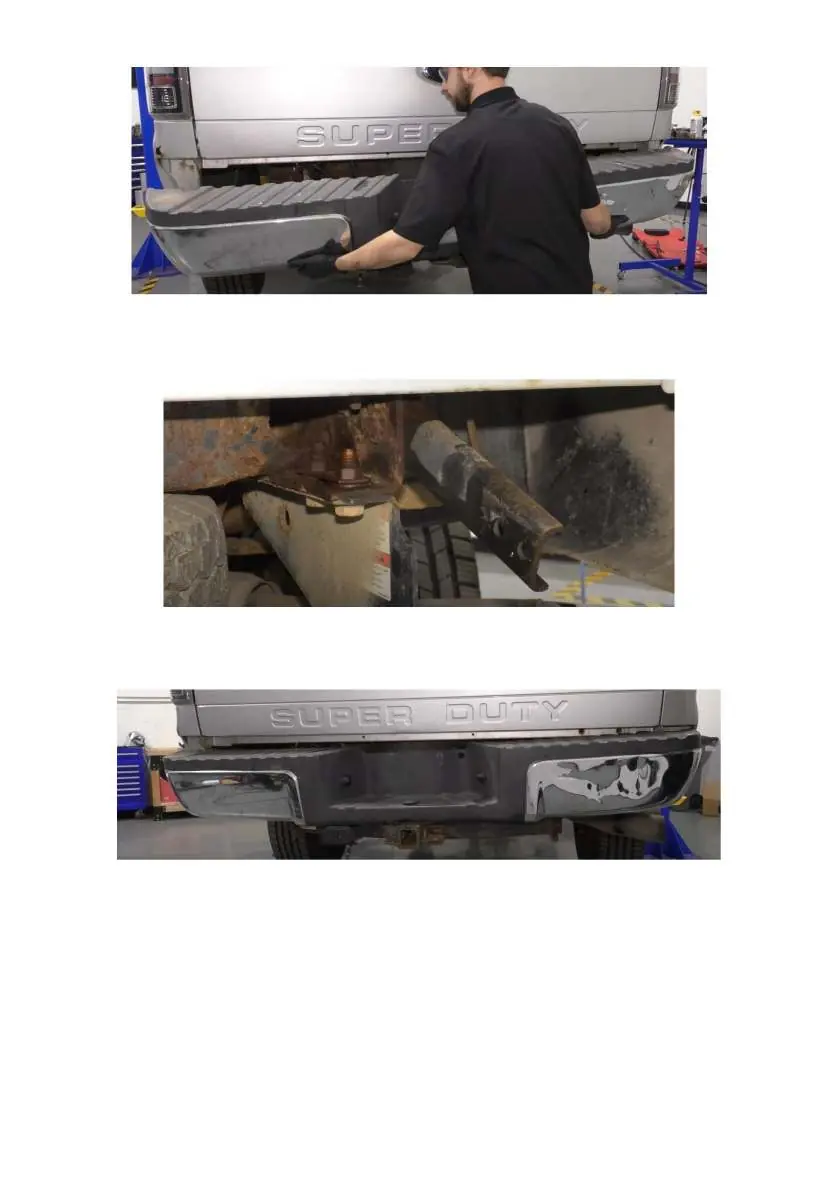


Step 2: Install Loading BracketsInstall the loading brackets onto the car fixing beam using the provided M12*25 screws and M12 nuts.
Step 3: Mount the New BumperRaise the new bumper and connect it to the loading brackets using the remaining M12*25 screws and M12 nuts.
Step 4: Connect WiringConnect the license plate light to the vehicle's wiring harness. Energize the light and verify it functions correctly. If necessary, you can transfer the original license plate light to the new bumper.
Manufacturer information
VEVOR
Practical help
Common problems
License plate light not working after installation
Check the wiring harness connection to the vehicle body and ensure the circuit is energized.
Before use
- Verify vehicle compatibility (2008-2016 Ford F250/F350)
- Ensure the assembly area is clean and well-lit
- Wear ANSI-approved safety goggles
- Wear heavy-duty work gloves
- Check all parts against the package list before starting
Specs in practice
- Rating for light
- DC12V 5W power requirement for the license plate light
Images and diagrams
- The manual includes photographic steps showing the bracket installation on the vehicle frame and the bumper mounting process.
Model compatibility
- Compatible with 2008-2016 Ford F250 and Ford F350 models.

Manual page author
Michael Turner
Technical manual editor
Reviews PDF manuals for structure, safety notes, and practical product details so readers can find the right information quickly.