Home / Security
User Manual for Ajax Systems GlassProtect Glass Break Detector
Quick guide for the Ajax Systems GlassProtect wireless glass break detector. Learn how to install, configure, test, and maintain your device for optimal security.
Quick answers from the manual
Quick answer
- GlassProtect is a wireless indoor glass break detector. It connects to the Ajax hub via the Jeweller protocol and is configured using the Ajax app. p. 1
Key actions
- Pairing with hub p. 4
- Installing the device p. 19
First start
- Install the Ajax app, create an account, add the hub, and ensure it is disarmed before pairing the detector. p. 3, 4
Show 4 more answers Show less
Problems and fixes
LED blinks once per second during pairing
Switch the device off for 5 seconds and retry.
p. 5Maintenance and reset
- Clean the detector body from dust and spider webs using a soft, dry napkin. Do not use solvents. p. 21
Technical specifications
| Parameter | Value | Meaning | Pages |
|---|---|---|---|
| Detection distance | 9 meters | Maximum range for glass break detection | p. 1 |
Where to find it in the PDF
- Functional elements p. 2
- Installation p. 18, 19
Table of contents
Manual images
Click an image to enlargeQuick guide from the manual
GlassProtect is a wireless indoor glass break detector designed to recognize the sound of shattering glass at a distance of up to 9 meters. It connects to the Ajax security system via the Jeweller radio protocol. The device is configured entirely through the Ajax app. Please note that the detector does not react to film-covered glass (shockproof, sunscreen, decorative, etc.).
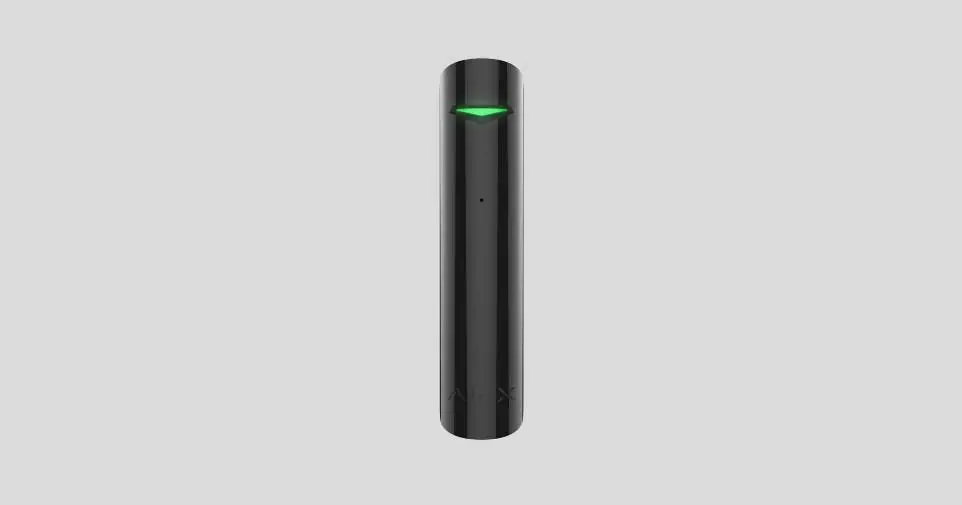
Functional elements
The device consists of the following key components:
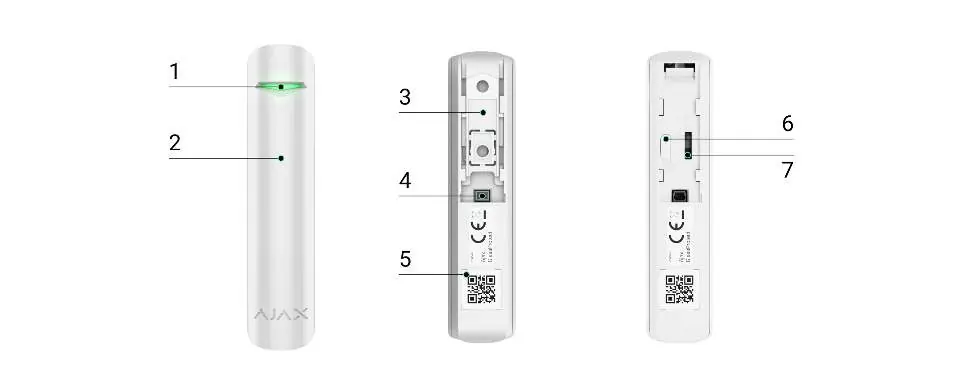
- LED indicator: Provides status information.
- Microphone hole: Used for detecting glass break sounds.
- SmartBracket mounting panel: Used to attach the device to a surface.
- Connector for third-party wired detector: Allows connection of an external wired detector with an NC (normally closed) contact.
- QR code: Used for pairing the device with the Ajax system.
- Device power button: Used to switch the device on.
- Tamper button: Triggers an alarm if the detector is torn off the surface or removed from the mounting panel.
Connecting to the system
Before connecting, ensure you have installed the Ajax app, created an account, and added at least one hub. Ensure the hub is disarmed and not updating.
- Open the Ajax app and select Add Device.
- Name the device, scan or type the QR code found on the detector body or packaging, and select a room.
- Tap Add to start the countdown.
- Switch on the device using the power button.
If the device fails to pair, ensure it is within the hub's coverage area, switch it off for 5 seconds, and retry.
Installation
The location of the detector depends on its distance from the hub and obstacles like walls or floors. The device is for indoor use only.
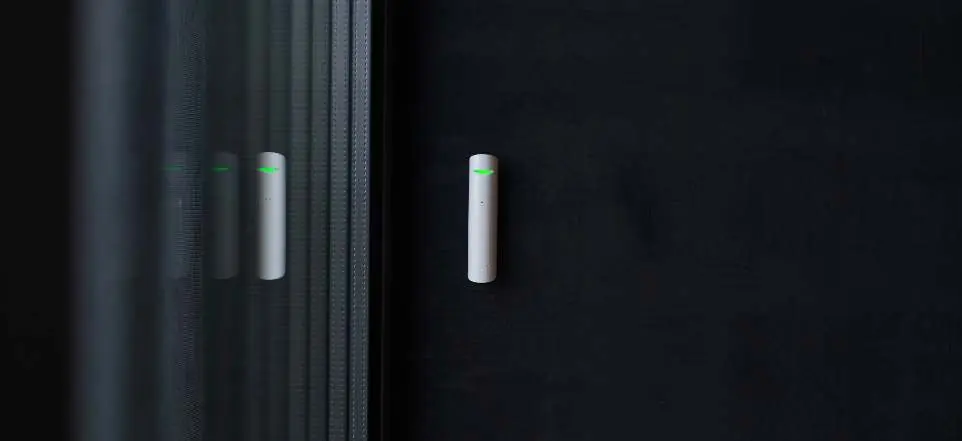
- Do not install: Outdoors, near sirens/speakers, near metal objects/mirrors, in places with fast air circulation (fans, open windows), or closer than 1 meter to the hub.
- Microphone positioning: Should be no more than 90 degrees relative to the window. Ensure curtains or furniture do not cover the microphone.
- Procedure: Fix the SmartBracket panel using the bundled screws. Place the detector on the panel. When fixed, the LED will blink, signaling the tamper is closed.
Connecting a Wired Detector
You can connect a wired detector with an NC contact type to GlassProtect using the in-built terminal clamp. It is recommended to keep the wire length under 1 meter to ensure communication quality.
Maintenance
Regularly clean the detector body from dust and spider webs using a soft, dry napkin suitable for tech equipment. Do not use substances containing alcohol, acetone, gasoline, or other active solvents. The pre-installed battery provides up to 7 years of operation.
Troubleshooting
If the device is not working correctly, check the signal strength in the app. If the signal is low (one bar), try moving the detector or using a radio signal range extender. If the LED does not blink after installation, check the tamper status in the app and ensure the panel is fixed tightly.
Practical help
Common problems
Device fails to pair with hub
Ensure the device is within the hub's coverage area. If pairing fails, switch the device off for 5 seconds and retry.
False alarms
Check for household activity, ensure the detector is not near fast air circulation (fans, open windows), or adjust sensitivity in the app.
Low signal strength
Move the detector closer to the hub or use a radio signal range extender.
Before use
- Install the Ajax app
- Create an account and add the hub
- Ensure the hub is disarmed
- Check internet connection
- Ensure the detector is within range of the hub
Show more Show less
Specs in practice
- Detection distance
- Up to 9 meters for glass break detection.
- Battery life
- Up to 7 years with a 5-minute ping interval.
- Communication range
- Up to 1,000 meters in line of sight.
Images and diagrams
- 1: LED indicator
- 2: Microphone hole
- 3: SmartBracket mounting panel
- 4: Connector for third-party wired detector
- 6: Device power button
Model compatibility
- Compatible with Ajax hubs
- Can connect to third-party systems via uartBridge or ocBridge Plus
- Does not react to film-covered glass

Manual page author
Michael Turner
Technical manual editor