Power / Batteries Chargers
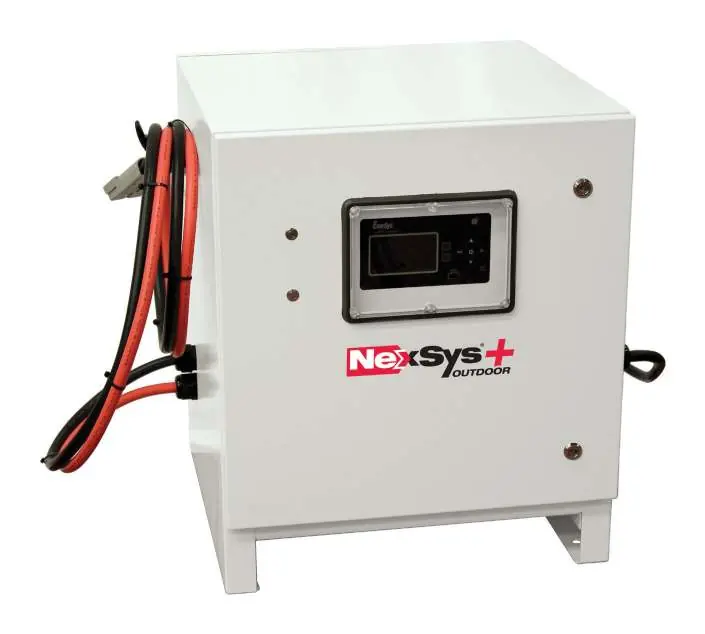
Owner's Manual for EnerSys 12V NexSys+ Outdoor Charger
Quick guide for the EnerSys 12V NexSys+ Outdoor Charger, covering installation, operation, safety precautions, and troubleshooting fault codes.
Table of contents
Manual images
Jump to the sectionQuick guide from the manual
This document provides essential safety, installation, and operating instructions for the NexSys+ Outdoor charger. It is intended for qualified personnel responsible for the commissioning and maintenance of the battery charging system. Always ensure the charger is installed in a well-ventilated area, free from dust and corrosive fumes, and that all safety protocols are followed to prevent injury or equipment damage.
Safety
- The shipping pallet must be removed before operation.
- Never touch non-insulated parts of the output connector or battery terminals.
- Lead-acid batteries produce explosive hydrogen gas; ensure proper ventilation according to EN 62485-3.
- Do not connect or disconnect the battery plug while the charger is on unless equipped with the LMEB feature.
- The charger must be installed on a non-combustible surface and kept away from moisture and vibrations.
- People with medical implants should avoid being near the charger during operation due to low-power magnetic fields.
Installation

- Location: Choose a location free of dust, combustible materials, and corrosive fumes. Avoid temperatures above 113°F (45°C).
- Mounting: Mount vertically on a wall, stand, or floor. Maintain at least 4 inches (10 cm) between chargers.
- Electrical: Ensure the power source is OFF before connecting. Connect the RED cable to the positive terminal and the BLACK cable to the negative terminal.
- Grounding: The charger must be earthed according to local electrical codes.
Operating Instructions
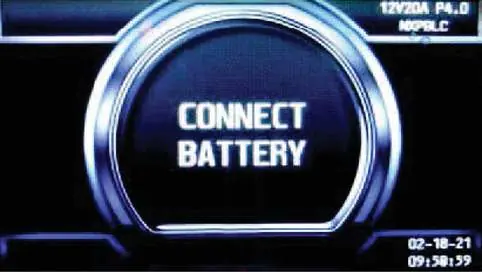
The charger is microprocessor-controlled and features an external display and buttons for operation. When a battery is connected, the charger senses the voltage and starts the charge cycle automatically if auto-start is enabled. For NexSys iON batteries, CAN communication must be established (indicated by BMS CONNECTED on the display) to initiate charging.

- Start/Stop: Use the external buttons to start, pause, or stop the charging process.
- Equalization: Can be started manually or automatically to balance electrolyte densities in flooded lead-acid batteries.
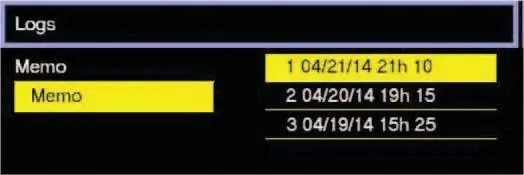
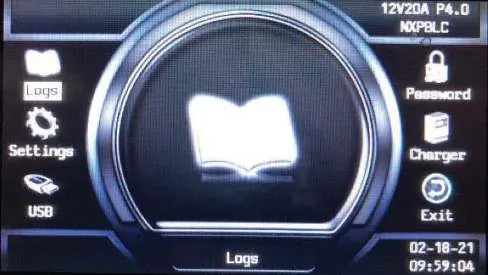
- Main Menu: Access logs, settings, and status by holding the Exit button.
Maintenance and Service
Routine maintenance is required to ensure proper ventilation and protection. The air filter should be inspected every 90 days (or more frequently in dusty environments) and replaced if clogged or damaged. Always disconnect the charger from all power sources before opening the cabinet doors.
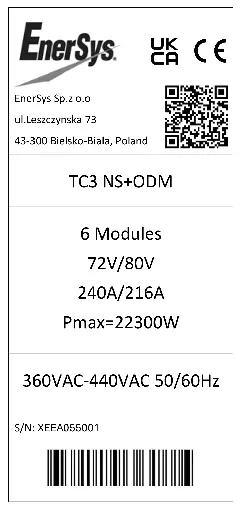
Manufacturer information
EnerSys
Practical help
Common problems
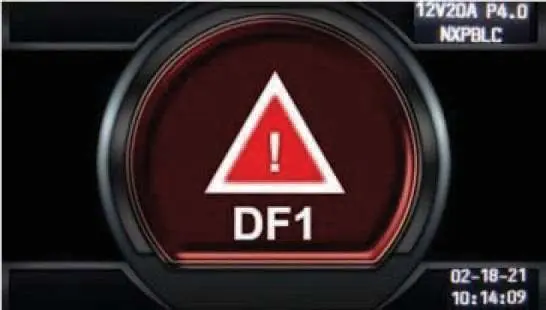
DF1 / DF-CUR Fault
Critical current fault; check mains and phase missing. Call for service.
DF2 Fault
Output fuse fault or battery reverse polarity. Check battery connections and output fuse.
DF3 Fault
Incorrect battery voltage. Ensure battery voltage is between 1.6V and 2.4V per cell for lead-acid technology.
TH / TH-Amb Fault
Thermal fault. Check for proper fan operation, ambient temperature, and natural ventilation.
MOD DEF Fault
Module is unplugged or does not answer. Clean module or backplane connection; call for service if unresolved.
Before use
- Remove the shipping pallet.
- Ensure the installation surface is non-combustible and free of vibrations.
- Verify the charger is connected to the correct line voltage.
- Ensure the charger is properly grounded.
- Check that air inlets and outlets are not obstructed.
- Confirm the battery connector matches the charger connector.
Images and diagrams
- Figure 1: Charger idle display showing voltage, profile, and firmware version.
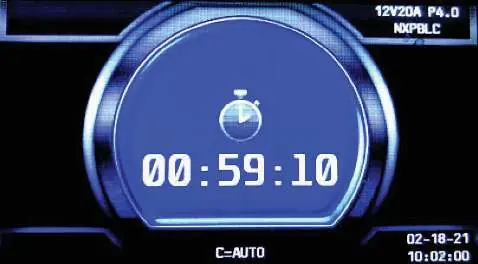
- Figure 2: Charging screen displaying current, time, and battery percentage.
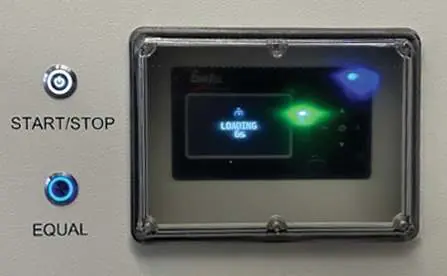
- Figure 3: Control panel with Start/Stop and Equalize buttons.
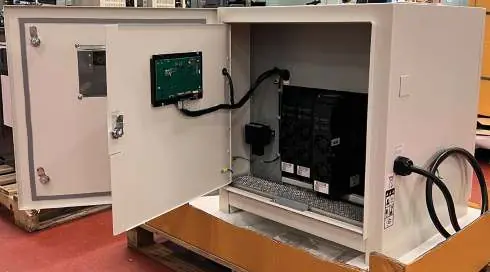
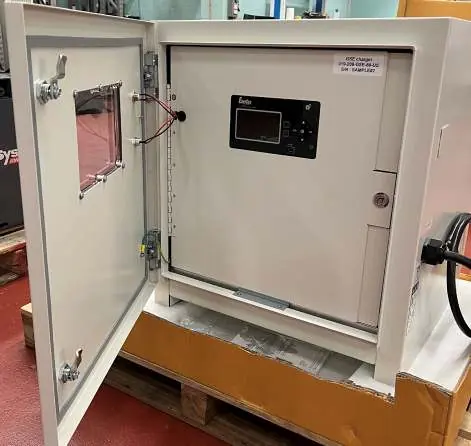
- Figure 4: Outer cabinet door access.
- Figure 5: Inner cabinet access for air filter and power modules.
Model compatibility
- Compatible with Li-ion, TPPL, Flooded, and Gel-Lead Acid batteries.
- Requires specific charge profiles (e.g., NXBLOC, NXSFAST) for NexSys batteries.
- For NexSys iON batteries, use only EnerSys battery packs with integrated BMS.

Manual page author
Emily Carter
User documentation editor
Prepares concise manual descriptions and highlights the most useful setup, operation, and maintenance information for readers.