Power / Batteries & Chargers
GÜDE GAB 12V-1A and GAB 12V-4A Automatic Battery Charger User Manual
Comprehensive user manual for GÜDE GAB 12V-1A and GAB 12V-4A automatic battery chargers. Includes setup instructions, charging modes, error code troubleshooting, safety guidelines, and technical specifications.
Table of contents
Manual images
Click an image to enlargeQuick Guide
This manual covers the operation of the GÜDE GAB 12V-1A and GAB 12V-4A automatic battery chargers. Always read the safety instructions before use. Ensure the vehicle ignition is switched off and the vehicle is secured before connecting the charger.
Device Overview
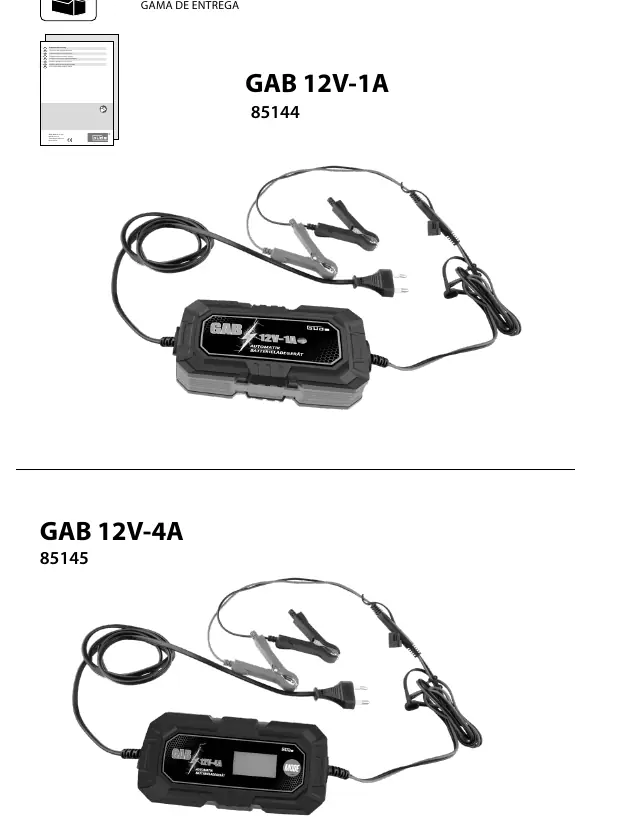
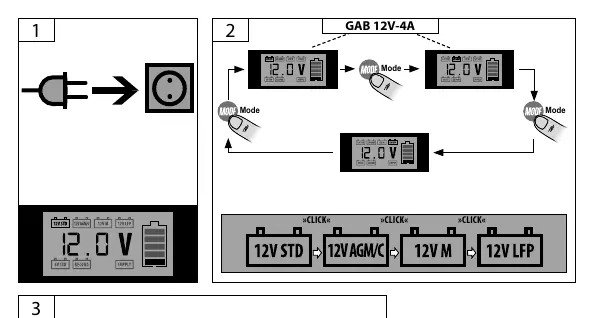
The GAB 12V-1A (85144) is a standard automatic charger. The GAB 12V-4A (85145) offers advanced features including multiple charging modes (12V STD, 12V AGM/C, 12V M, 12V LFP), a 6V mode, RECOND (reconditioning), and SUPPLY mode.
Operation
Connection Sequence:
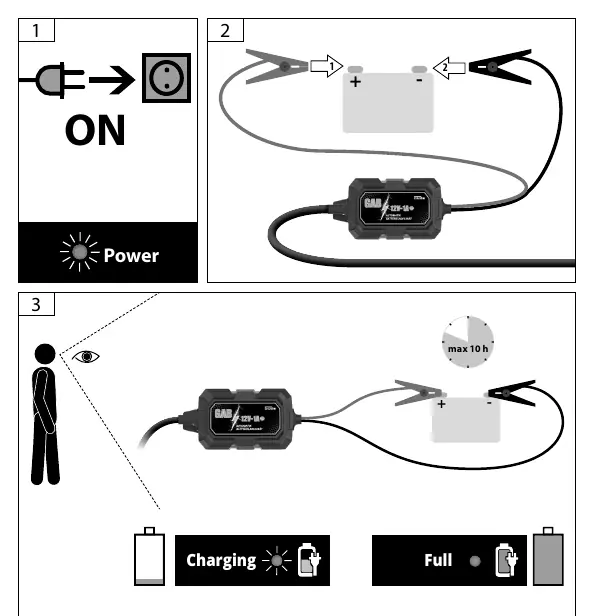
- Plug the charger into a mains socket.
- Select the required mode (for GAB 12V-4A).
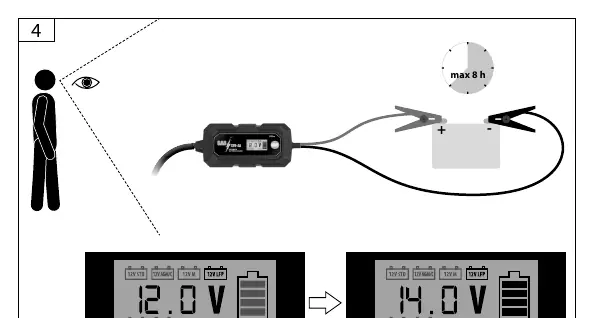
- Connect the red battery clamp to the positive (+) terminal of the battery.
- Connect the black battery clamp to the negative (-) terminal of the battery (or to the vehicle body if the battery is installed, away from fuel lines).
Disconnection Sequence:
- Unplug the charger from the mains socket.
- Remove the black clamp from the vehicle body/negative terminal.
- Remove the red clamp from the positive terminal.
Error Codes
The device displays error codes to assist with troubleshooting:
- FUL: Battery is fully charged.
- ERR: Check clamp connections (reverse polarity) or ensure the battery voltage matches the selected mode.
- BAD: Battery is defective or deep-discharged. If deep-discharged, try charging on 'RECOND' mode for over 12 hours.
Maintenance and Safety
Keep the connection clamps and the upper surface of the battery clean. Use a wire brush if necessary. Clean the charger only with a dry cloth. Do not use the charger in moist or wet conditions. Ensure cooling slots are not obstructed. The device is for indoor use only.
Technical Data
Both models operate on 220-240V / 50Hz. The GAB 12V-1A supports 4-30 Ah batteries with 1A charging current. The GAB 12V-4A supports 4-120 Ah batteries with 4A charging current.
Practical help
Common problems
Charge does not begin
Check if clamps are connected with reverse polarity. Ensure the battery voltage matches the selected mode.
Battery voltage too low
Try charging for over 12 hours on 'RECOND' mode to regenerate the battery.
Battery is defective
If the 'BAD' error persists after attempting to charge, the battery must be replaced.
Before use
- Inspect the power cord and plug for damage.
- Ensure the vehicle ignition is switched off.
- Verify the battery type is compatible (Lead-acid, Gel, AGM, WET, MF, LiFePO4).
- Ensure the charger is not connected to the mains while attaching clamps.
- Ensure the area is well-ventilated and free of flammable materials.
Specs in practice
- Rated capacity
- The range of battery sizes (in Ampere-hours, Ah) the charger is designed to handle.
- Charging rms current
- The maximum charging speed (1A or 4A) provided by the charger.
Images and diagrams
- Connection: 1. Plug in, 2. Select mode, 3. Red clamp (+), 4. Black clamp (-).
- Disconnection: 1. Unplug, 2. Black clamp (-), 3. Red clamp (+).
Model compatibility
- GAB 12V-4A supports LiFePO4 batteries.
- Not suitable for NiCd or NiMH batteries.
- For indoor use only.

Manual page author
Michael Turner
Technical manual editor
Reviews PDF manuals for structure, safety notes, and practical product details so readers can find the right information quickly.