Lighting / Fixtures
User Manual for Hampton Bay 1-Light Sconce
Quick guide for the Hampton Bay 1-Light Sconce. Includes installation steps, wiring instructions, bulb requirements, and troubleshooting tips.
Table of contents
Quick Guide
This guide provides instructions for the installation and maintenance of the Hampton Bay 1-Light Sconce. Ensure you have all necessary tools before beginning. The fixture requires a 120V AC 60Hz circuit and uses one 60 Watt Max E26 Type A or Type S bulb (or CFL/LED equivalent).
Safety Information
WARNING: Risk of electric shock. Before starting the installation, disconnect the power by turning off the circuit breaker or by removing the appropriate fuse at the fuse box. Turning the power off at the wall switch is not sufficient to prevent electrical shock. Consult a qualified electrician if you have any electrical questions.
Inspect the wire insulation for any cuts, abrasions, or exposed copper that may have resulted during shipping. If there is a defect in the wire, do not attempt installation.
Pre-Installation
Before assembling, read all instructions. Assemble the product on a soft, non-abrasive surface such as a carpet or cardboard to avoid damage. Keep your receipt and these instructions as proof of purchase.
Tools Required
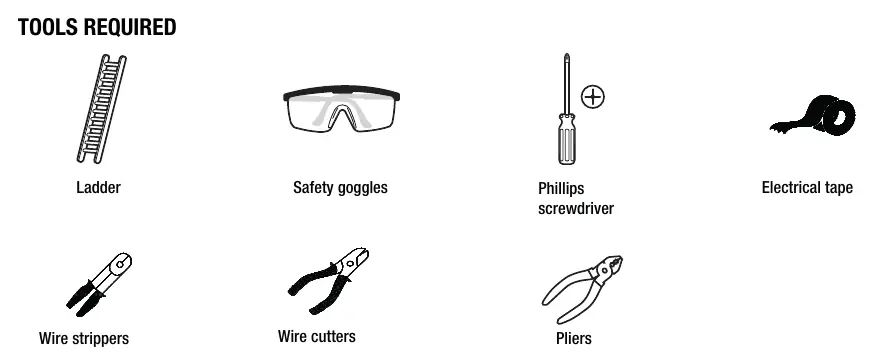
- Ladder
- Safety goggles
- Phillips screwdriver
- Electrical tape
- Wire strippers
- Wire cutters
- Pliers
Installation
1. Installing the mounting bar
Carefully unpack and lay all parts on a clean, level surface. Unscrew the canopy nut from the canopy and detach the mounting bar. Attach the mounting bar to the junction box (not included) using the junction box screws. Ensure the preassembled screws on the mounting bracket are in a horizontal position.
2. Making the electrical connections
Make connections to a 120V AC 60Hz circuit:
- Connect the white wires from the fixture to the white wire of the supply circuit.
- Connect the black wires from the fixture to the black wire of the supply circuit.
- Wrap the bare copper grounding wire from the fixture around the green screw on the mounting bar, then connect it to the grounding conductor of the supply circuit.
- Use U.L./C.S.A. listed wire connectors suitable for the size, type, and number of conductors. Secure the wire connectors with U.L./C.S.A. listed electrical tape.
3. Installing the shade
Place the canopy against the mounting surface, allowing the preassembled screws on the mounting bar to pass through the canopy, and secure with the canopy nut. Remove the preassembled socket ring from the lamp body. Place the shade over the sockets on the lamp body and secure it with the socket ring.
4. Installing the bulb
Install one 60 Watt Max E26 Type A or Type S bulb, or a CFL/LED equivalent (not included).
Care and Cleaning
Clean the unit with a soft, dry cloth. Do not use any cleaners with chemicals, solvents, or harsh abrasives.
Troubleshooting
If the bulb will not light, ensure the bulb is not burned out, the power supply is on, and the circuit breaker is in the ON position. If the fuse blows or the circuit breaker trips when the light is turned on, discontinue use of the lamp and contact a qualified electrician or the Customer Service Team at 1-855-HD-HAMPTON.
Manufacturer information
Hampton Bay
Practical help
Common problems
The bulb will not light.
Check if the bulb is burned out, ensure the power supply is on, and verify the circuit breaker is in the ON position.
The fuse blows or circuit breaker trips when the light is turned on.
Discontinue use of the lamp immediately. Check for exposed wires and contact a qualified electrician or customer service.
Before use
- Turn off power at the circuit breaker or fuse box.
- Gather required tools: ladder, safety goggles, Phillips screwdriver, electrical tape, wire strippers, wire cutters, and pliers.
- Inspect wire insulation for cuts or abrasions.
- Ensure the junction box is compatible and ready for installation.
Images and diagrams
- The mounting bar attaches to the junction box using provided screws.
- Wiring requires connecting white-to-white, black-to-black, and ground-to-green screw.
Model compatibility
- Uses 60W Max E26 Type A or Type S bulbs, or CFL/LED equivalents.

Manual page author
Michael Turner
Technical manual editor
Reviews PDF manuals for structure, safety notes, and practical product details so readers can find the right information quickly.