Computers / Desktop Computers
BIOS Setup Utility Guide for HP Pavilion 24-b000
A comprehensive guide to the BIOS Setup Utility for the HP Pavilion 24-b000 All-in-One Desktop. Learn how to navigate menus, configure storage, manage security settings, and adjust power options.
Quick answers from the manual
Quick answer
- The BIOS Setup Utility allows you to manage system information, storage devices, security passwords, power management settings, and advanced boot options for the HP Pavilion 24-b000. p. 1, 2
Key actions
- To change boot order, navigate to Storage > Boot Order. p. 13, 23
- To set a BIOS password, go to Security > Setup Password. p. 24, 25
Problems and fixes
DPS Self-test aborted
Check the completion code; code 1 indicates an aborted test.
p. 22Show 4 more answers Show less
Error codes
| Code | Meaning | Action | Pages |
|---|---|---|---|
| 1 | Test aborted during DPS Self-test. | Review drive status. | p. 22 |
Maintenance and reset
- To restore factory settings, go to File > Default Setup > Restore Factory Settings as Default. p. 9
Technical specifications
| Parameter | Value | Meaning | Pages |
|---|---|---|---|
| Memory Size | 16384 MB | Total installed RAM. | p. 6 |
| Processor Speed | 2600 MHz | CPU clock speed. | p. 6 |
Where to find it in the PDF
- BIOS Menu Overview p. 2
- Storage Configuration p. 13, 14
Table of contents
Manual images
Click an image to enlargeQuick guide from the manual
This document serves as an interactive guide to the BIOS Setup Utility for the HP Pavilion 24-b000 All-in-One Desktop. It provides an overview of the available menu options, including system information, storage configuration, security settings, power management, and advanced boot options.
Navigating the BIOS
The BIOS utility is organized into five main tabs: File, Storage, Security, Power, and Advanced. You can navigate between these tabs to view and modify system settings. Note that this guide is based on a pre-production version and may not reflect all options available on your specific unit.

File Menu
The File menu allows you to manage basic system information and configuration states:
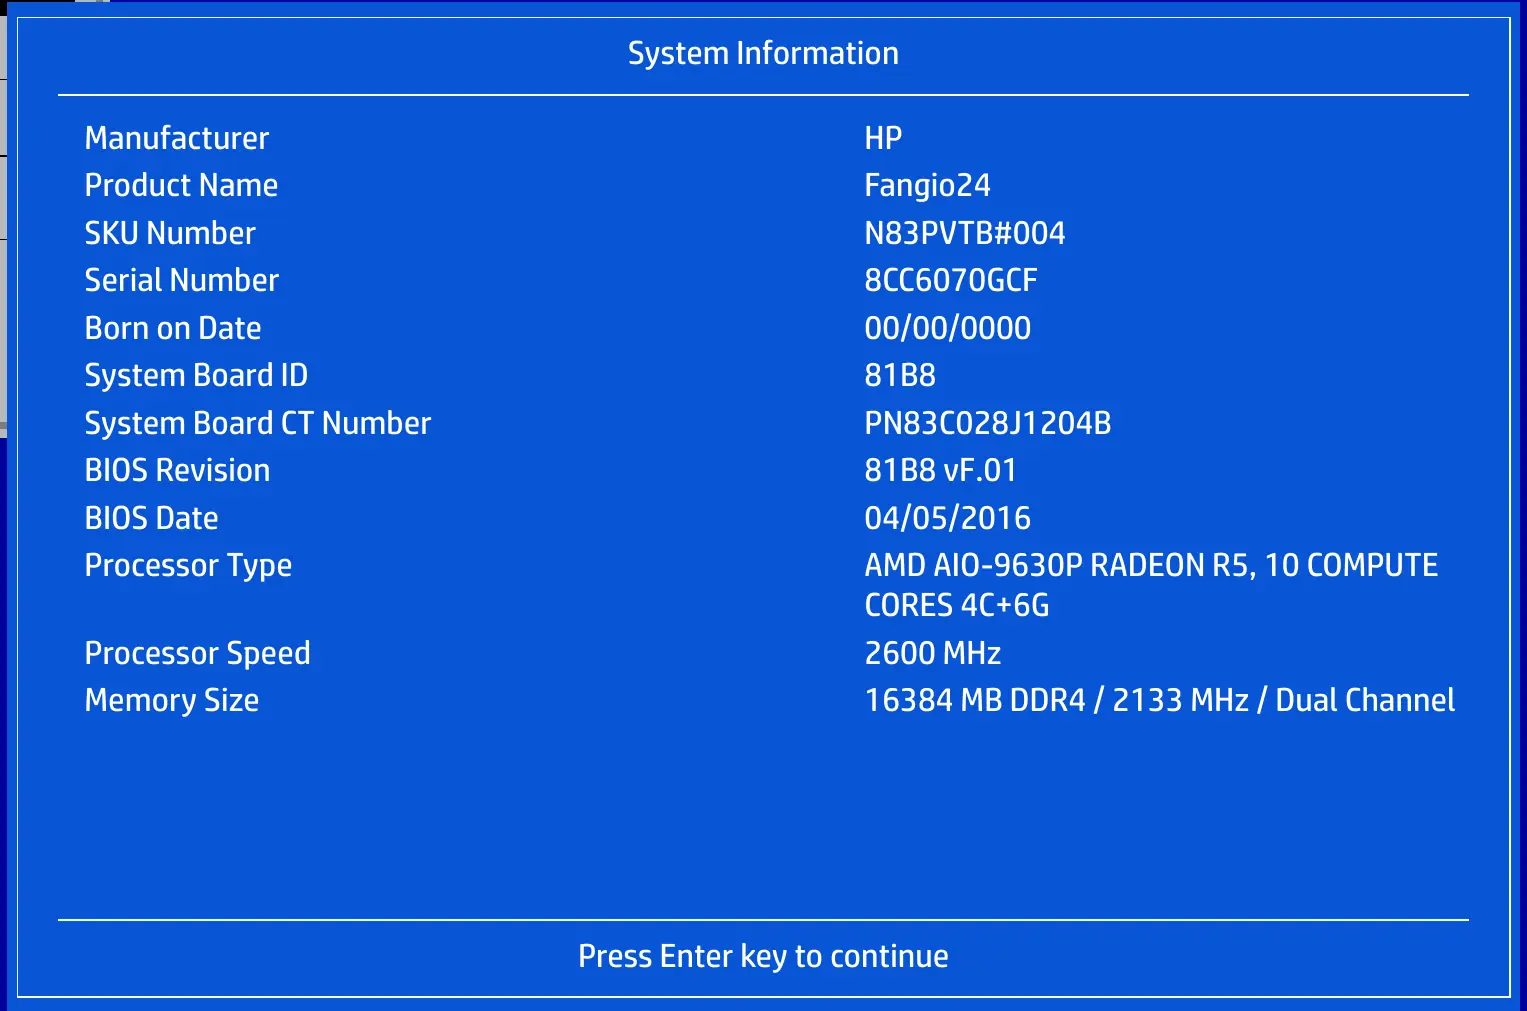
- System Information: Displays manufacturer, product name, serial number, BIOS revision, processor type, and memory size.
- Set Time and Date: Allows manual adjustment of the system clock.
- Default Setup: Provides options to save current settings as default or restore factory settings.
- Exit Options: Includes Apply Defaults and Exit, Ignore Changes and Exit, and Save Changes and Exit.
Storage Menu
This section manages storage devices and boot behavior:
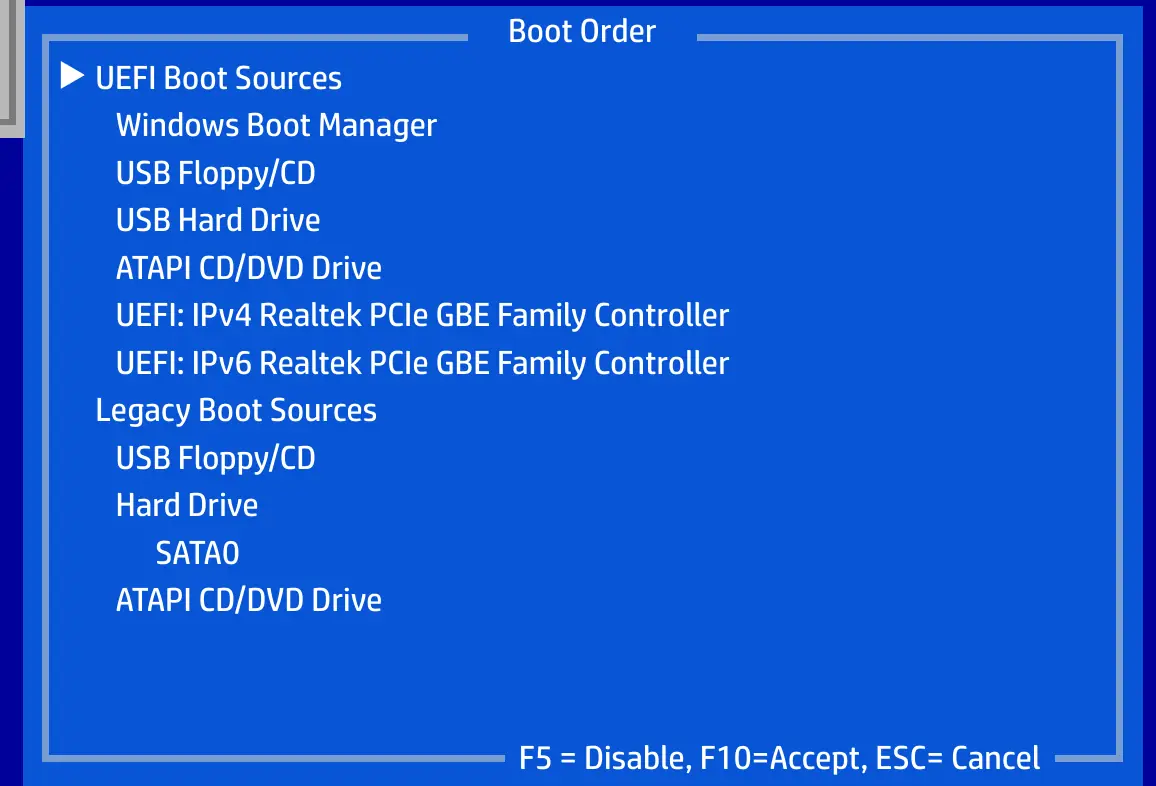
- Device Configuration: View details for connected drives, such as Hard Disk (SATA0) and CD-ROM (SATA1).
- Storage Options: Configure SATA Emulation (AHCI or IDE).
- DPS Self-test: Run a Drive Protection System self-test on connected drives. Note that the estimated execution time is approximately 263 minutes.
- Boot Order: Define the priority of boot sources, including UEFI and Legacy options.
Security Menu
Manage system access and hardware security:
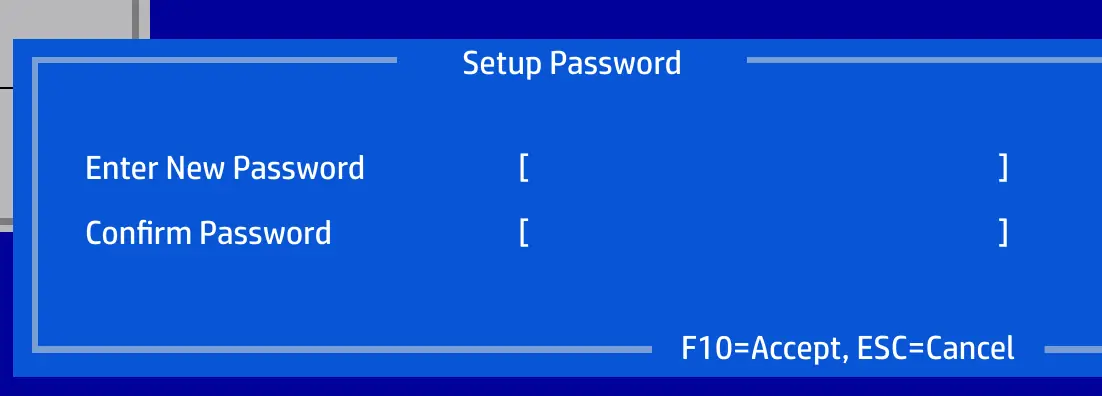
- Passwords: Set or change Setup and Power-On passwords.
- Device Security: Toggle visibility of system audio, network controller, card reader, and SATA ports.
- USB Security: Enable or disable specific front, rear, and internal USB ports.
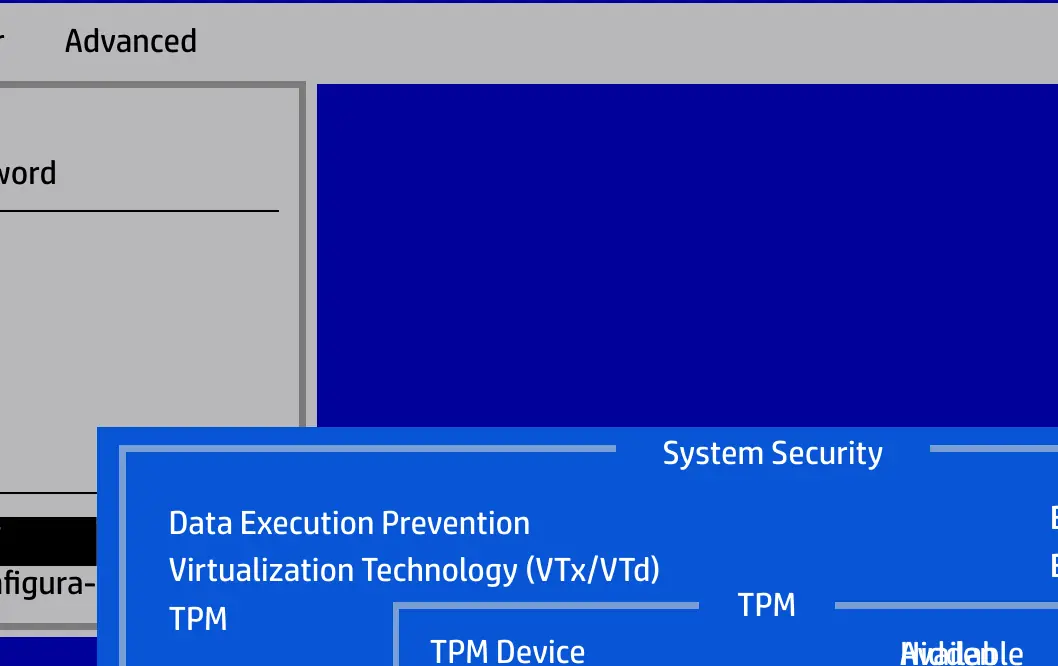
- System Security: Configure Data Execution Prevention, Virtualization Technology (VTx/VTd), and TPM settings.
- Secure Boot Configuration: Manage Secure Boot keys and legacy support.
Power Menu
Adjust power management settings:
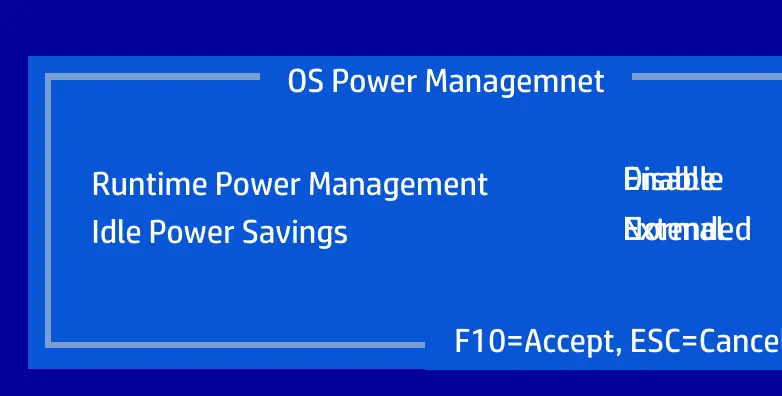
- OS Power Management: Configure Runtime Power Management and Idle Power Savings.
- Hardware Power Management: Manage SATA Power Management, S4/S5 Wake on LAN, and USB Fast Charging.
- Thermal: Monitor CPU Fan Speed.
Advanced Menu
Contains advanced system configuration:
- Power-On Options: Configure POST messages, behavior after power loss, and remote wakeup sources.
- BIOS Power-On: Schedule automatic power-on times for specific days of the week.
- Bus Options: Configure PCI SERR# generation and VGA palette snooping.
- Device Options: Set Num Lock state at power-on and NIC PXE Option ROM download.
Manufacturer information
HP Inc.
Practical help
Common problems
System fails to boot from the correct device
Navigate to the Storage menu and check the Boot Order settings to ensure the desired drive is prioritized.
DPS Self-test aborted
Check the completion code displayed on the screen. Code 1 indicates the test was aborted; verify drive connections.
Before use
- Ensure the computer is powered on.
- Access the BIOS utility during startup (typically by pressing F10).
- Review the disclaimer regarding pre-production software.
- Use the arrow keys to navigate between tabs and options.
Show more Show less
Specs in practice
- SATA Emulation
- Determines the operating mode of the SATA controller (AHCI or IDE).
- DPS Self-test
- Drive Protection System test; estimated execution time is 263 minutes.
- Virtualization Technology
- Enables or disables hardware-assisted virtualization (VTx/VTd).
Images and diagrams
- The BIOS interface uses a tabbed layout at the top of the screen.
- A side menu appears when a tab is selected, showing available sub-menus.
- Action keys (F10, ESC) are displayed at the bottom of the screen for navigation and saving.
Model compatibility
- Secure Boot Configuration options are intended for Windows 8 and operating systems that support Secure Boot.
- Changing default settings for operating systems that do not support Secure Boot may prevent the system from booting.

Manual page author
David Miller
Documentation analyst