Electronics / Monitors
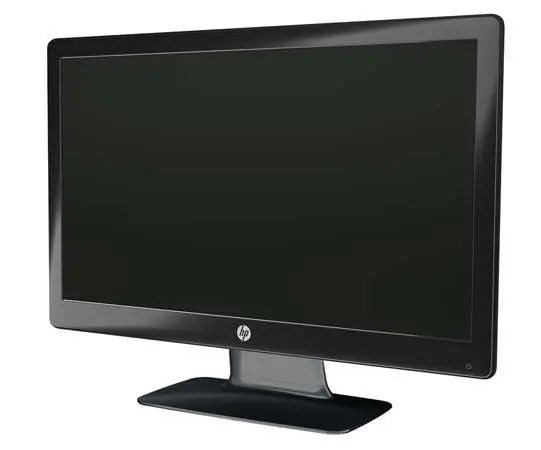
User Manual for HP 2311gt 3D LCD Monitor
Quick guide for the HP 2311gt 3D LCD Monitor. Includes setup instructions, OSD menu navigation, 3D technology usage, troubleshooting, and technical specifications.
Quick answers from the manual
Quick answer
- The HP 2311gt is a 3D LCD monitor. This manual provides instructions for assembly, connecting video sources (HDMI, DVI, VGA), using the OSD menu, and setting up 3D features. p. 9, 14, 15, 30
Key actions
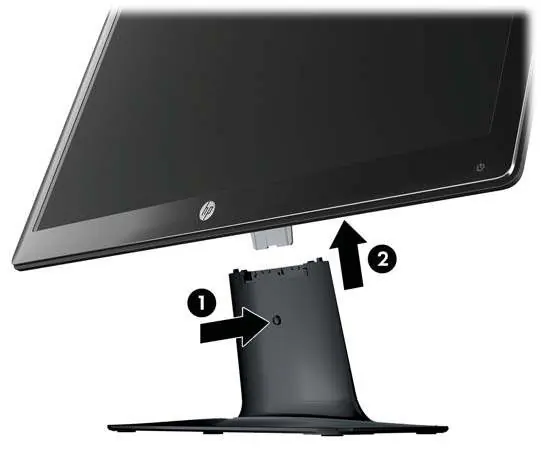
- Assemble the monitor stand p. 14
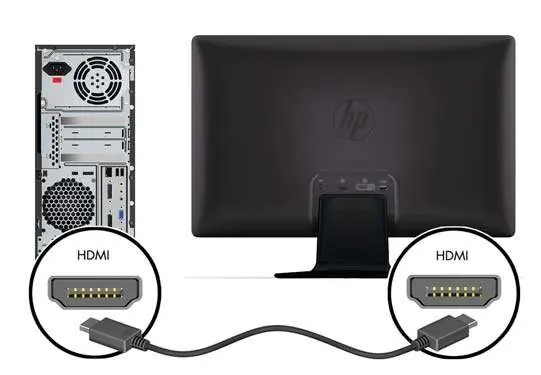
- Connect video cables p. 15, 17
First start
- Unpack, assemble the stand, connect cables, and power on. p. 14, 15, 18
Show 4 more answers Show less
Problems and fixes
Power light not lit
Check power connection and OSD settings.
p. 33
No image
Check video cable connection and computer power.
p. 33Maintenance and reset
- Use the OSD menu to reset to factory settings. p. 27
Technical specifications
| Parameter | Value | Meaning | Pages |
|---|---|---|---|
| Resolution | 1920 x 1080 (2D) | Maximum 2D resolution | p. 37 |
| Resolution | 1920 x 540 (3D) | Maximum 3D resolution | p. 37 |
Where to find it in the PDF
- OSD Menu p. 23, 24, 25, 26
- 3D Technology p. 29, 30, 31, 32
Table of contents
Manual images
Click an image to enlargeQuick guide from the manual
This guide provides essential information for setting up and using your HP 2311gt 3D LCD Monitor. It covers physical assembly, cable connections, OSD menu settings, 3D technology usage, and troubleshooting.
Safety Information
- Always connect the power cord to a grounded electrical outlet.
- Do not place objects on power cords.
- Use appropriate furniture to support the monitor.
- Avoid touching or pressing the LCD screen to prevent damage.
- Keep the monitor in a well-ventilated area, away from extreme heat or humidity.
Setup and Installation
Unpacking and Assembly:
- Carefully remove the monitor from the box.
- Assemble the stand by sliding the support base into the base until it clicks into place.
- Attach the monitor panel to the support base.
Connecting Cables:
- HDMI: Connect one end of the HDMI cable to the back of the monitor and the other to the input device.
- VGA/DVI: Connect the appropriate video cable to the back of the monitor and the computer.
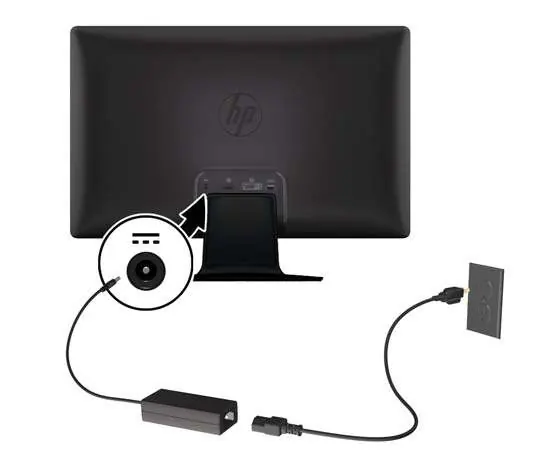
- Power: Connect the power cord to the monitor and a grounded outlet.
Operation
OSD Menu: Use the buttons on the front panel to access the On-Screen Display (OSD) menu to adjust brightness, contrast, color, and other display settings.
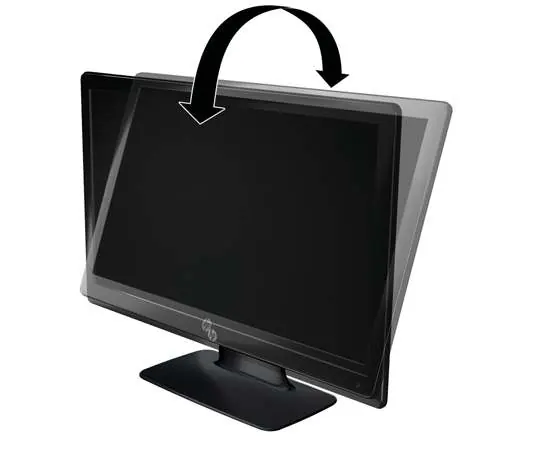
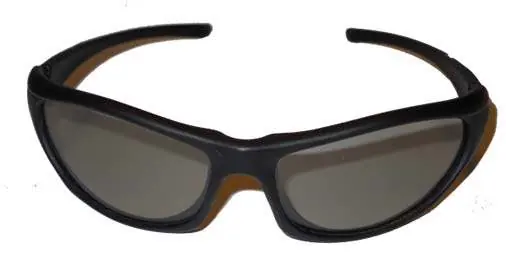
3D Technology: The monitor supports 3D content using FPR passive 3D glasses. Ensure the monitor is set as the primary display when installing the included 3D software (CyberLink PowerDVD 3D or TriDef 3D Ignition Game Player).
Troubleshooting
- Power light not lit: Check power connection and OSD settings.
- No image: Check video cable connections and computer power.
- 3D content not displaying: Ensure 3D mode is enabled and glasses are used correctly.
- Blurry/Distorted image: Adjust brightness and contrast settings.
Technical Specifications
- Resolution: 1920 x 1080 (2D), 1920 x 540 (3D)
- Refresh Rate: 60 Hz
- Inputs: VGA, DVI, HDMI
- Power Consumption: 45W max, 33W typical
Manufacturer information
HP Inc.
Practical help
Common problems
Power light not lit
Check that the power cord is connected to a grounded outlet and the monitor is turned on.
No image on screen
Check video cable connections and ensure the computer is powered on.
3D content not displaying correctly
Ensure 3D mode is enabled, glasses are used, and the monitor is set as the primary display.
Before use
- Unpack the monitor and stand
- Assemble the stand
- Connect video cables (HDMI, DVI, or VGA)
- Connect power cord
- Install drivers from the included CD
Show more Show less
Specs in practice
- Refresh Rate
- 60 Hz
Images and diagrams
- Stand assembly instructions
- Cable connection diagrams for HDMI, DVI, and VGA
Model compatibility
- Requires compatible graphics card
- 3D content must be purchased separately

Manual page author
Emily Carter
User documentation editor