Computers / Keyboards Input
Disassembly Guide for General Electric Telephone 2-9710A
Step-by-step disassembly guide for the General Electric Telephone 2-9710A. Learn how to safely remove the base shell, battery, and internal components using standard tools.
Quick answers from the manual
Quick answer
- This guide provides step-by-step instructions for disassembling the General Electric Telephone 2-9710A to access the logic board and internal components. p. 2
Key actions
- Remove phone cord p. 2
- Remove battery p. 3
- Remove base shell p. 5
Where to find it in the PDF
- Disassembly Steps p. 2, 3, 4, 5
Table of contents
Manual images
Click an image to enlargeImportant Safety Information
Before beginning any disassembly, ensure the device is completely unplugged from both the phone jack and the electrical power source to prevent electrical shock or damage.
Tools Required
- Phillips #1 Screwdriver
- iFixit Opening Tool (or similar plastic prying tool)
Disassembly Instructions
This guide provides instructions for removing the outer shell of the base to access the logic board and other interior parts of the telephone.
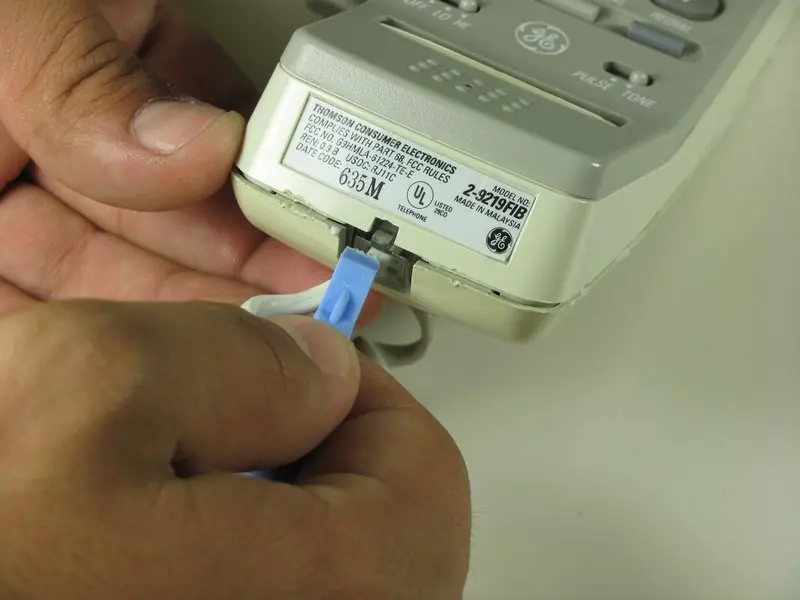
Step 1: Phone Cord
Use the plastic opening tool to gently press down on the top plastic tab of the connector to release the cable from the phone jack at the base of the headset.
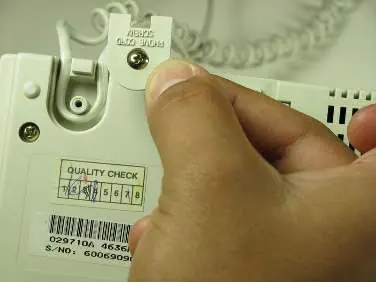
Step 2: Base Screws
Remove the 7.5 mm screw and the screw cap. Pull up on the phone cord to remove it from the base.
Step 3: 9V Base Battery
Apply thumb pressure to the battery compartment door on the bottom of the radio to slide it off. Remove the battery from the phone.
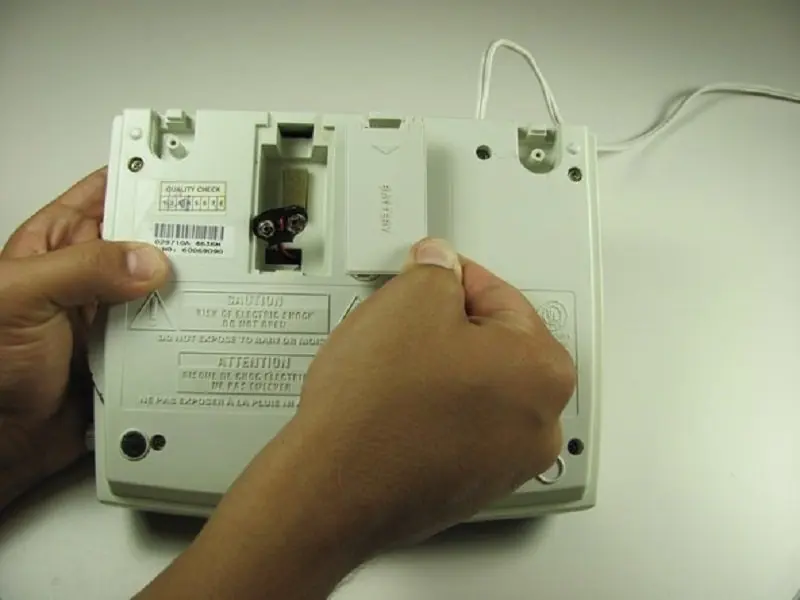
Step 4: Remove Volume Dial
Locate the volume dial on the right side of the telephone. Gently grasp the dial and pull it away from the base.
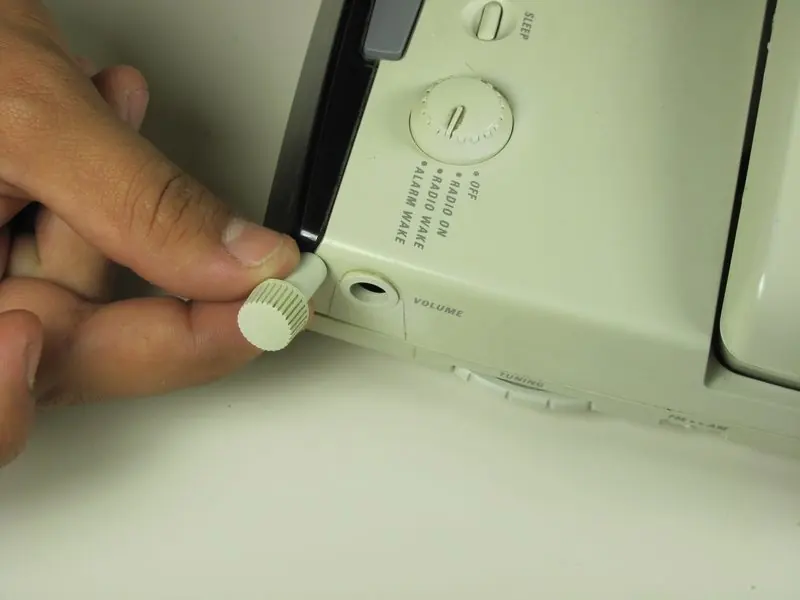
Step 5: Remove Screws on the Back
Remove the three 12 mm screws and the three 18 mm screws using a Phillips #1 screwdriver.
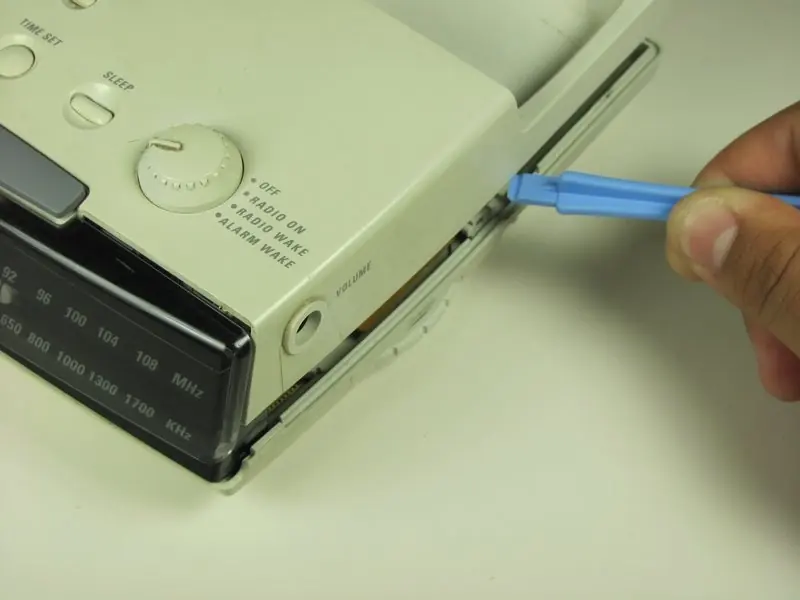
Step 6: Pry the Back Off
Use the plastic opener tool to pry off the base shell. Set the shell aside to access the internal components.
Reassembly
To reassemble the device, follow the disassembly instructions in reverse order.
Manufacturer information
iFixit
Practical help
Common problems
Cannot access internal components
Follow the disassembly steps to remove the base shell.
Before use
- Unplug the device from the phone jack
- Unplug the device from the electrical source
- Gather a Phillips #1 screwdriver
- Gather a plastic opening tool
Show more Show less
Images and diagrams
- The guide uses photos to illustrate the removal of screws and the use of the opening tool.

Manual page author
Michael Turner
Technical manual editor