Computers / Keyboards Input
iPod Touch 1st Generation Teardown Guide
A comprehensive teardown guide for the 1st Generation iPod Touch. Learn how to safely open the device, remove the battery, logic board, and display, and identify internal components.
Quick answers from the manual
Quick answer
- This guide provides a step-by-step teardown of the 1st Generation iPod Touch, detailing how to open the casing, remove the battery, logic board, and display. p. 1, 18
Key actions
- Open the device p. 6
- Remove the display p. 14
Problems and fixes
Battery replacement
The battery is soldered to the logic board, making it difficult to replace.
p. 7, 8Show 2 more answers Show less
Technical specifications
| Parameter | Value | Meaning | Pages |
|---|---|---|---|
| Battery Size | 54.0 x 64.1 x 2.8 mm | Physical dimensions of the battery | p. 8 |
Where to find it in the PDF
- Disassembly Steps p. 3, 18
Table of contents
Manual images
Click an image to enlargeQuick guide from the manual
This document provides a detailed teardown procedure for the 1st Generation iPod Touch. It is intended for users looking to understand the internal construction or perform repairs. Note that the battery is soldered to the logic board, which complicates replacement.
Tools Required
- Metal spudger
- Phillips #00 screwdriver
- Spudger
Opening the Device
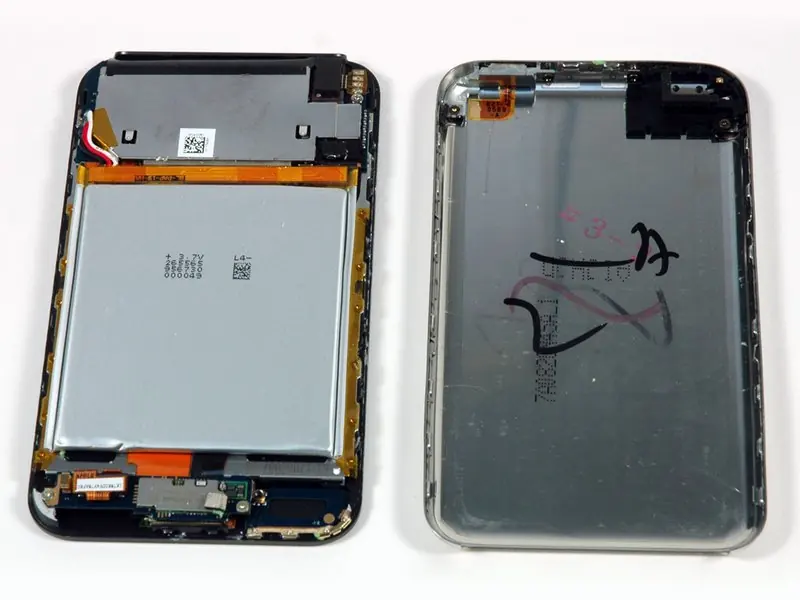
The iPod Touch is held together by metal tabs along each side. Use a metal spudger to carefully release these tabs to open the casing. Take your time to avoid damaging the internal components.
Battery and Logic Board Removal
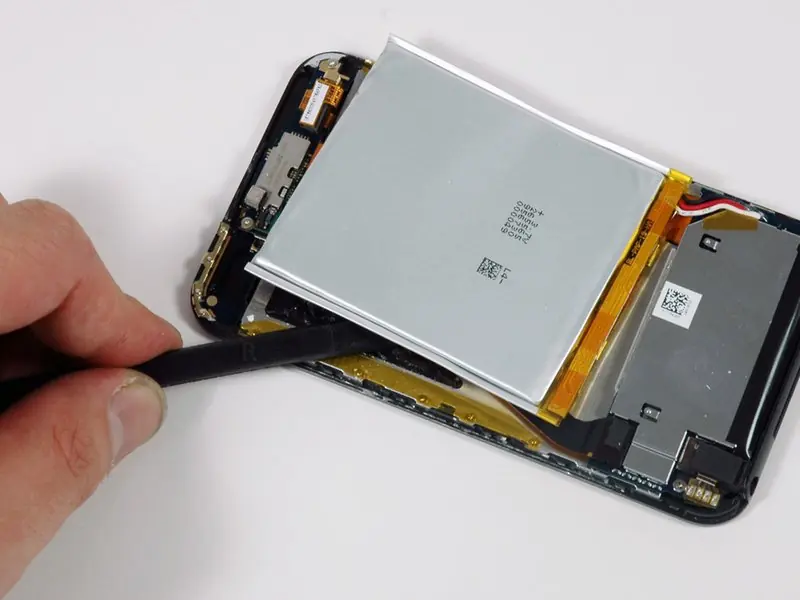
The battery is soldered directly to the logic board, similar to the iPhone. It occupies a significant portion of the internal space. To access the logic board, you must carefully pry it up using a spudger. Be aware that the ribbon cables are soldered to the boards, making individual board replacement difficult.
Display Removal
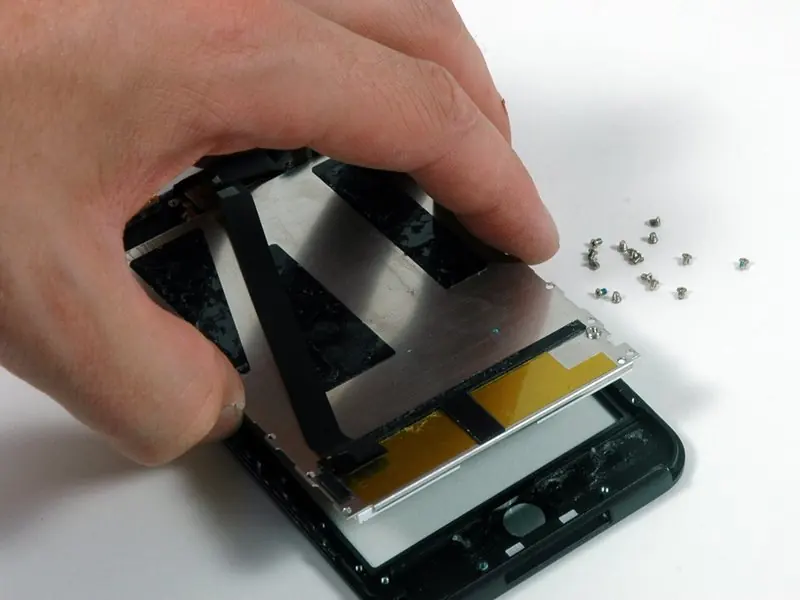
The display is attached to the front bezel using 16 Phillips #00 screws. This design makes the display easier to remove compared to devices where the display is fused with adhesive. Once the screws are removed, the LCD can be lifted out.
Component Identification
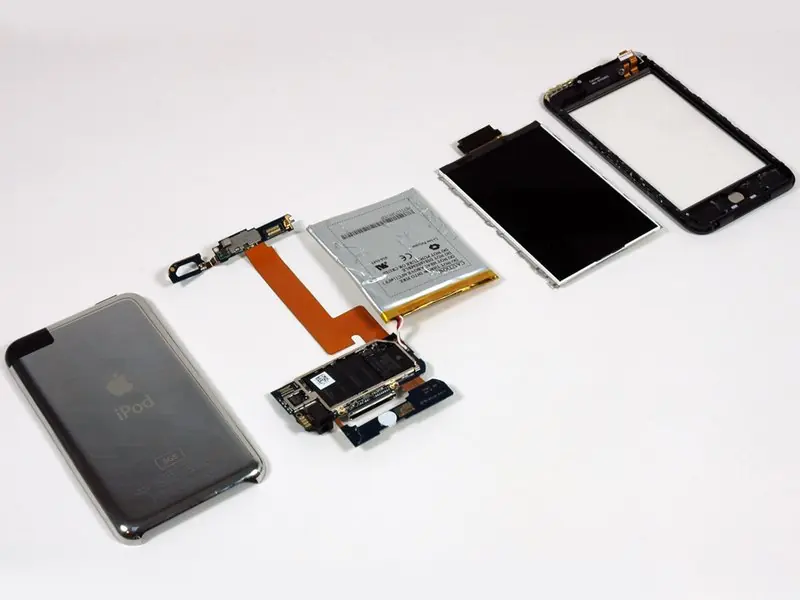
The device features several key components, including a Marvell W8686B22 WLAN system-on-chip, Toshiba NAND Flash memory, and a Wolfson audio chip (WM8758BG). The communications board connects to the antenna on the rear bezel via an orange ribbon cable.
Manufacturer information
iFixit
Practical help
Common problems
Device is difficult to open
Use a metal spudger to release the metal tabs located along each side of the iPod.
Battery replacement
The battery is soldered to the logic board, which makes it difficult to replace.
Display removal
Ensure all 16 Phillips #00 screws are removed from the front bezel before attempting to lift the LCD.
Before use
- Metal spudger
- Phillips #00 screwdriver
Show more Show less
Specs in practice
- Battery dimensions
- 54.0 x 64.1 x 2.8 mm
- Display attachment
- Attached to the front bezel with 16 Phillips #00 screws
Images and diagrams
- Step 9: WiFi antenna contacts on the rear panel
- Step 15: Logic board and PCB connection
- Step 20: Exploded view of the five main internal parts
Model compatibility
- The iPod Touch 1st Gen uses a different display attachment method than the iPhone.
- The device uses a Marvell W8686B22 WLAN chip.

Manual page author
Emily Carter
User documentation editor